Software Success: More about the new Edge to Edge Plugin
Watch: 
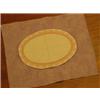
Cushioned Applique Technique
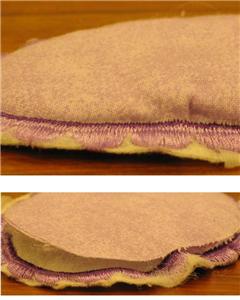
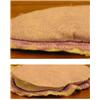
Once you have completed a few simple applique projects, you might start to see potential for variations on the idea of adding fabric patches to embroidery designs. In this technique, let’s focus on cushioned applique. The main idea is really very simple. We just trap something inside the applique, between the lower material and the upper appliqued patch to add extra loft and dimension. Cushioned applique is fun to do, and like puff embroidery, it "pops" out from the surface. Enjoy cushioned applique. It’ll give your embroidery a lift.
1:
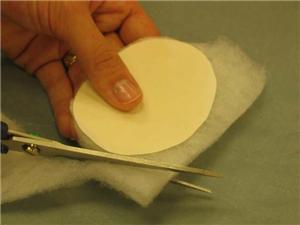
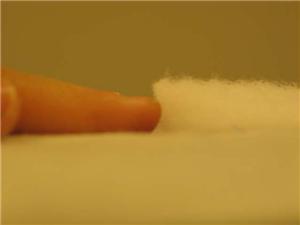
When you do cushioned applique, it’s best to use a material that can be stitched through, like craft foam or quilt batting. If the material is heat safe, use Appli-Kay Wonder to prepare the applique filler piece.

2:
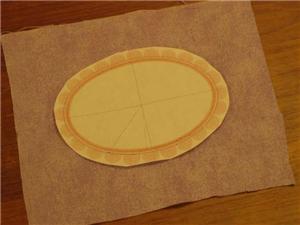
I like to pre-cut the filler to fit the applique, and I use an applique template as a guide. This way, none of the fill material pokes out of the edges of the finished embroidery.
3:
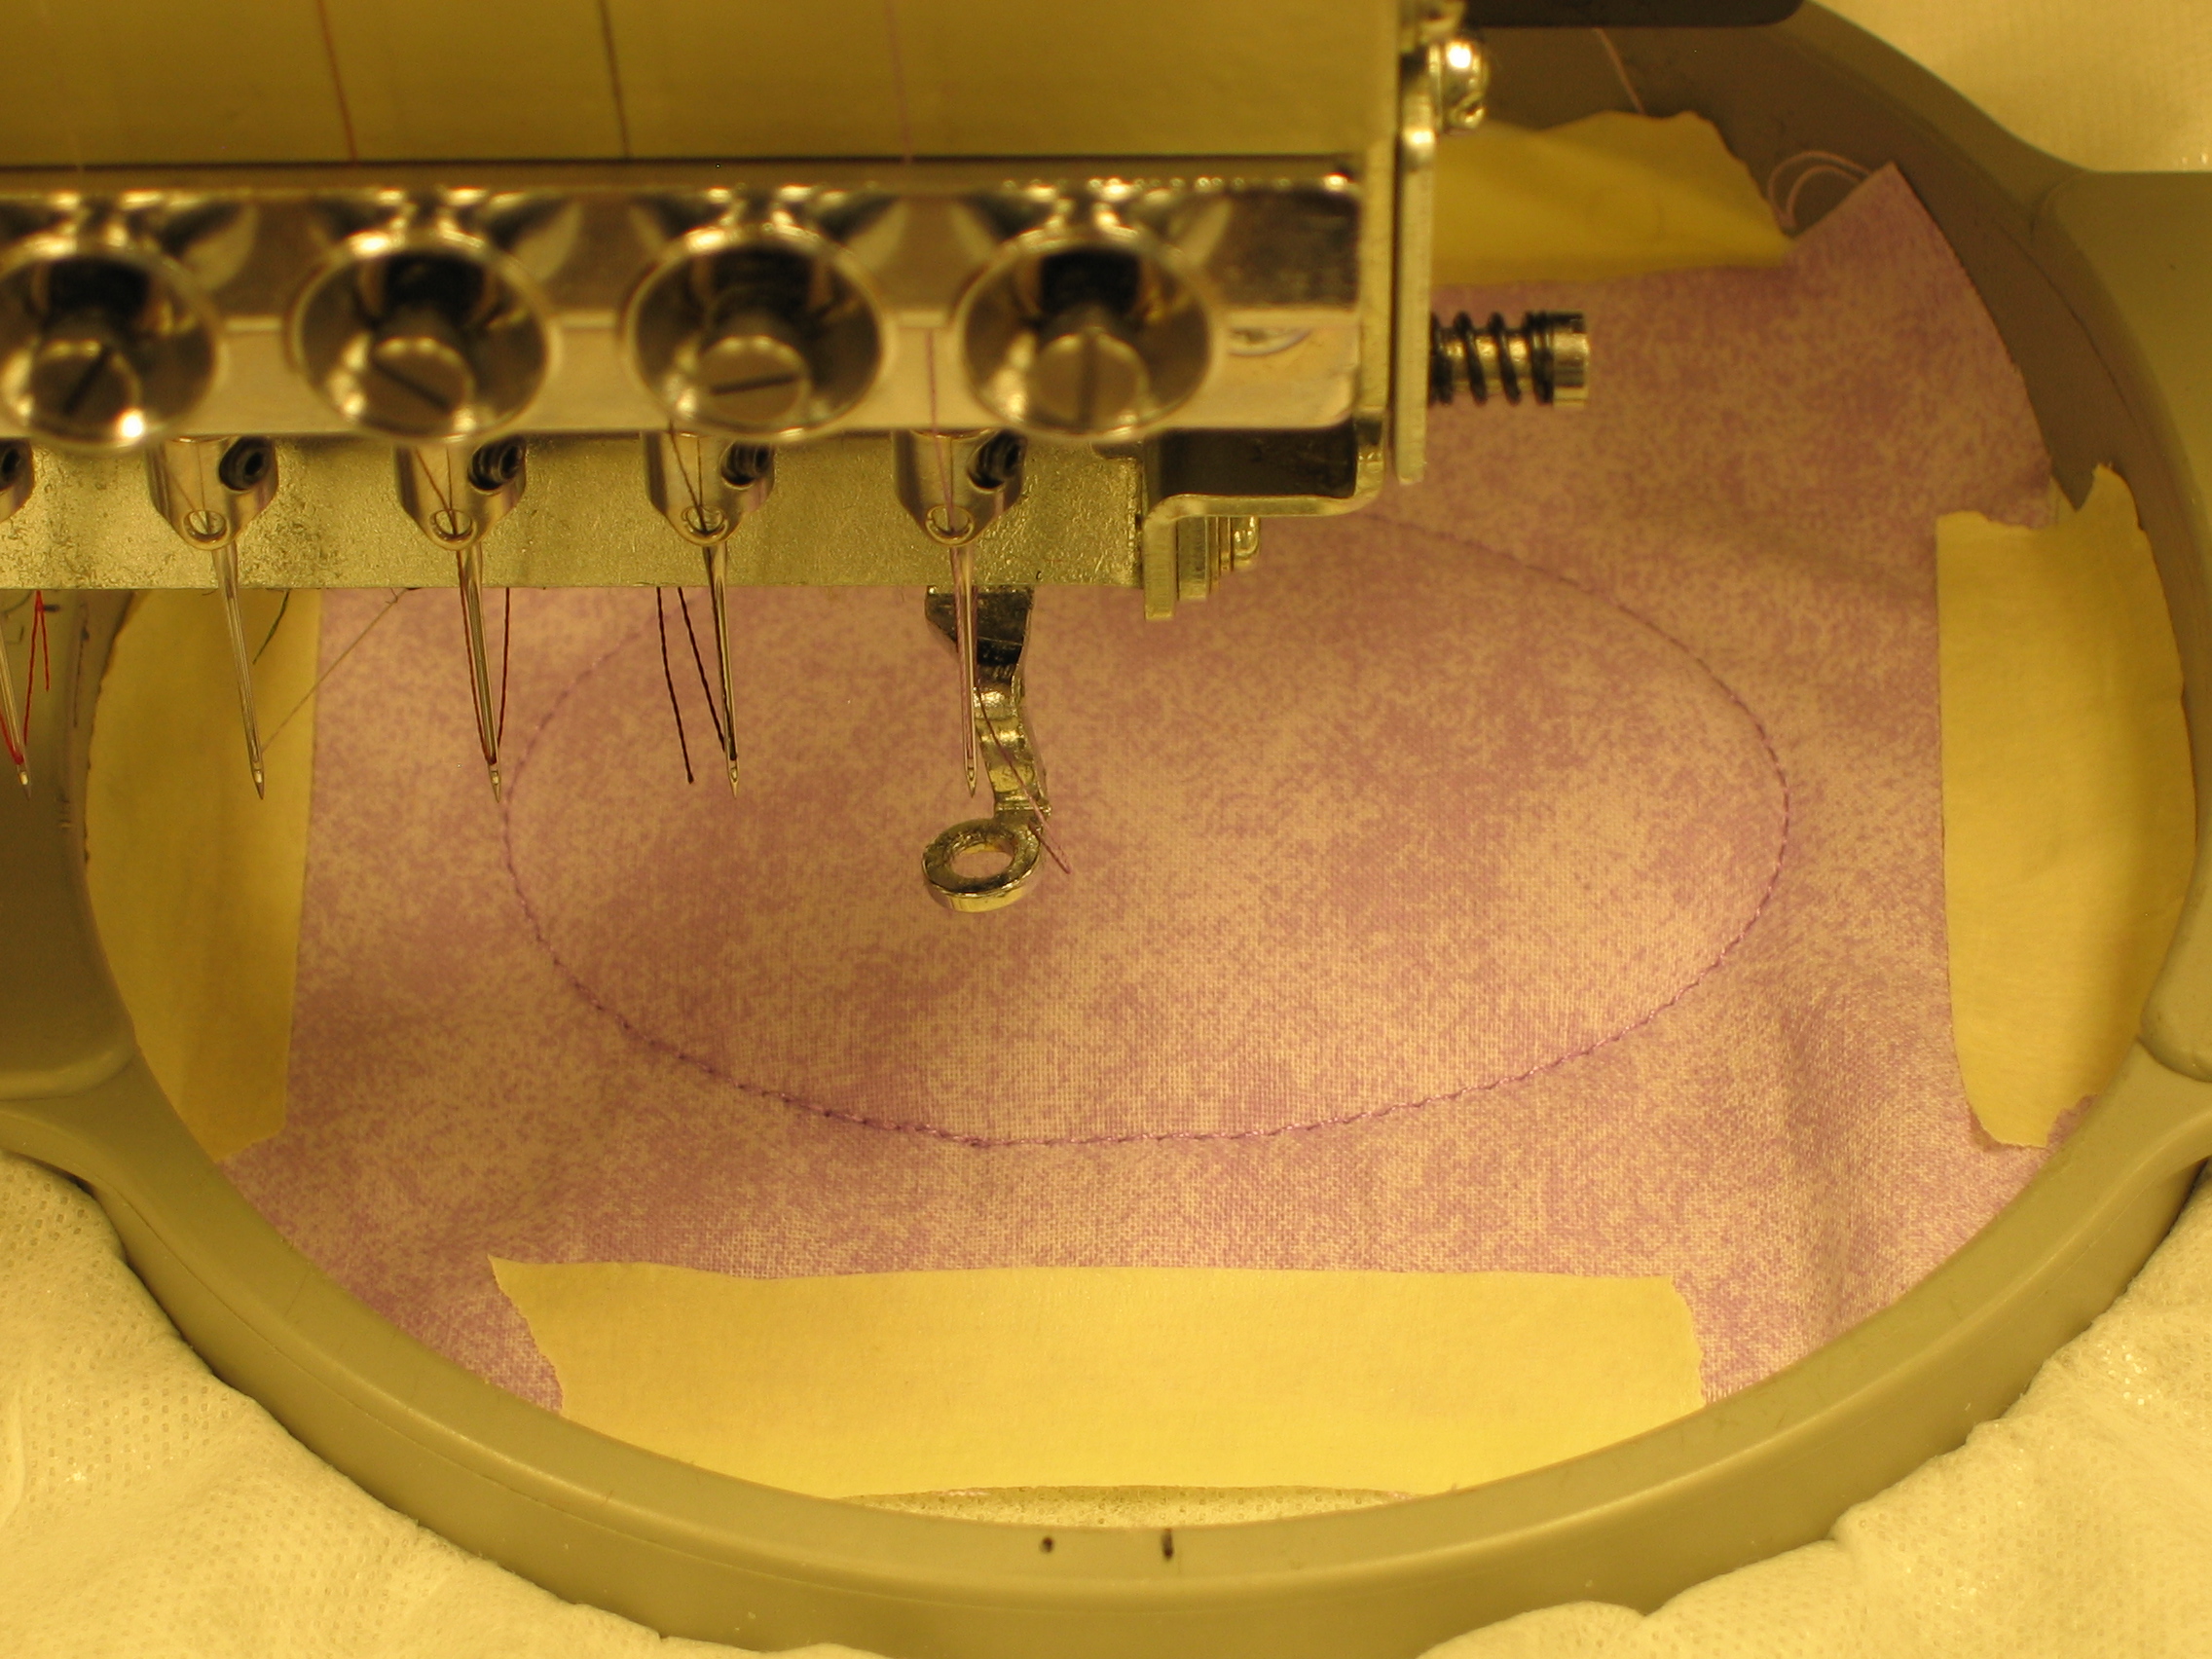
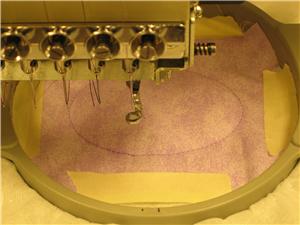
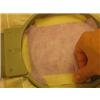
Have the machine embroider the applique mark line on the stabilizer. Use this as a guide to align the batting piece.
4:
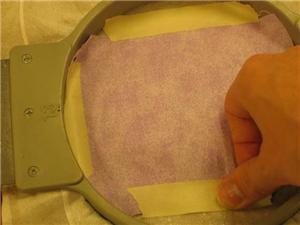
Because of the dimensional lift the fill creates, you wind up with a tiered surface; however, embroidery machines work best when stitching a flat surface. So, to help the machine’s presser foot glide easily over that dropped edge, we need to pull the applique fabric over the cushion in the hoop, rather than precutting a piece to size.
5:
Plan for extra space on your applique fabric for taping the material over the batting. I’m adding an inch to the outermost sides of the oval, and cutting the fabric in a rectangle using those dimensions.
6:
A rectangle is an easy shape to tape down and get the needed coverage. When you use tape in an embroidery project, make sure it is placed outside of the embroidery area; avoid stitching through the tape.
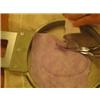
7:
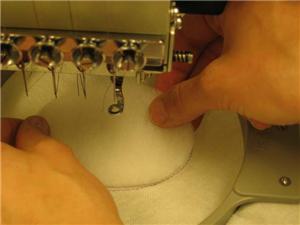
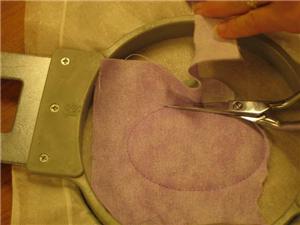
Let the embroidery machine stitch the applique tack down, and then use applique scissors to cut the excess fabric away before continuing with the design.
8:
It might be tempting to pre-cut the top applique fabric to fit the shape of the fill, but the presser foot can become entangled in the raised edge, and ruin your work, breaking thread and needles. Instead, always pull the applique fabric over the raised area, and anchor it securely outside the stitching area. This method also prevents puckers that would occur with loosely draped fabric, and applique misalignments that can result from pre-cutting over the fill, even if you use a sheet of clear topping to smooth the surface.


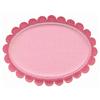 Oval border applique
 Floriani Appli-Kay Wonder - Fusible, 9" x 3 yds
 Mother's Day Flower Pot Embroidery
 Simple Appliqué
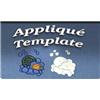 Making Applique Templates
 Using Appliqué Templates