Embroidery Special FX (Effects) May 17
Watch: 

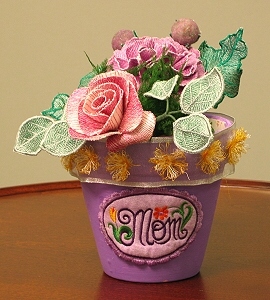
Mother's Day Flower Pot Embroidery
Something blooming is a Mother’s Day tradition that I always look forward to, and let’s not overlook the floral pots, which realistically, may outlive the flowers inside. In this holiday project, we’ll bring a soft touch to the flower pots with embroidery and applique.
1:
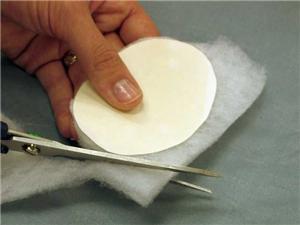
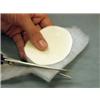
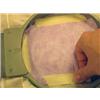
I’ve used my embroidery machine to create an applique template for design "Oval border applique" (AIHOB126) by Adorable Ideas by John Deer, and then I'll prepare two pieces for the label applique. For a cushioned effect, I’m using one piece of bonded batting, topped with a piece of fabric. With the template as a guide, and a piece of Appli-Kay Wonder fused, cut the batting to match.
2:
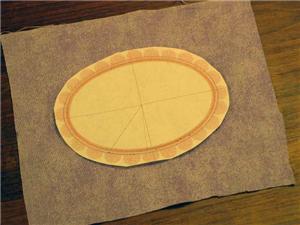
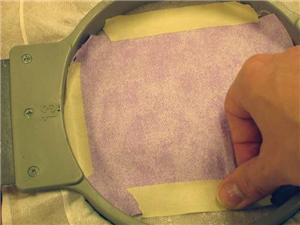
Plan for extra space on your applique fabric for taping the material over the batting. I’m adding an inch to the outermost sides of the oval, and cutting the fabric in a rectangle using those dimensions. A rectangle is an easy shape to tape down and get the needed coverage.
3:
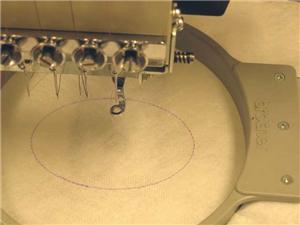
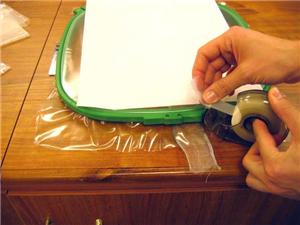
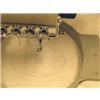
For stability, hoop a wash-away stabilizer like Hemingworth’s Hot Water soluble and have the machine embroider the applique mark line on the stabilizer.
4:
Use this as a guide to align the batting piece.
5:
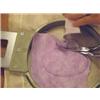
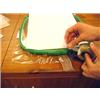
Next, tape the fabric over the top of the batting piece. When you use tape in an embroidery project, make sure it is placed outside of the embroidery area.
6:
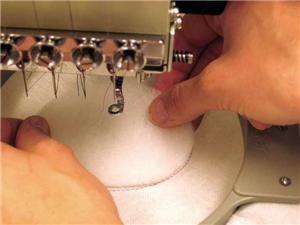
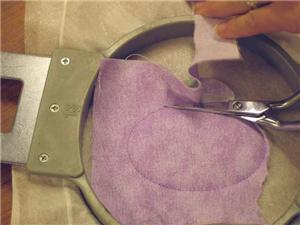
Next, embroider the cut line, stop the machine, and cut away the fabric along the line. Applique scissors can ease any awkwardness in this step. Finish stitching the remainder of the design.
7:
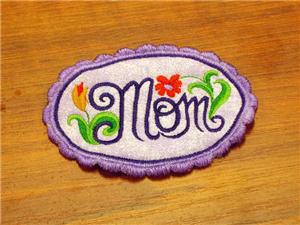
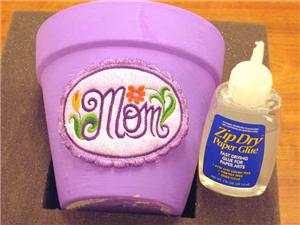
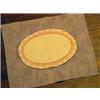
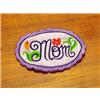
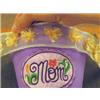
Next, you can add the text to the label. I’m using “Mom” by Embroidery Central, which perfectly fits inside the frame. When the embroidery is finished, wash the stabilizer away in hot water.
8:
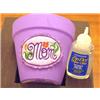
When the embroidered patch is dry again, use your favorite craft glue to put the label on the front of the flowerpot. I’m using “Zip Dry” for this step.

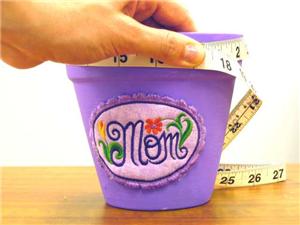
9:
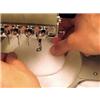
To create an embroidered ribbon for the pot’s rim, first measure the circumference of the rim.
10:
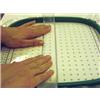
Cut a length of ribbon slightly longer than the rim measurement. Hoop a layer of clear Badgemaster stabilizer (this is a backing-weight water soluble stabilizer). Spray the badgemaster with an embroidery spray adhesive such as 505. Using the Embroiderer’s Friend, align the ribbon with the straight line on the center of the Friend.
11:
Before beginning the embroidery, lightly tape a piece of tear away stabilizer onto the underside of the hoop. I’ve found this added stability helps the machine to run more smoothly.
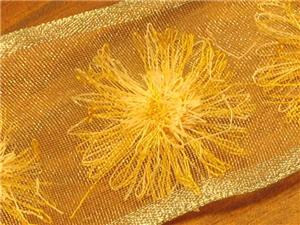
12:
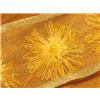
Embroider a border of “Loopy Flowers” by Creative Design all along the length of the ribbon. Depending on the size of hoop available to you, this may take more than one hooping.
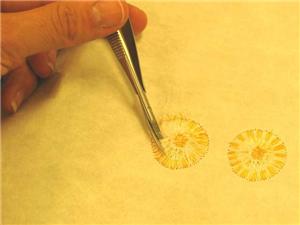
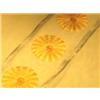
13:
“Loopy Flowers” by Creative Design, is designed for fringe applique, so after the flowers are embroidered, turn the embroidery over and snip the long bobbin threads on the petal rings.
14:
Then on the top side, ruffle the loopy petals forward. Remove the stabilizer from the ribbon.
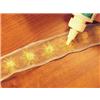
15:
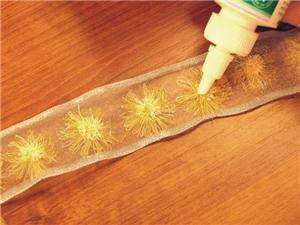
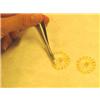
Put a dot of glue on the back of each fringed flower center.
16:
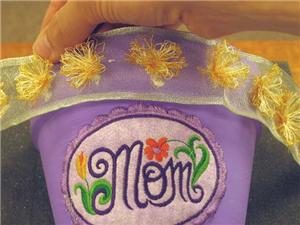
With glue applied, press the flowery ribbon around the top of the pot, and finally, fill the pot with flowers or goodies.


 Oval border applique
 Word "Mom"
 4 Loopy Flowers
 Floriani Appli-Kay Wonder - Fusible, 9" x 3 yds
 505 Spray & Fix Temporary Fabric Adhesive
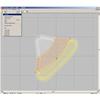 Rotating an Embroidery Design File
  Making Applique Templates
 Using Appliqué Templates
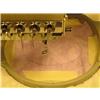 Cushioned Applique Technique
 Soilder's Memorial Day Flower Pot
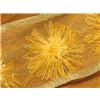 Fringe Embroidery Technique
 Mother's Memory Boxes Video Demonstration