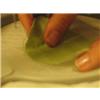
1:
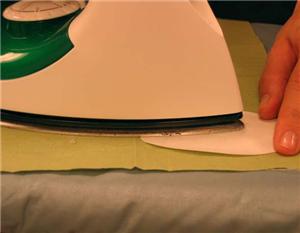
I’ve used my embroidery machine to create an applique template for design “Oval border applique” (AIHOB126) by Adorable Ideas by John Deer. With the template as a guide, and a piece of Appli-Kay Wonder fused, cut the fabric to match.
2:
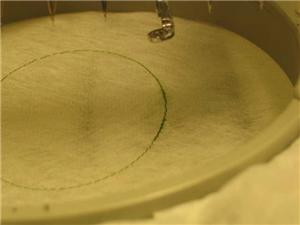
Because the design I planned to place in the center of the oval border is taller than wide, I rotated the oval border design 90 degrees before stitching. For stability, hoop two layers of a wash-away stabilizer like Hemingworth’s Hot Water Soluble, and have the machine embroider the applique mark line on the stabilizer.
3:
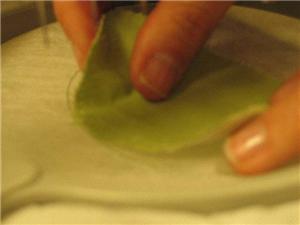
Use the embroidered mark line as a guide, and place the applique fabric on the stabilizer.
4:
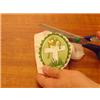
Embroider the remainder of the oval border applique design, and then embroider a design in the center. The design used in this project is “Cross” (OI20) by Embroidery Central. Cut the excess stabilizer away.
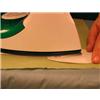
5:
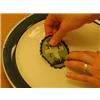
When the embroidery is finished, wash the stabilizer away in hot water.
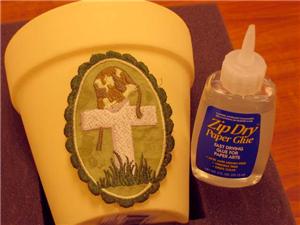
6:
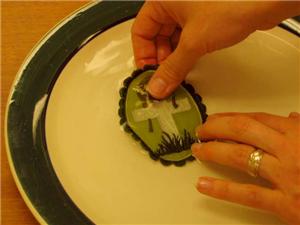
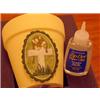
When the embroidered patch is dry again, use your favorite craft glue to put the label on the front of the flowerpot. I’m using a craft glue called “Zip Dry” for this step.


 Cross
Cross Oval border applique
 Floriani Appli-Kay Wonder - Fusible, 9" x 3 yds
 Mother's Day Flower Pot Embroidery
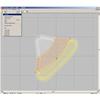 Rotating an Embroidery Design File
  Making Applique Templates
 Using Appliqué Templates