Software Success: More about the new Edge to Edge Plugin
Watch: 
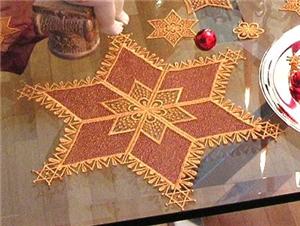
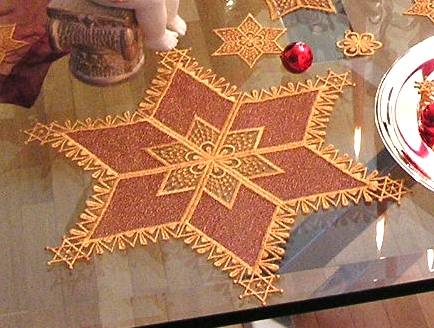
Lace Edged Organza Star
This elegant freestanding lace star incorporates areas of sheer organza fabric. Because each star is made from repetitions of one embroidery file, you can make a very large star with only a small embroidery hoop.
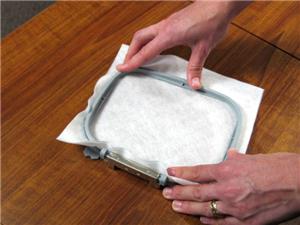
1:
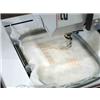
Hoop a double layer of water soluble stabilizer, such as Hemingworth's Hot Water Washaway.
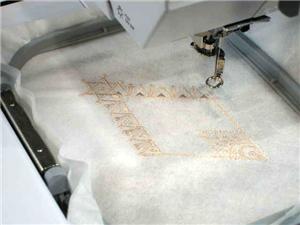
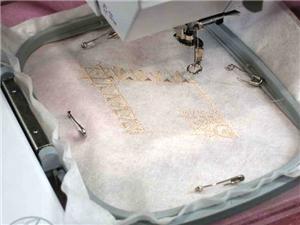
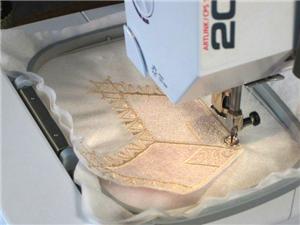
2:
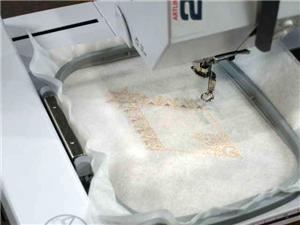
The lace-edged organza star segments (AE0215, AE0216, and AE0217) can each be used to create a different sized star. In this example, the smallest "Freestanding Lace-Star segment" (AE0215) is being used. AE0215, AE0216, and AE0217 are each created with three separate color stops, but are usually stitched with just one color of thread. We’ll be using the color stops as opportunities to stop the stitching and work on the project steps. To get started, stitch the first color stop of the design directly on the water soluble stabilizer.
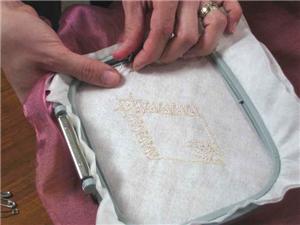
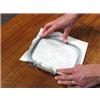
3:
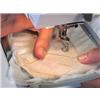
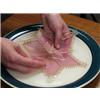
Remove the hooped embroidery from the machine. Slide a piece of organza fabric underneath the hoop, and use pins to attach the fabric to the stabilizer. Make sure that the pins are outside of the embroidery area.
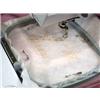
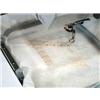
4:
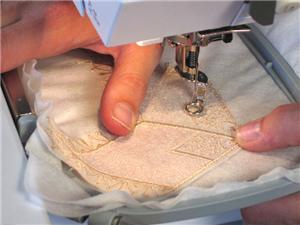
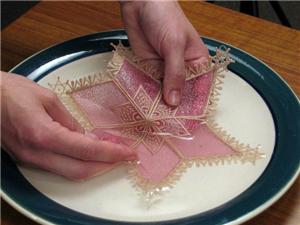
Return the hoop to the machine, making sure no excess fabric is folded up underneath. Stitch the second color stop. This attaches the fabric to the embroidery.
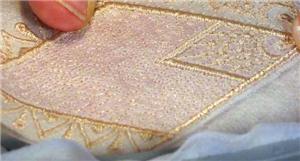
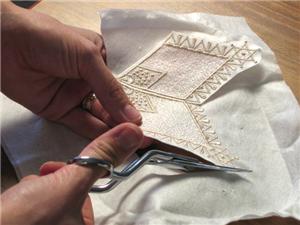
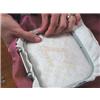
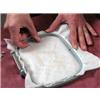
5:
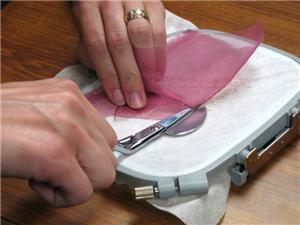
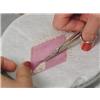
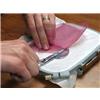
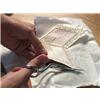
When the second stop is finished stitching, remove the hoop from the machine, but do not remove the project from the hoop. Remove the pins from the fabric. Cut the excess fabric away. Applique scissors and small embroidery scissors are good tools for cutting as closely to the stitching as possible without cutting the thread. You can make a central star component in the organza star really stand out by trimming away the organza in the small diamond at the lower end of the design.
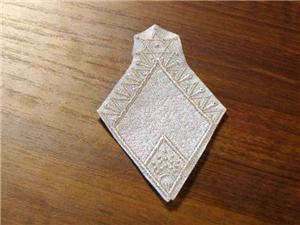
6:
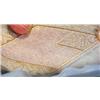
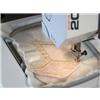
Return the hoop to the machine and finish stitching the design. The machine will add wavy lines across the applique area and stitch an attractive satin border for it.
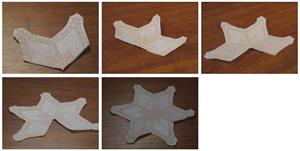
7:
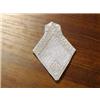
Remove the embroidery from the hoop and cut most of the water soluble stabilizer away from the stitched design. Now you have one sixth of the star finished.
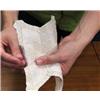
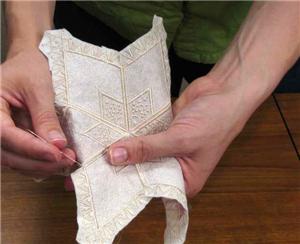
8:
At this point, you can decide whether to use your embroidery machine to attach each successive star arm as you go. Alternately,you can repeat steps 1-7 until you have six separate star arms, and then use a needle and thread to attach the pieces. With this method, you would disregard the other steps. Instructions for using your embroidery machine to attach each arm of the star follow.
9:
For the second arm of the star, hoop a double layer of water soluble stabilizer, such as Hemingworth's Hot Water Washaway, and stitch the first color stop of the same embroidery file you have used up to this point.
10:
Remove the hooped embroidery from the machine. Slide a piece of organza fabric underneath the hoop, and use pins to attach the fabric to the stabilizer. Make sure that the pins are outside of the embroidery area.
11:
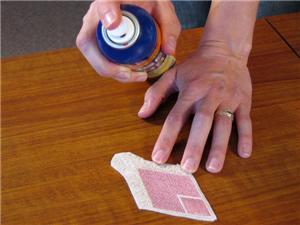
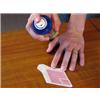
Spray the underside of the finished star segment with an embroidery safe spray adhesive, such as 505 Spray 'n Fix, to temporarily tack the star segment to the embroidery in progress.
12:
Align the connection netting of the previously cut out star segment with the side of the segment you are now working on.
13:
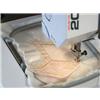
Return the hoop to the machine, making sure no excess fabric is folded up underneath. Stitch the second color stop. This attaches the fabric to the embroidery and also attaches the previously stitched star segment to the current one.
14:
When the second stop is finished stitching, remove the hoop from the machine, but do not remove the project from the hoop. Remove the pins from the fabric. Cut the excess fabric away.
15:
Return the hoop to the machine and finish the design.
16:
Remove the embroidery from the hoop and cut most of the water soluble stabilizer away from the stitched design.

17:
Repeat steps 9-16 for each successive star segment until the star is completed.
18:
When the star is complete, wash away the remaining stabilizer. Allow the lace-edged organza star to dry. Press the star flat, if you wish.


 Lace Edged Organza Stars Design Pack
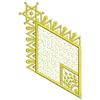 Freestanding Lace-Star segment
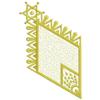 Freestanding Lace-Star segment
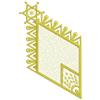 Freestanding Lace-Star segment
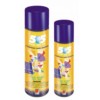 505 Spray & Fix Temporary Fabric Adhesive
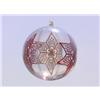 Lace Star Bubbles
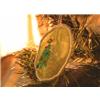 Organza Entrapment! Christmas Ornaments Project
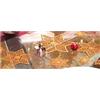 Lace Doily
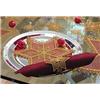 Lace Napkin Holders
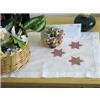 Table Runner with Lace Stars inserted
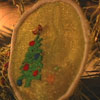 Christmas Organza Entrapment Ornament