Software Success: More about the new Edge to Edge Plugin
Watch: 
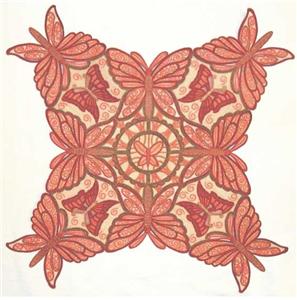
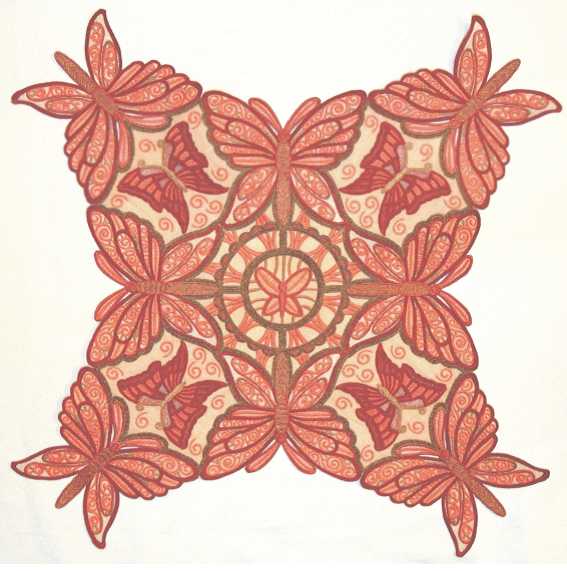
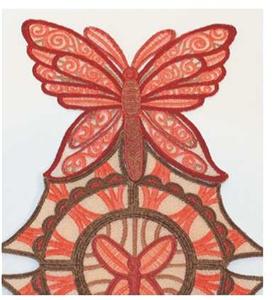
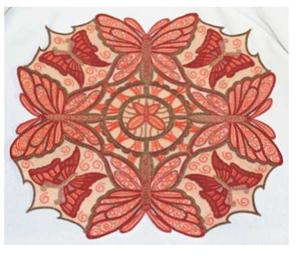
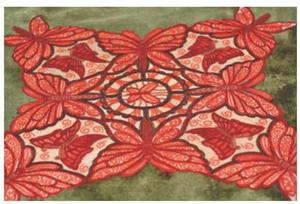
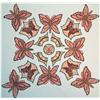
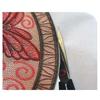
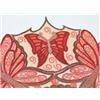
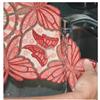
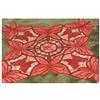
Butterfly Lace Quilt
After creating the butterfly basket, we wanted to design a complementary centerpiece that was intricate, gorgeous and big! So, by designing a few different lace insert pieces, we created this lace quilt measuring over 17" square. This butterfly lace quilt is an elegant centerpiece for any table and will last for generations!
1:
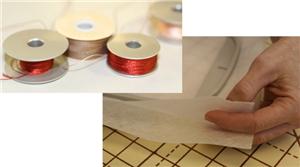
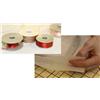
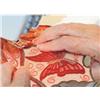
This is thick lace with a lot of stitches in it so we use two layers of either Wet n Gone, Aqua Magic, Aqua Mesh, or Hemingworth Hot Water Soluble Washaway stabilizer. This type of stabilizer will give you the best stability. Before you begin stitching, you may want to pre-wind your your bobbin colors or use pre-wound colored bobbins, so that the thread matches on both sides of the lace.
2:
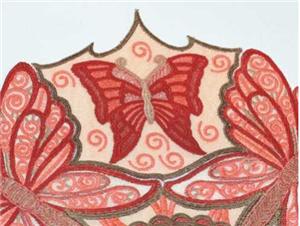
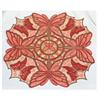
You will need to stitch eight freestanding butterflies (Hdbb5), one center medallion (Hdbb8), four small quilt elements (Hdbb9), and four large quilt elements (Hdbb7).
3:
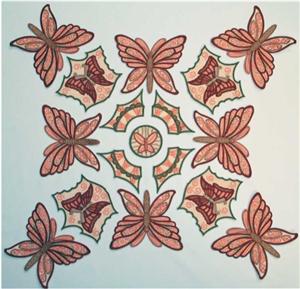
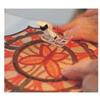
In order to have even pieces to join, wait to rinse your stabilizer out until the whole project is finished. Right now, carefully trim the stabilizer next to the sections to create a neat edge.
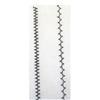
4:
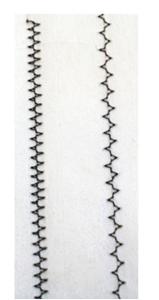
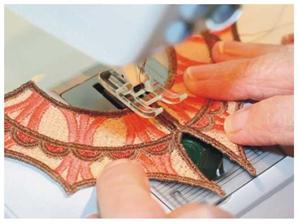
We use a joining stitch to sew the finished lace pieces together. Using a zig-zag stitch can cause tunneling and an uneven seam. The stitch line on the left shows the shorter length of the joining stitch needed to join the pieces.
5:
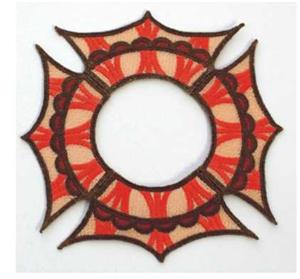
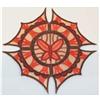
Sew the four small lace elements together using the joining stitch.
6:
They will form a complete circle.
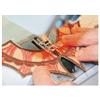
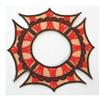
7:
Insert the center medallion into the center of the four elements. Sew the center medallion also using the joining stitch.
8:
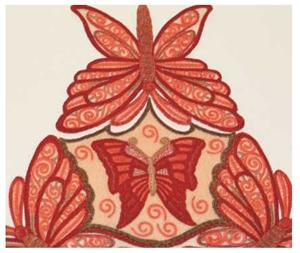
Here is what you have done so far.
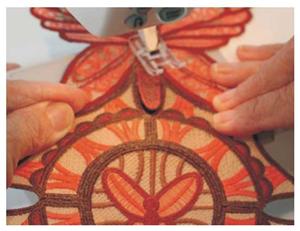
9:
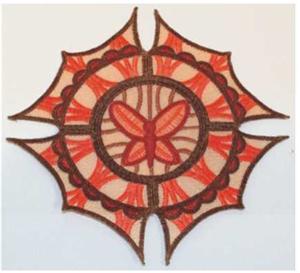
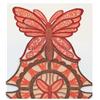
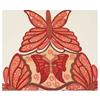
Position one of the four butterflies as shown in the picture.
10:
Stitch each of the four butterflies using the joining stitch.
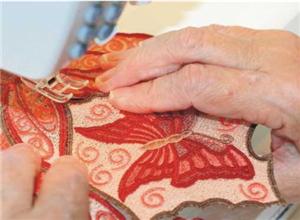
11:
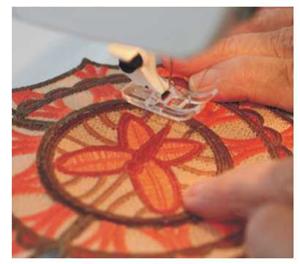
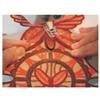
Position the large quilt element between the two butterflies.
12:
Stitch the large quilt element from the center out using the joining stitch.
13:
Repeat these steps for the remaining three large quilt elements.
14:
The final sewing step involves attaching four butterflies to the outer edge of the quilt. Position the designs as shown. Sew the butterflies together with the same joining stitch. When this step is done we are ready to rinse and press.
15:
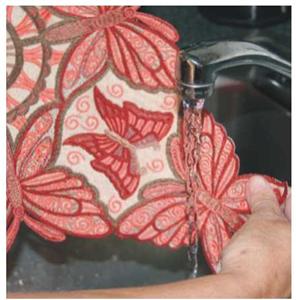
Hold the quilt under warm water for a few seconds to rinse away the stabilizer.
16:
Lay the wet quilt on top of a towel to air dry. Change the towel to a dry one after sopping up most of the water.
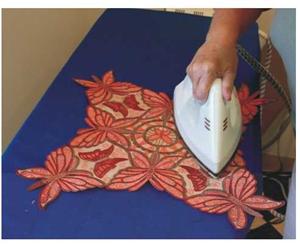
17:
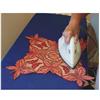
When the quilt is mostly dry press it with an iron (on the back side) to flatten it out.


 Butterfly Lace Home Decor Design Pack
 Snowflake Lace
 Butterfly Lace Candle Centerpiece
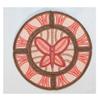 Butterfly Lace Coaster
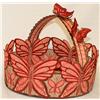 Lace Butterfly Basket
 Machine Lace Quilting
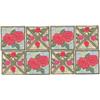 Cottage Rose Lace Quilt