What's New Wednesday April 24th
Watch: 

Snowflake Lace
In the Snowflake Lace Collection there are 26 designs that include lace and non-lace elements. There are two connecting lace borders, one large and one small, that can be used for large projects. There are also small free standing elements and large lace scenes that you can use as inserts. This tutorial will explain how these designs are used. We hope you have fun with this lace collection. -- Steve Wilson, Linda Winzeler and Staff of Anita Goodesign
1:
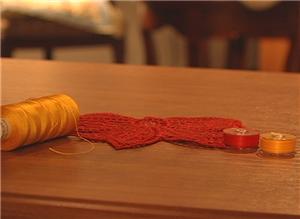
Prepare to stitch lace by matching bobbin thread to top thread. One way to do this is to use colored pre-wound bobbin thread. Another way is to wind your own bobbins. When using metallic stitching thread, use a like colored rayon or poly thread in the bobbin.

2:
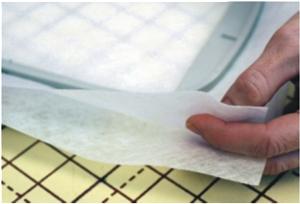
We recommend stitching the lace designs on a water soluble stabilizer such as Wet N Gone, Aqua Mesh or Aqua Magic stabilizer for the snowflake lace. Use one layer for the small designs and two layers for the larger ones.

3:
If you are going to join your lace pieces together, wait to rinse your stabilizer out until the whole project is finished. If you rinse stabilizer away, you will wind up with uneven pieces to join. Instead, carefully trim the stabilizer next to the sections to create a neat edge.
4:
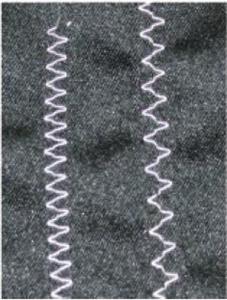
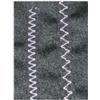
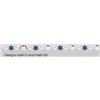
When your lace designs are embroidered, you can join them together to create borders. We use a joining stitch to sew the finished lace pieces together. Choose a machine sewing stitch suitable for joining pieces. A zig-zag style stitch will work, but can cause tunneling and an uneven seam. The best choice will be a stitch that has a needle drop in the middle, and a swing to the left and a swing to the right, like the ones pictured here.
5:
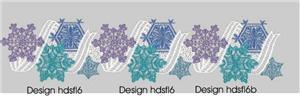
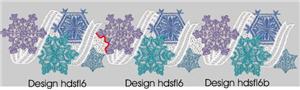
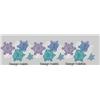
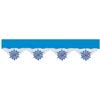
Creating connecting lace borders is not that difficult to do. Here we have used designs "Snowflake Border Connection Piece" (Hdsfl6) and "Snowflake Border End Piece" (Hdsfl6b) to illustrate how to create a connecting border. As mentioned earlier, the key is to sew the lace pieces together before rinsing out the stabilizer. Once the pieces are sewn together you can use them as a lace insert or as a free standing piece of lace.
6:
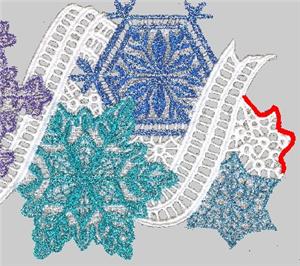
Hdsfl6 and Hdsfl6b are connected by a small section to the right side of the design joining the lace mesh with one of the snowflakes. You can see this section highlighted in red. The only difference in the two pieces of lace is that hdsfl6b is missing the connecting mesh portion of the design and is good to use an endcap.
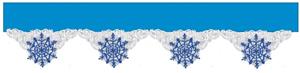
7:
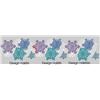
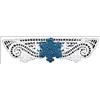
For the small lace border we used designs "Snowflake in Border" (Hdsfl10) and "Snowflake Connection Piece" (Hdsfl10b). These design are great for borders on napkins, table runners or table cloths. The border works by joining the larger design hdsfl10 along the edge to design hdsfl10b. The joining section is illustrated in red here.
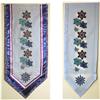
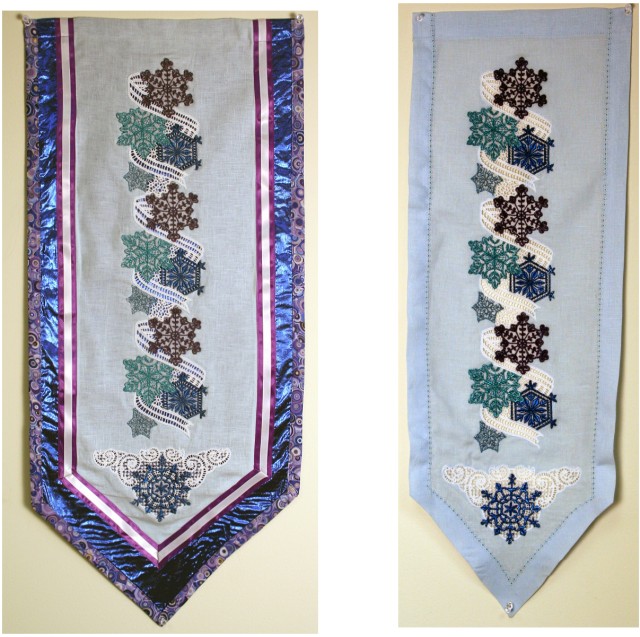
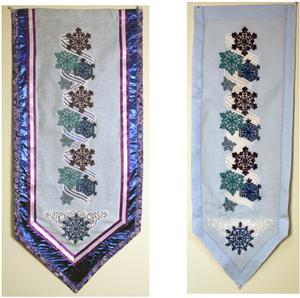
8:
These two wall hangings were made using the lace insert technique and a large lace border made from designs hdsfl6, hdsfl6b, with an accent insert of "Snowflake Motif, smaller" (Hdsfl4) in the tip.
9:
Here, we made a tablecloth edge using "Snowflake Motif, smaller" (Hdsfl4) or "Snowflake Motif, large" (Hdsfl4b)


 Snowflake in Border
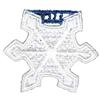 Snowflake Connection Piece
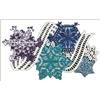 Snowflake Border
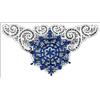 Snowflake Motif
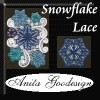 Snowflake Lace Design Pack
 Holiday Lace Quilt
 Freestanding Lace Christmas Ornaments Project
 Butterfly Lace Quilt
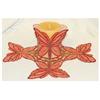 Butterfly Lace Candle Centerpiece
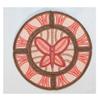 Butterfly Lace Coaster
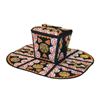 Lace "To Go" Boxes
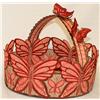 Lace Butterfly Basket
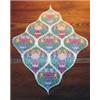 Machine Lace Quilting
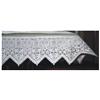 Embroidered Lace Edged Tablecloth
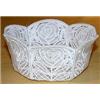 Anita's Lace Rose Bowl
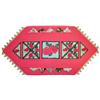 Country Rose Lace Table runner
 Freestanding Lace Video