Embroidery Special FX (Effects) May 17
Watch: 

Machine Lace Quilting
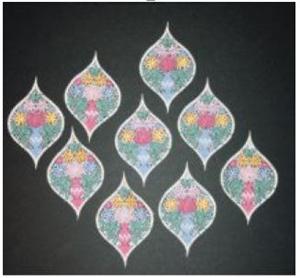
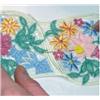
A lace quilt is a simple, elegant project that is compatible with eight of the designs in the "Anita's Lace, Home Decor" collection. Basically, individual lace designs are embroidered and then sewn together to form a larger piece, which can be as large as a quilt, as small as a place mat, or as long as a table runner. In this tutorial, we are using the teardrop shaped design "Lace Quilt Element 5" (HDLA18).
1:
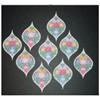
The first step is to embroider the design nine times on a soluble stabilizer. Dissolve the stabilizer so that you have nine freestanding pieces ready to be connected.
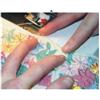
2:
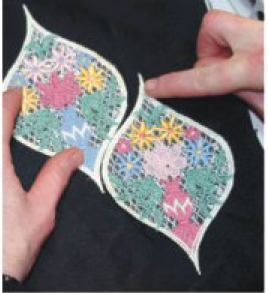
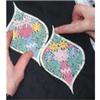
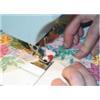
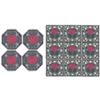
Next, begin to lay the pieces out and prepare to stitch them together. In this picture, you can see that the pieces have been incorrectly aligned. Move the two pieces
until they align without spaces. For this teardrop shape, we just need to drop the lower one down a bit.
3:
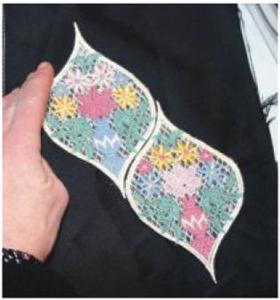
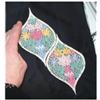
The pieces should lay next to each other so that no space is visible between them.
4:
With pins or tape, anchor the two pieces together.
5:
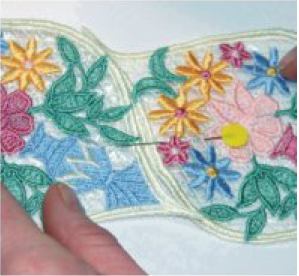
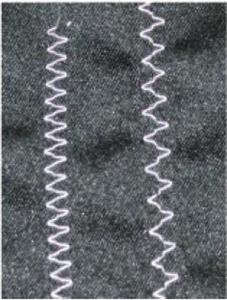
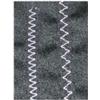
Choose a machine sewing stitch suitable for joining pieces. A zig-zag style will work, but the best choice will be a stitch that has a needle drop in the middle, and a
swing to the left and a swing to the right, like the ones pictured here.
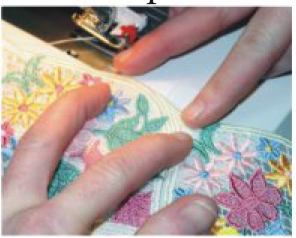
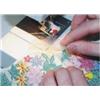
6:
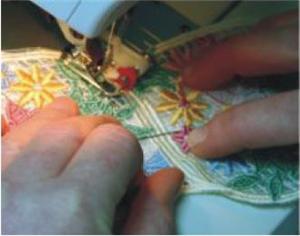
Begin sewing the first two pieces together. If you use a stitch-in-ditch foot, the center guide will keep the edges of the lace balanced as you stitch. Adjust the width
of the stitch to accommodate the two pieces that are being joined. The length of the stitch should be somewhat short, between .5 and 1.
7:
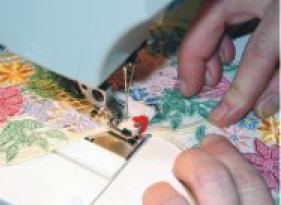
Adding a third piece is just like joining the first two.
8:
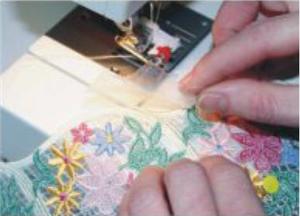
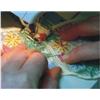
Before you sew the outside edge, wrap a piece of leftover soluble stabilizer around your design. This will let you hold the tip of the teardrop smoothly against the other
piece.
9:
The stabilizer will make it easier to stitch on the lace point, which would be difficult to hold with your fingers. The excess can be dissolved away.
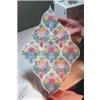
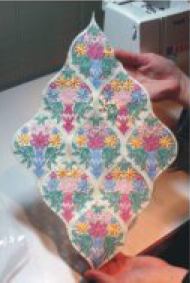
10:
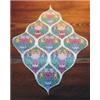
Here is the finished quilt piece, with all nine teardrops stitched together.
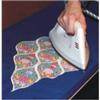
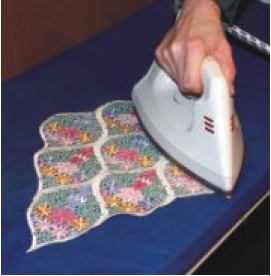
11:
Rinse and soak the piece a few times to completely remove the stabilizer residue. If your stabilizer is a heat dissolving type, iron the piece on both the front and back.
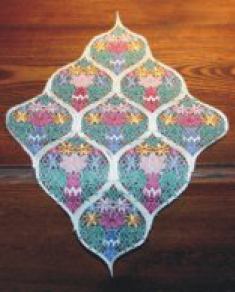
12:
The finished product will appear soft and luxurious. Duplicate the steps above as necessary for large projects. There is no limit!
13:
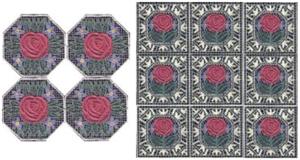
Now that you have the idea, you can try this lace quilting technique on other freestanding lace shapes that can be repeated and fit together, such as "Floral Lace Doily 2" (HDLA4C), "Floral Lace Doily 2 (One Color)"
(HDLA4D), "Lace Quilt Element 1" (HDLA2), "Lace Quilt Element 1 (One Color)" (HDLA1), "Floral Lace Basket Element 2" (HDLA9), "Floral Lace Basket Element 2 (One
Color)" (HDLA9B), and "Lace Quilt Element 5 (One Color)" (HDLA18B). Alternate color schemes in the designs for an interesting effect.


 Anita's Lace, Home Decor
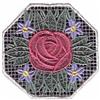 Floral Lace Doily 2
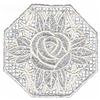 Floral Lace Doily 2 (One Color)
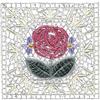 Lace Quilt Element 1
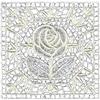 Lace Quilt Element 1 (One Color)
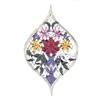 Lace Quilt Element 5
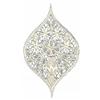 Lace Quilt Element 5 (One Color)
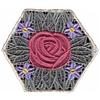 Floral Lace Basket Element 2
 Floral Lace Basket Element 2 (One Color)
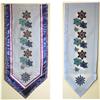 Snowflake Lace
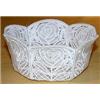 Anita's Lace Rose Bowl
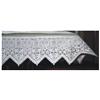 Embroidered Lace Edged Tablecloth