What's New Wednesday April 24th
Watch: 

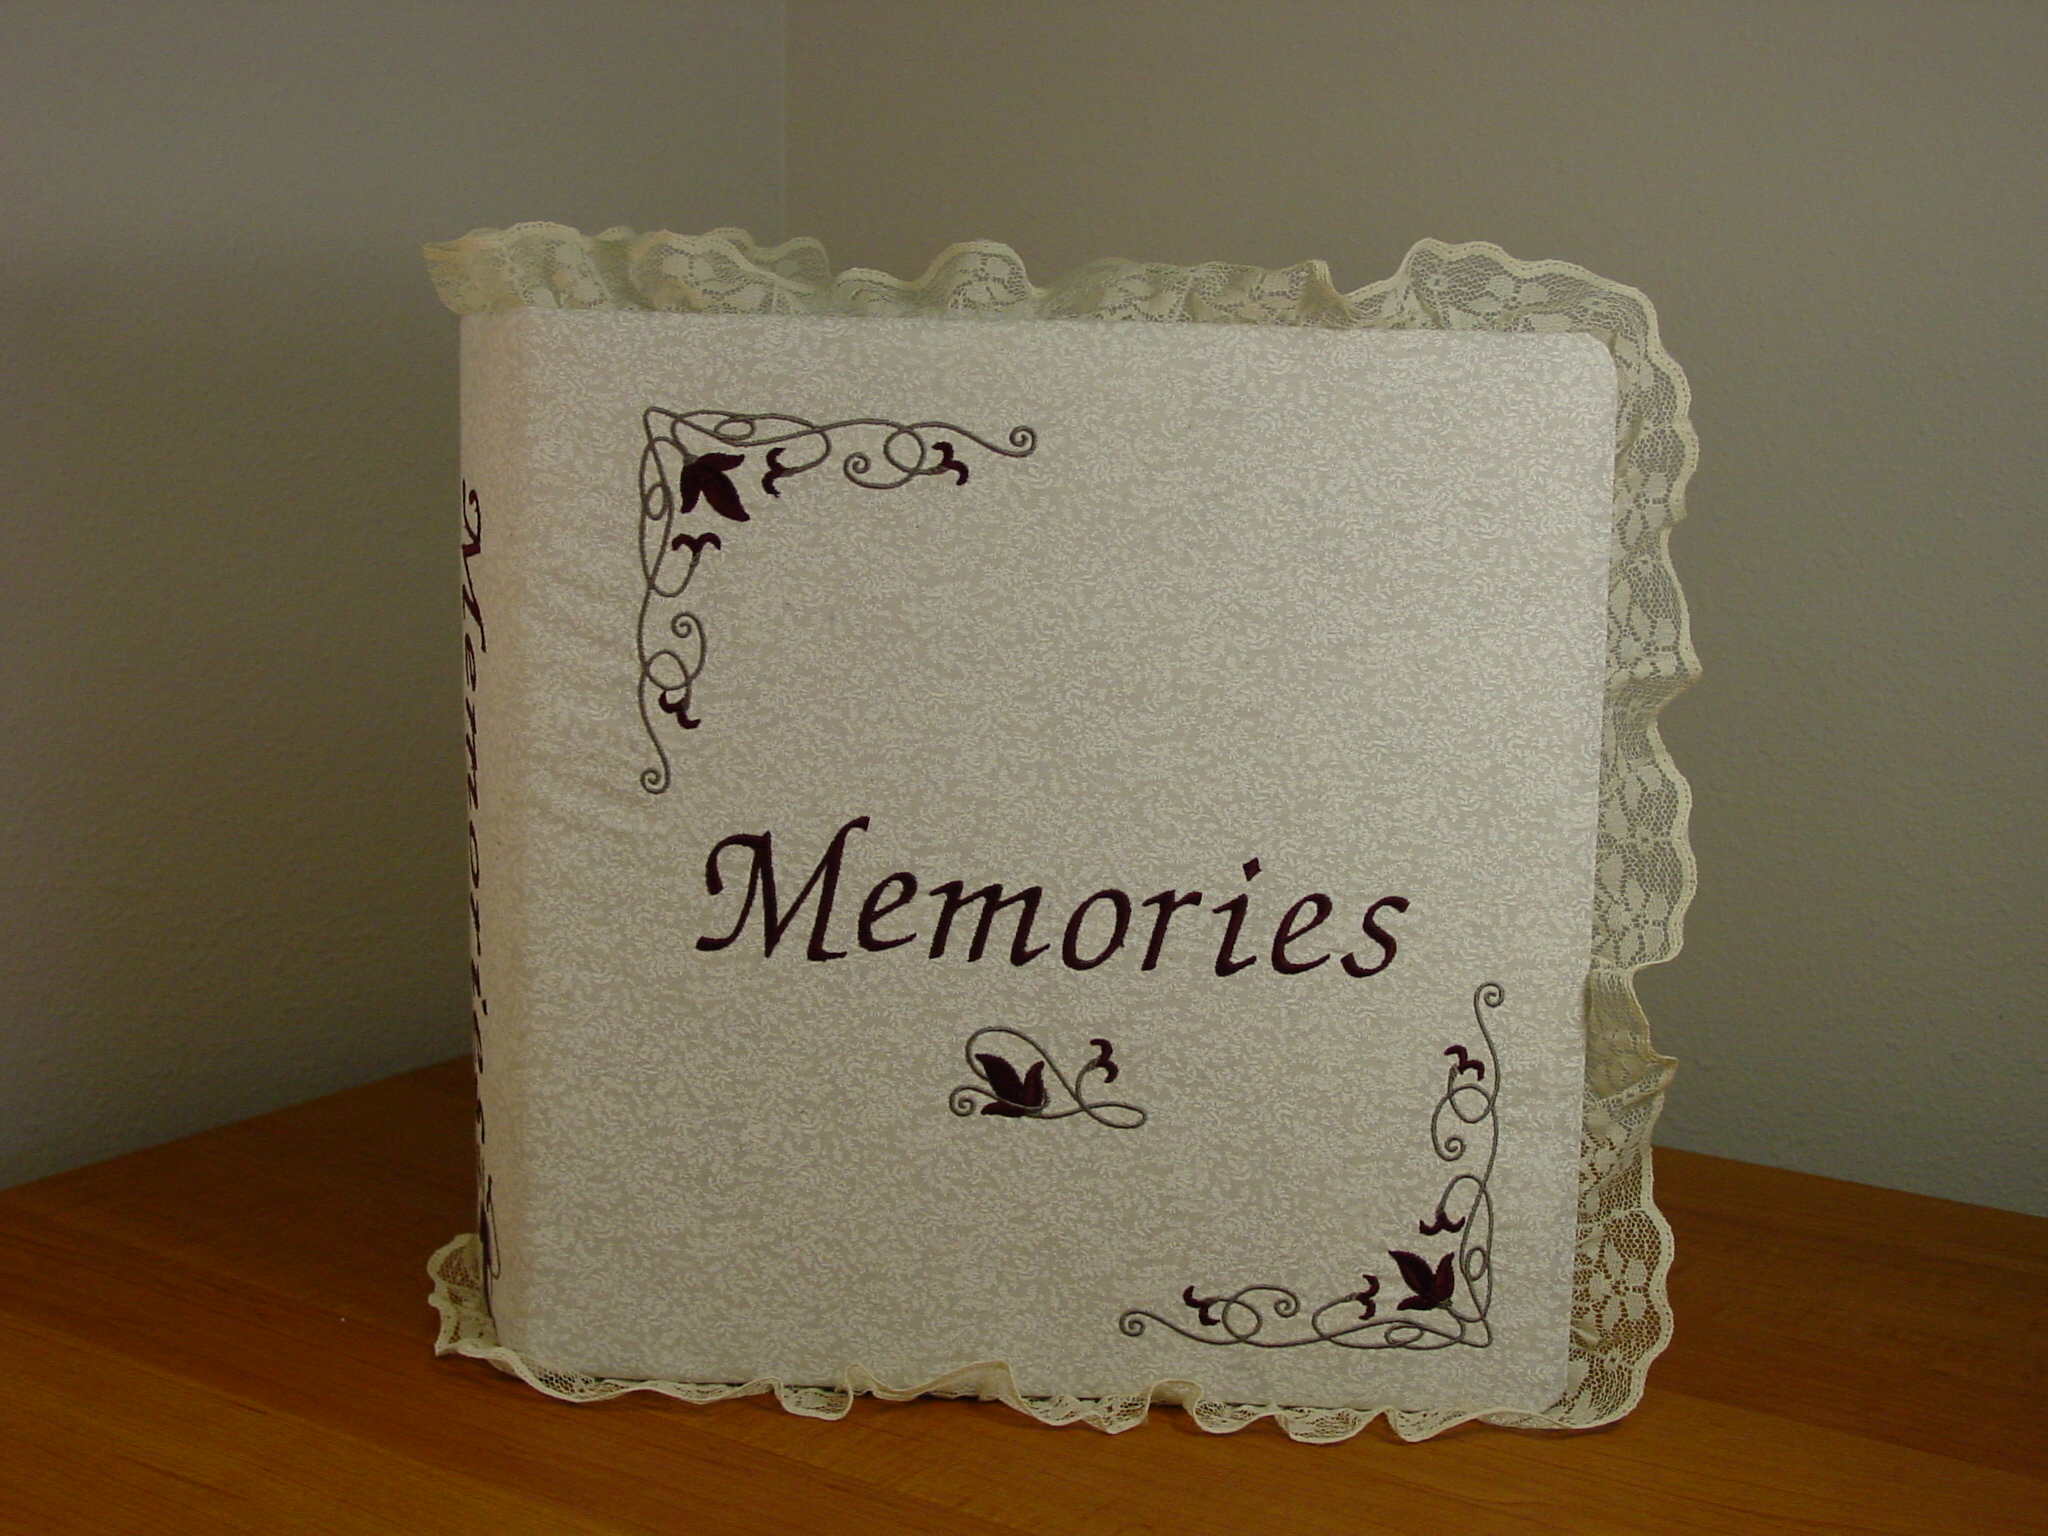
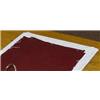
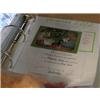
Memories Embroidered Binder Cover
This was a collaborative effort at Embroidery.com. Cindy, Heather, Kirsten, Janalie & Jenny all put heads & hands together and managed not to spoil the finished product! We designed this binder as a project for memories of any kind – photographs or special keepsake documents, or both. This project involves embroidery & gluing only - no sewing.
1:
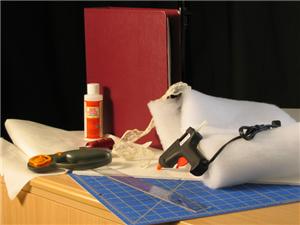
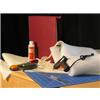
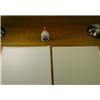
You will need 3/4 yard of 44" fabric, bonded batting, one small poster board, two yards of 5" lace, a 3 inch binder, two colors of embroidery thread to complement your fabric (we used Madeira Grey 1614 and Deep Maroon 1385). Fabric glue, a glue gun, a rotary cutter, cutting mat, and ruler, are also recommended.
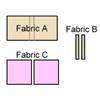
2:
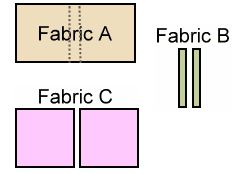
Cut the fabric as follows: one piece 27" x 13.5" (A), two pieces 2" x 13.5" (B), two pieces 12" x 12" square (C). If you are using a binder smaller than ours, subtract an inch for every inch your binder is smaller, from the larger measurement when cutting fabric A.
3:
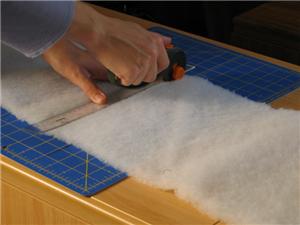
Cut one piece of bonded batting 25.5" x 11.5". If you are using a binder smaller than ours, subtract an inch for every inch your binder is smaller, from the larger measurement.
4:
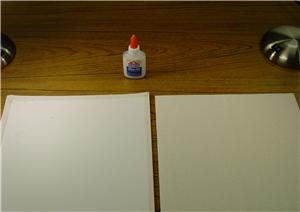
Cut two 11" x 11" squares from the poster board.
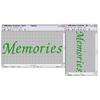
5:
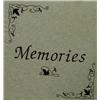
Rotate design Memories (BL17) 90 degrees to the left in your embroider software and save a copy of the rotation and the original orientation. Alternately, you can rotate the fabric before stitching.
6:
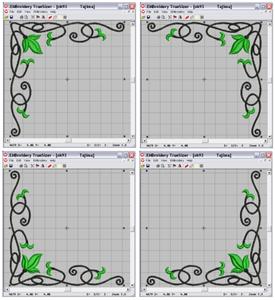
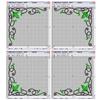
Mirror Scrollwork Vines Corner (OK93) horizontally (x axis). Then mirror this and the original orientation and a vertically (y axis). Save all four versions separately. Alternately, remember to rotate your fabric four different ways before stitching.

7:
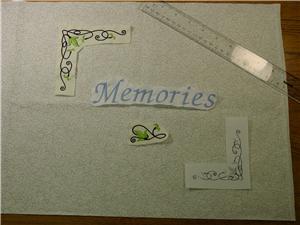
Mark the placement for designs on Fabric A. This includes the spine and the front and back covers. The 90 degree rotated copy of (Memories BL17) goes on the spine, and we added Scrollwork Vines Single (OK91) on the spine as well. We recommend using cut out printed production sheets while planning this layout.
8:
Embroider designs on the fabric at each point where their placement is marked.
9:
Glue a piece of Fabric C to each posterboard piece, covering one side, and tucking the ends down on the reverse side.
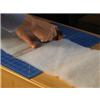
10:
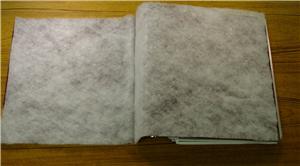
Lightly glue batting to the front of the binder.
11:
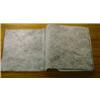
Glue the embroidered cover fabric to the front of the binder, tucking the ends down on the inside of the binder cover.
12:
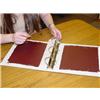
Open the binder and fold the short ends of fabric B under by 1/2". Gently slide the fabric under the ring control bar. A ruler or a bone folder will make this step easier. Glue the fabric in place.
13:
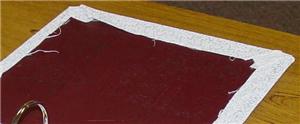
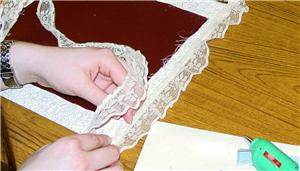
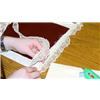
With the binder still open, glue lace to the perimeter of the inside cover.
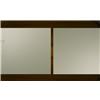
14:
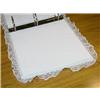
Attach each piece of covered posterboard to each side of the binder’s interior.
15:
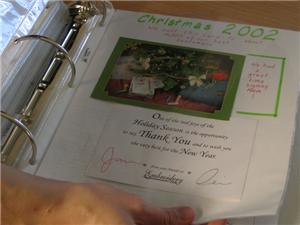
The last step is to fill this album with memories! Now your memory album us finished. We hope you enjoyed this project, and that the album will be a keepsake and a special book for years to come.


 Memories Binder Project
 Memories
 Scrollwork Vines
 Scrollwork Vines Corner
 Scrollwork Vines Single
 Scrollwork Vines Ornament
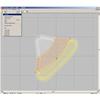 Rotating an Embroidery Design File
 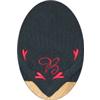 Mirroring an Embroidery Design File
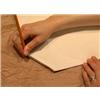 Planning a Layout For Your Project
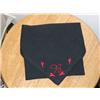 Placement Marking
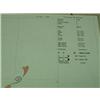 Printing Production Sheets