Embroidery Special FX (Effects) May 17
Watch: 

Planning a Layout For Your Project
A relatively straightforward project and a more complex one share something in common: the need for a good layout. In this technique, I demonstrate how layout can be accomplished for a beach bag that becomes an on-the-go beach-combing scrapbook of sorts.

1:
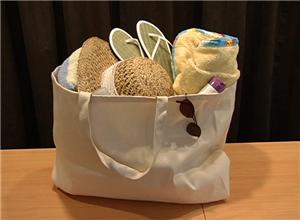
The first step in planning a project might be finding the right basic material; the item you want to embellish. In this illustration, a jumbo tote perfect for filling with towels, flip flops, and sun protection gear forms the basis of the project.
2:
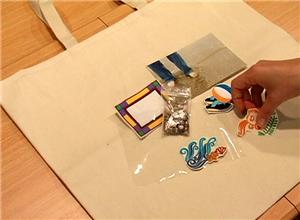
The first part of designing your project includes selecting the embroidery designs and materials you will use. In this example, I started with the idea that I wanted to frame pictures and objects in clear display pockets. I wanted other designs to fit within the same basic dimensions as the frame design. They also needed to share a beach and ocean theme.
3:
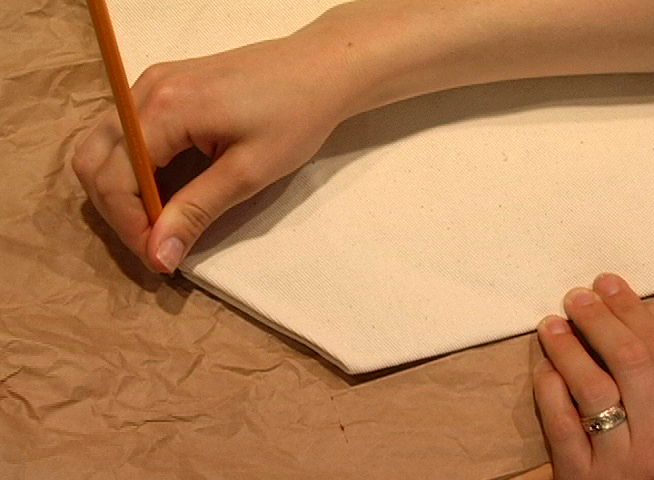
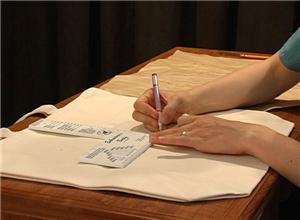
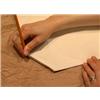
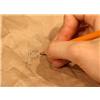
Next, create a paper template that matches the size of your item to be embroidered. A sheet of butcher paper, pattern paper, or newsprint is a good project planning tool.
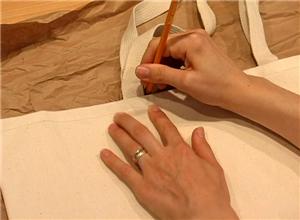
4:
Make note of seams, casings, hems, buttons, pockets, and any other features of your material on the template. Here, I drew the seam and strap placement onto the template to assist me in planning for embroidery and taking the bag's features into consideration.
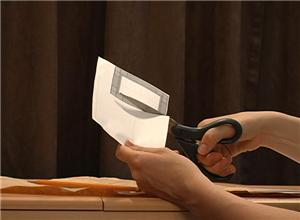
5:
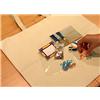
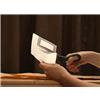
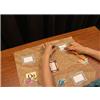
When planning a layout, actual size printed production sheets are very helpful. Print one for each time you will be using a specific design. Once the production sheets are printed out, cut each design out for use in the layout stage.
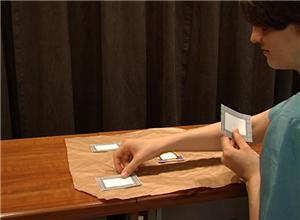
6:
Now arrange the printed production sheets as you like, in preparation for drawing the layout onto the template you've made.
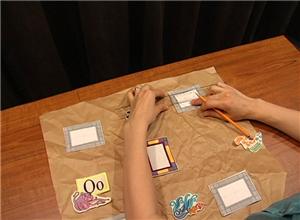
7:
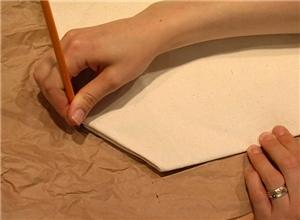
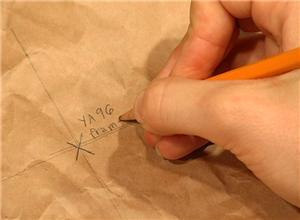
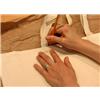
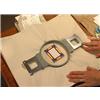
Use a ruler and pencil to mark the center points for each design on your template. Using the printed production sheets as guides, determine and mark the center point for each embroidery design.
8:
You may also find it is useful to write the name of each design in its place on the template so that you can refer to it during the embroidery stage. In this way, you will be able to ensure that your embroidery designs are placed according to your plan.

9:
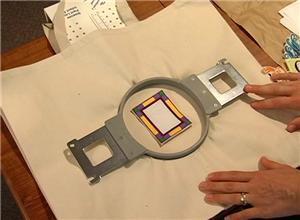
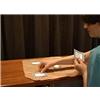
Using your paper template as a guide, transfer the design center points to the actual beach bag. The Embroiderer's Buddy, with its dual measuring arms is helpful as you duplicate the measurements used on the template, and mark each design center point on your item to be embroidered.
10:
With placement marked, and the knowledge that each of the planned designs fits within your embroidery hoop, you can begin the embroidery. The layout planning process gives you the confidence you need to succeed.


 Beach Bag Project Design Pack
 Elegant Embroidered Slipcovers
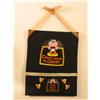 Halloween Countdown Wallhanging
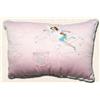 Tooth Fairy Pillow
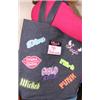 Girls Wanna Have Fun Tote
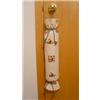 Plastic Bag Organizer
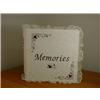 Memories Embroidered Binder Cover
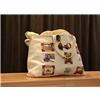 Personalized Beach Bag Tote
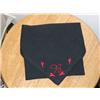 Placement Marking
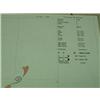 Printing Production Sheets
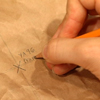 Planning Embroidery Layout Video
 Beach Towel for Summer Video