What's New Wednesday April 24th
Watch: 
Halloween Free Standing Lace Charms
Create your own jewelry and Halloween Tree with the Halloween Charm Free Standing Lace embroidery designs.
1:
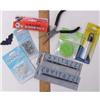
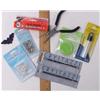
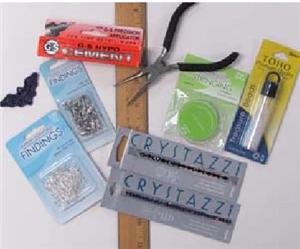
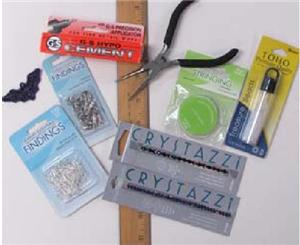
Here is a list of supplies we used for each project. Embroidery Design Materials: Lace Halloween Charm Design(s), Water Soluble Stabilizer such as AquaFilm Badgemaster, Thread & Bobbin Thread (same color), Sharp 11 Needle, Paper Towels, Bowl & Water. Necklace Materials: Necklace clasps, Transparent necklace cord, Jewelry glue, Needle nose pliers, Beads, Ruler, Scissors. Earring Materials: 3/4" Fishhook Earrings, 4mm Jump Rings, Needle Nose Pliers. Ornament Materials: Ornament Hooks.
2:
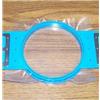
Embroider your Lace Halloween Charms first. Cut a piece of Badgemaster that is a little larger than your hoop.
3:
Hoop Badgemaster, making sure that it is hooped very tightly.
4:
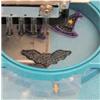
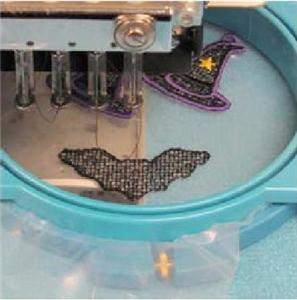
Place hoop onto your machine and embroider the lace design(s) of your choice.
5:
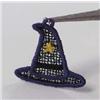
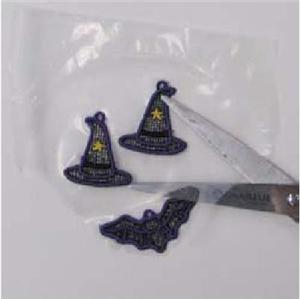
Once the design is done embroidering, remove from the machine and trim the excess Badgemaster around the outside of the design.
6:
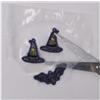
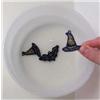
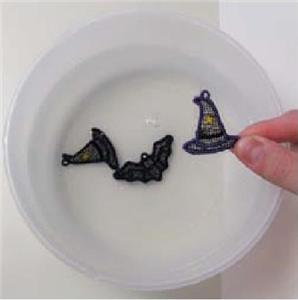
Add hot/warm water to your container. The water should be high enough in the bowl so that the entire lace heart will be submerged. Place your lace design inside the container. Let the design soak as directed. This will remove the stabilizer from the design. Remove the design from the water and place on paper towel to dry; making sure that it is flat.

7:
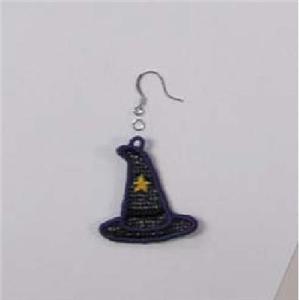
Make your Halloween Earrings next. Gather your supplies to make the earring.
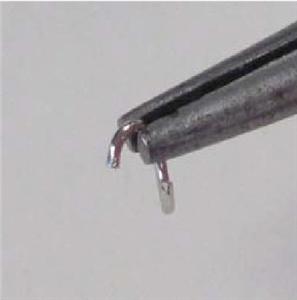
8:
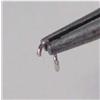
Use your pliers to slightly open one 4 mm jump ring.
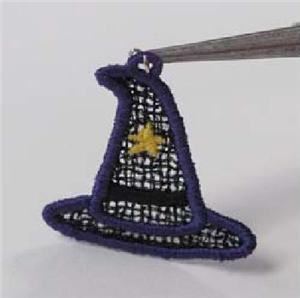
9:
Place the design onto the ring.

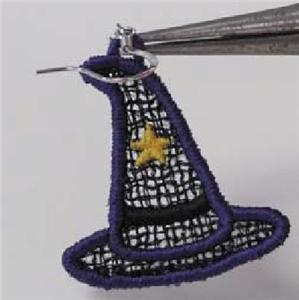
10:
Place the fishhook earring onto the ring also.
11:
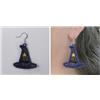
The earring is complete.
12:
Next, make your Halloween Necklace. There are a lot of wonderful jewelry supplies available, so be as creative as you want with your necklace.
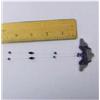
13:
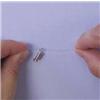
What we did first was to measure an existing necklace and cut the plastic necklace about 2" longer.
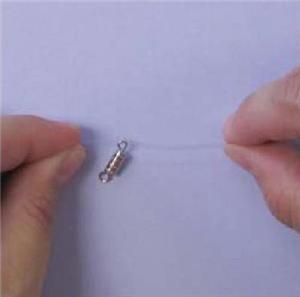
14:
Place the necklace clasp onto the necklace near one end and tie it off with a couple of knots.
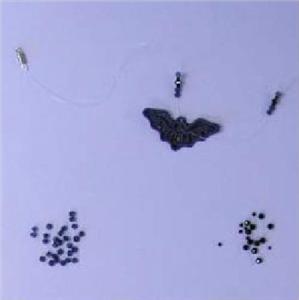
15:
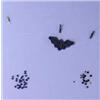
Now you will want to plan how you want your necklace to look. We suggest laying out the beads and other items in order of how they will go on the necklace. Now add them to your necklace along with your lace embroidery design.
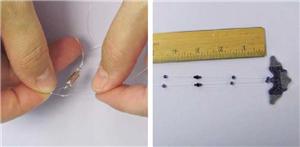
16:
Now that you have the beads on your necklace attach the other side of the clasp and tie it on. Close the clasp. Now stretch out the necklace and tape the clasp down to your table and tape the embroidery design down, pulling the necklace tight.
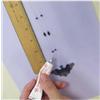
17:
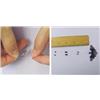
With a ruler beside the necklace position the beads where you would like them. You can use the ruler to make sure that the beads are in the same position on both sides.
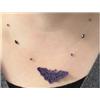
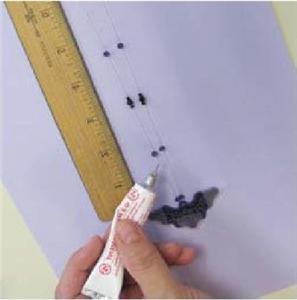
18:
Use your jewelry glue to secure a bead on each side of the embroidery design to keep it in place. Then glue each bead to the necklace on each side. After you have completed this step let the glue dry according to the instructions on the package.
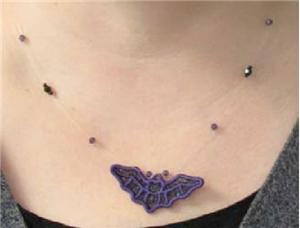
19:
Your necklace is complete.
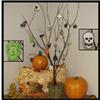
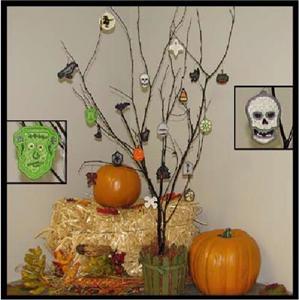
20:
You can purchase Halloween Trees at most craft stores or you can make your own. Decorate as desired.


 Lace Halloween Charms Design Pack
 Commercial Embroidery Needles (11/75 Sharp)
 Organ Home Embroidery Needles 75/11 Sharp
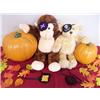 Pirate Eye Patches


Theresa K.
How do I add this set to my cart?