1:
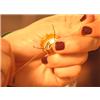
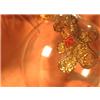
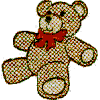
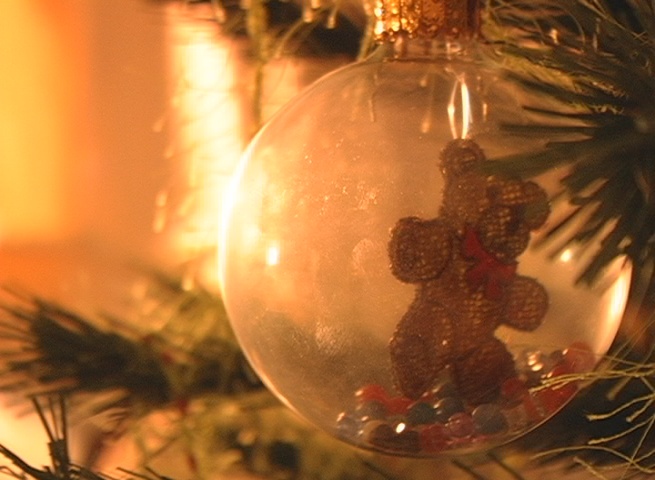
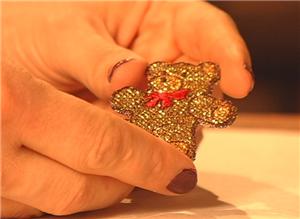
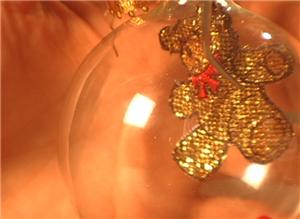
You need a sheet of mylar tissue, and a design with low stitch density, so that the mylar can shine through. For this project, the design also needs to fit comfortably inside the ornament balls you have. In this project, you see "Cross Stitch Teddy Bear" (HE31) by Embroidery Central. It uses a special stitch effect that allows the mylar to show through, and its two inch size makes it a good fit for the ornament.
2:
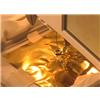
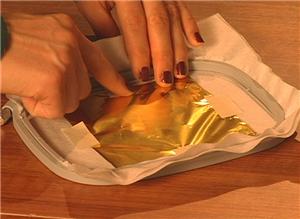
Hoop two sheets of water soluble stabilizer, and tape a piece of mylar on top.
3:
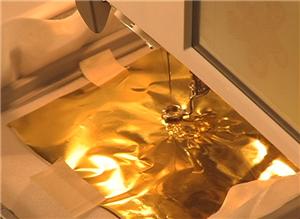
Stitch the embroidery design.

4:
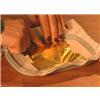
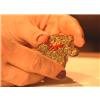
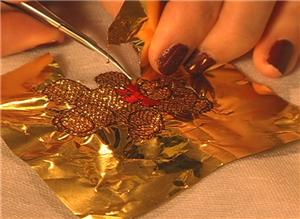
When it is finished, use some embroidery scissors to trim the mylar away close to the stitching. Depending on the closeness of the stitches along the edge of the design, you may also be able to tear some of the sections away by tugging gently along the stitched edge.

5:
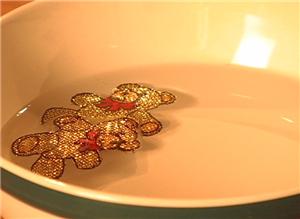
Cut most of the stabilizer away from the design, and use hot water to rinse away the rest. The mylar and any internal fibers from the stabilizer help to keep the design intact.
6:
Stich a second copy of the design, mirrored horizontally in relation to the first, and remove the excess mylar and stabilizer from it as well.

7:
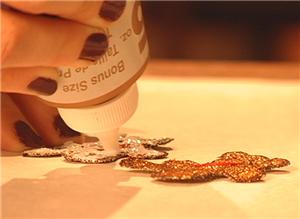
After they have dried, glue two finished designs together, right sides facing outward.
8:
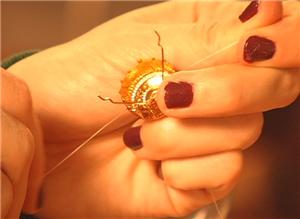
Use clear monofilament to attach the design to the ornament hanger.
9:
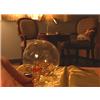
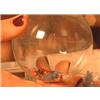
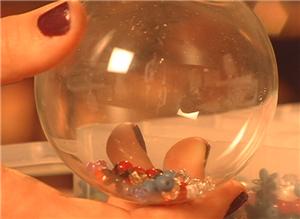
Drop decorative confetti and beads into the ornament ball.

10:
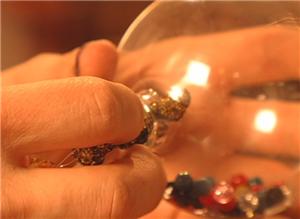
Curl the design and insert it into the ornament.
11:
The embroidery itself will tend to spring back somewhat, and you can also use tweezers to uncurl the embroidery.


 Cross Stitch Teddy Bear
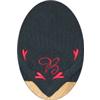 Mirroring an Embroidery Design File
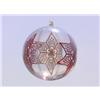 Lace Star Bubbles
 Mylar & Glass Ball Ornament Video
 Tin Punch Ornaments Video
 Christmas Organza Entrapment Ornament


[email protected]
I was looking for mylar designs and this was the only things that popped up.