Software Success: More about the new Edge to Edge Plugin
Watch: 
Making Badges
Patches are quick and easy, popular and versatile. They can be added to items which could not otherwise be embellished with embroidery. You can make quick and easy patches out of your embroidery test samples, or create custom patches on the fly.

1:
You will need two embroidery designs to make an embroidered badge – one for the center decoration, and one for the outer edge. Print production sheets for both designs to test the fit. You will most likely want the entire center design to fit within your outer edge design.

2:
You may need to change the size of either design somewhat to achieve the desired look. In this example, a design from the "Oval & Circle Borders" set by Embroidery Central was enlarged to accommodate the center design.

3:
Make a tracing template for the border shape by printing your border design production sheet at actual size onto card stock. Cut the border design out of the card stock, and cut the center area away as well. Now you have a frame to use as a tracing template.

4:
Embroider the center design first onto fabric. A heavy canvas or denim is most desirable for a sturdy patch.

5:
Using your tracing template, mark the border shape on your sewn sample fabric, and cut the fabric along the line just traced. In effect, we're pre-cutting an applique piece.

6:
Hoop a sheet of heavy weight water soluble stabilizer for embroidery. Even if your satin stitched border design is not intended for applique, it most likely will first sew an outline of the border shape before it goes on to sew the satin stitch. Manually stop your machine once that preliminary outline has stitched.

7:
Spray the back side of your intended patch design with an embroidery safe adhesive. Align the embroidered patch with the stitched outline, and press it down onto the water soluble stabilizer.

8:
Finish stitching the border, and it forms a nice finished edge around your patch.

9:
When the satin stitched badge border is complete, it is easy to tear away the remaining stabilizer, and your patch is complete!


 Making Badges
 Circle & Oval Borders
 Friendly Mermaid
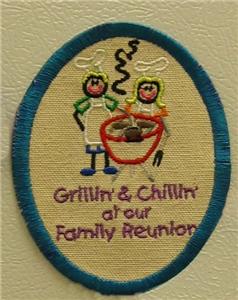
 Family BBQ Grillin' & Chillin' (small)
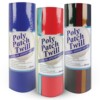 Poly Patch Twill
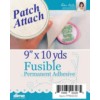 Patch Attach 9" x 10 yards
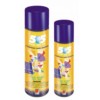 505 Spray & Fix Temporary Fabric Adhesive
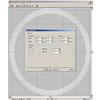 Enlarging an Embroidery Design
 Simple Appliqué
 Printing Production Sheets
 One Classy Dad


