1:
Print the pattern included. Dimensions listed are finished sizes.
2:
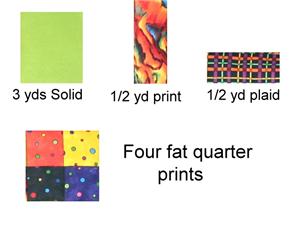
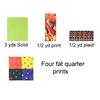
Gather fabric for your quilt. You need three yards of a solid colored fabric for the embroidery, 1/2 yard of a print fabric, 1/2 yard of a plaid print fabric, enough plaid fabric for a 4 1/2 yard x 2" bias cut, a large 37" square piece for the backing, and four fat quarters of complimentary print fabrics.

3:
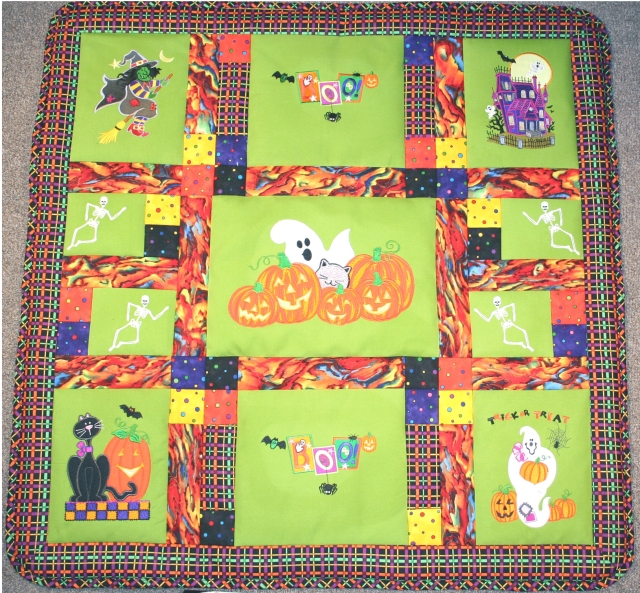
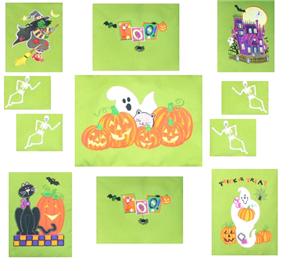
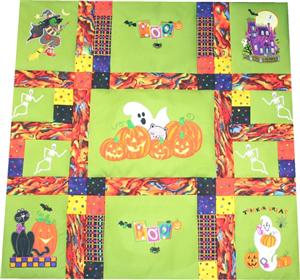
Adding a 1/2" seam allowance on all sides, mark the embroidery quilt blocks on your solid colored fabric, but don't cut them out. This means the final dimensions for the embroidered squares should be as follows: The fabric for the large Pumpkin Patch in the center needs to be 15" x 11", the four corner embroidery panels need to be marked out at 8” x 10” in size, and the two "Boo" squares need to be 10” x 11” and the four squares for skeleton designs will be 5" x 6". We recommend fusing lightweight interfacing to cotton quilting fabrics before embroidering. For the top row, we stitched the following designs: "Cartoon Witch on Broom" (Hdhw8), "Boo" (Hdhw21), and "Haunted House Scene" (Hdhw20). For the second row, we stitched "Ghost and Cat with Jackolaterns, Smaller Applique" (Hdhw2), and two copies of "Skeleton" (Hdhw24) at its original orientation, then mirrored the design, and stitched two more copies. For the last row, we embroidered "Cat and Jackolantern Applique" (Hdhw9), "Boo" (Hdhw21), and "Trick or Treat Scene Applique" (Hdhw6). After the embroidery is finished, the blocks may be cut apart.
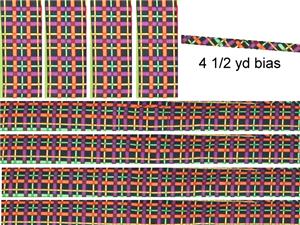
4:
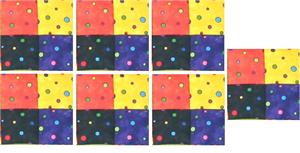
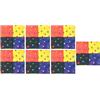
Adding 1/2" seam allowances on all sides of the 2" square pieces shown on the pattern, cut seven 3” squares of each of the four patterned colors: black, purple, yellow, orange, so you have twenty eight squares total.
5:
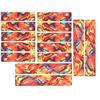
From your 1/2 yard of print fabric, cut ten strips 3” x 8” (these are the 2" x 7" strips shown at finished size on the pattern), and four 3" x 11" strips (these are the 2" x 10" strips shown at finished size on the pattern).
6:
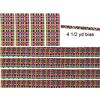
Now from the plaid print fabric, cut four 3" x 6" strips, four strips 3” x 37” for the quilt border, a bias strip 4 1/2 yards 2" wide for the binding edge. Do not interface the bias strip. These measurements include the 1/2" seam allowance addition.
7:
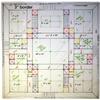
Using a 1/2" seam allowance, piece the quilt as shown in the printed pattern.
9:
Finish by binding the quilt. Snuggle up and wait for cold weather.


 Haunted House Scene
 Cartoon Witch on Broom
 "Boo"
"Boo"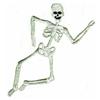 Skeleton
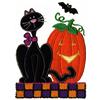 Cat and Jackolantern Applique
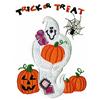 "Trick or Treat" Scene Applique
 Ghost and Cat with Jackolaterns, Smaller Applique
 Floriani Appli-Kay Wonder - Fusible, 9" x 3 yds
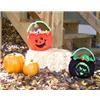 Jack-O-Lantern Treat Bucket
 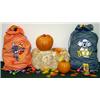 Halloween Appliqué Treat Bags
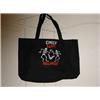 Halloween Candy Tote
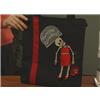 Halloween "Hunting Goodies" Tote Bag