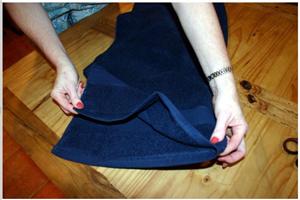
1:
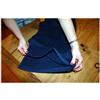
First, find the center of the towel. A simple and quick way to do this is to fold the towel in half lengthwise to find the center.
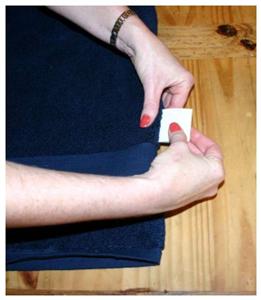
2:
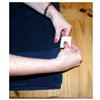
After the towel is folded, mark the center line with chalk.

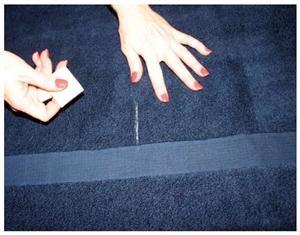
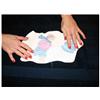
3:
Open the towel up and elongate the chalk line for easier visibility.
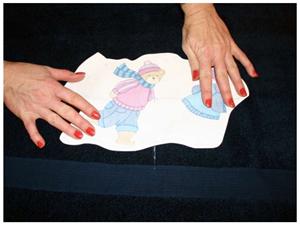
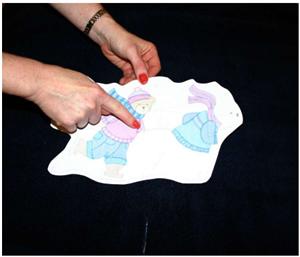
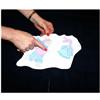
4:
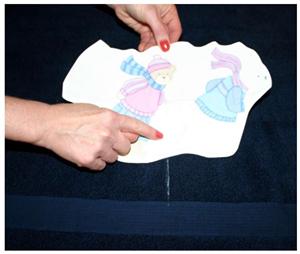
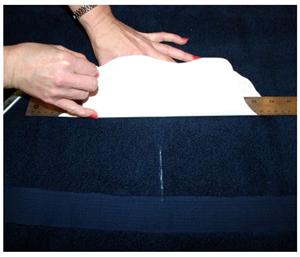
Print out your design onto a piece of paper and trim around the design to get a better idea of what it will look like placed on the towel.
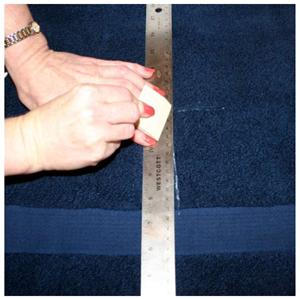
5:
Most embroidery software shows a center point on the design. This is very important for placement. If the center point is hard to see, make it darker with a marker or pen.
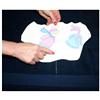
6:
Hold the printout of the design on the towel for placement, with the bottom of the design about 1.5" or 2" from the towel band or trim line of the towel. Then align the center point on the printout with the chalk line.
7:
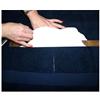
After the proper placement is found, hold the printout in place with one hand and hold a ruler down across the horizontal center line of the design. After the ruler is in place, fold the printout over the ruler and draw your horizontal line. This line will cross over your vertical center line, giving you the spot to line up the presser foot of your embroidery machine.
8:
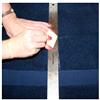
The final step before hooping is to darken the chalk lines for easier visibility. Your towel is now marked for perfect placement.


 Large Skating Bears Duo (Larger)
 Large Skating Bears Duo (Smaller)
 Winter Wonderland, Home Decor
 Adding Trim to Towels
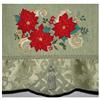 Towel Tips
 Printing Production Sheets
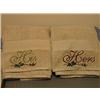 Terry Cloth Towel Embroidery