Software Success: More about the new Edge to Edge Plugin
Watch: 
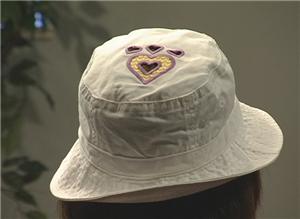
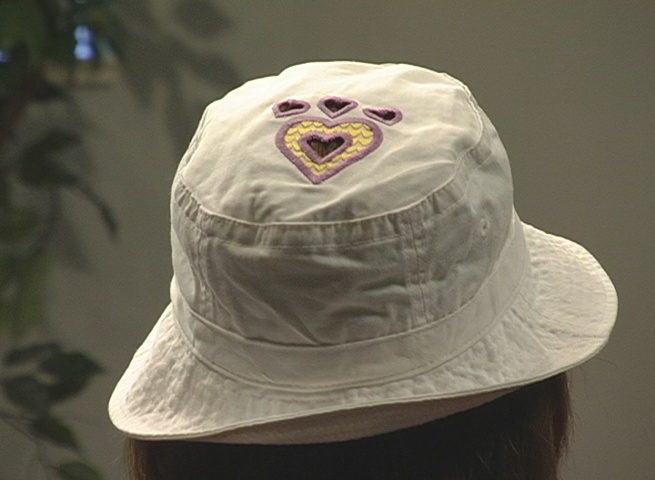
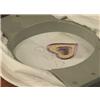
Cute Cutwork Hat
This project shows you how to create cute cutwork embroidery on a bucket hat. It's a clear-cut improvement!
1:
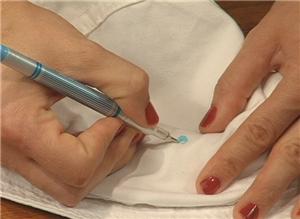
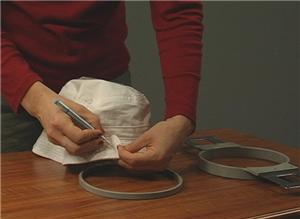
Find the center of the hat by folding the hat in quarters. Mark the center point with removable ink. (I used a vanishing ink pen.)
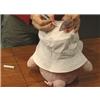
2:
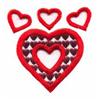
The design I'm using , "Hearts Cutwork" (QC157) by Stitchitize, has a visual center that’s a bit lower than the actual center, so I'll mark the embroidery start point a bit lower on the hat. I found that placement was more attractive for this design.
3:
Mark the final placement darkly, with removable ink. Turn the hat over and mark again, on the inside.
4:
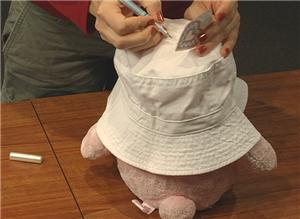
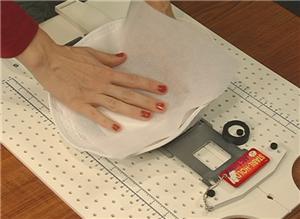
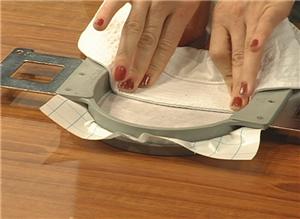
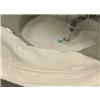
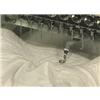
Hooping a pre-constructed hat presents some challenges. The shape of the hat lays more naturally over the hoop in an upside-down position, so you can actually hoop it upside-down. Set down first the part of the hoop that ordinarily goes on top.

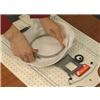
5:
Press a piece of adhesive stabilizer such as Film-o-Plast into the crown of the hat. This helps the hooping to come out smooth. Now place the hat right side down, over the hoop.
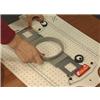
6:
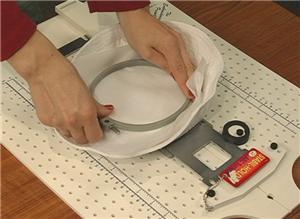
Adjust the placement until the marks are approximately centered over the hoop. Place stabilizer over the hoop area, and press the bottom hoop piece down. The hat is hooped, and ready for embroidery.
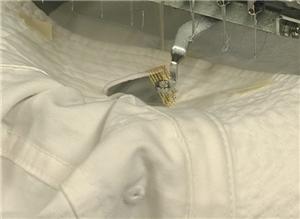
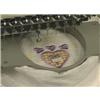
7:
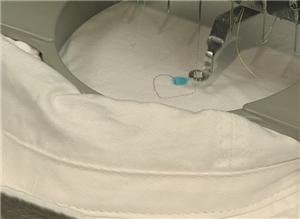
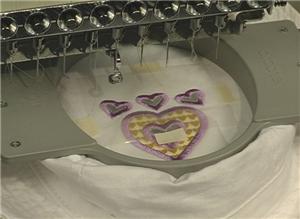
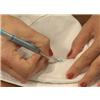
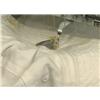
The cutwork design first stitches the cutline mark.
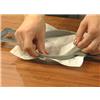
8:
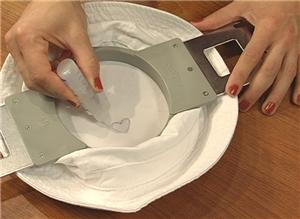
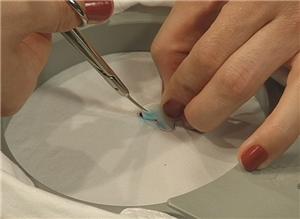
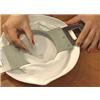
Remove the hoop from the machine, and trace the stitched line with Fray Check, which will keep the cut edges from unravelling. Allow a few minutes for the Fray Check to dry.

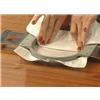
9:
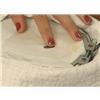
Then with applique scissors, or small embroidery scissors, cut within a millimeter of the stitched line.
10:
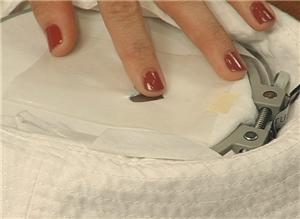
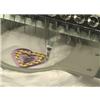
Now attach a heavy water soluble stabilizer to the top and bottom of the hooped area, covering the cutwork.
11:
Return the embroidery to the machine, and continue stitching. A satin stitched border goes over the edge of the cutwork.
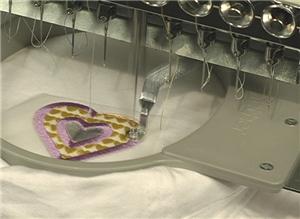
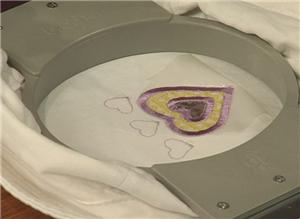
12:
This design has three more cutwork heart areas, which are outlined next.
13:
Repeat the cutwork process for them: trace the outlines with Fray Check, cut inside the lines, stabilize the holes, and finish the stitching.

14:
You can also apply cutwork embroidery to the brim of the hat. Mark the embroidery placement before you begin.
15:
To go over-the-hoop with the brim, hoop an adhesive stabilizer and score it within the hoop. Peel the paper layer away, and press the hat brim onto the adhesive.
16:
To make the hat easier to put on the embroidery machine, place the brim with the top of the hat draped toward you.

17:
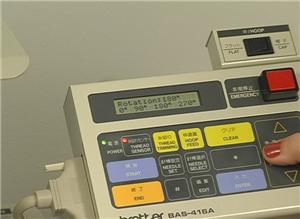
Rotate the embroidery design 180 degrees so that the finished embroidery will be right side up.
18:
As with the other cutwork design, stitch the cutline, and then remove the hat from the machine to do the cutwork.
19:
Place a piece of water soluble stabilizer over the cut area on both the underside and top side of the brim, and continue stitching. This cutwork design, "Heart Shape Cutwork" (QC647) by Stitchitize creates a grid of thread in the cut out area.
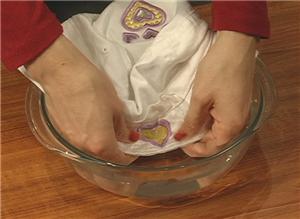
20:
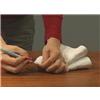
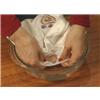
To remove the water soluble stabilizer from cutwork, I recommend you cut away the larger pieces and wash the remainder away with water.


 Hearts Cutwork
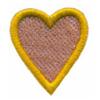 Heart Shape ( Cutwork )
 Cutwork Embroidery
 Cutwork Hat Video