How to attach The EZ Stitch Tape for Fabric to the fabric.
Measure the width of your fabric and cut 2 pieces of The Tape for Fabric the same width. I have had customers ask if they could so smaller sections of tape across. I would not recommend that because the areas the didn't have the tape would have really poor tension and could warp the fabric.
What side of the fabric do I place the EZ Stitch Tape for Fabric on?
I place the EZ Stitch Tape for Fabric on the front of my fabric. I do this so when I scroll it up the front is now protected. After all the front is what we are all going to be looking at and we want to be as clean and fuz free as we can get it. By scrolling my fabric this way if anything gets dirty or has some wear on it, it will be the backside. I also use the Scroll Rod covers to help eliminate any dirt or wear that might happen. But by placing the tape of the front of my fabric I ensure that the front is kept clean and protected.
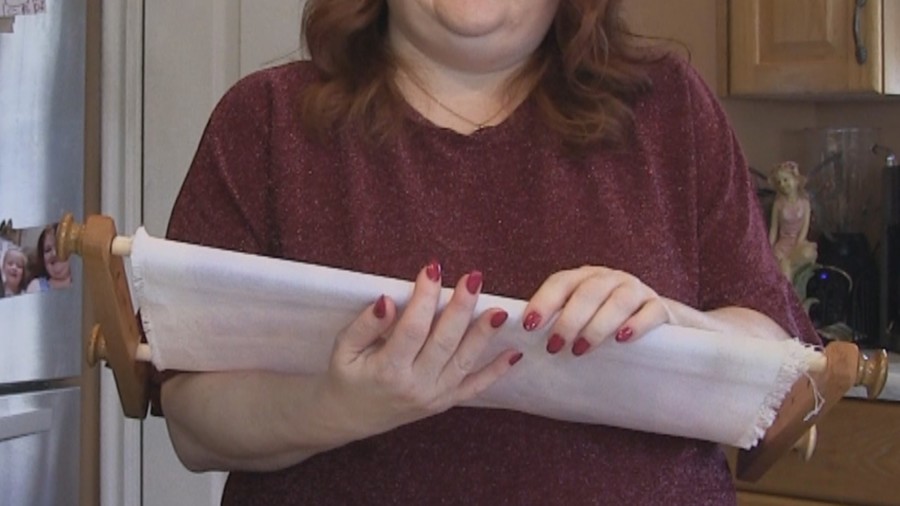
The EZ Stitch Tape for Fabric come in s a roll, once I have measured the width of my fabric and cut my tape to length I will roll it backwards. This will help get the curl out of the tape and help with placement.
Should I iron the fabric before I put it on the scroll rods?
I usually do not iron my fabric before hand. I can usually get so tight of tension that it will take the wrinkles out. But if it has been stored for a long time folded up or if you would just feel better with it being nice and flat, it is totally fine to press it before putting it on the scroll rods.
I mark the center of my fabric before I put it on the rods that way I know where the center is. Find the center of your fabric by folding it in half then in half again.
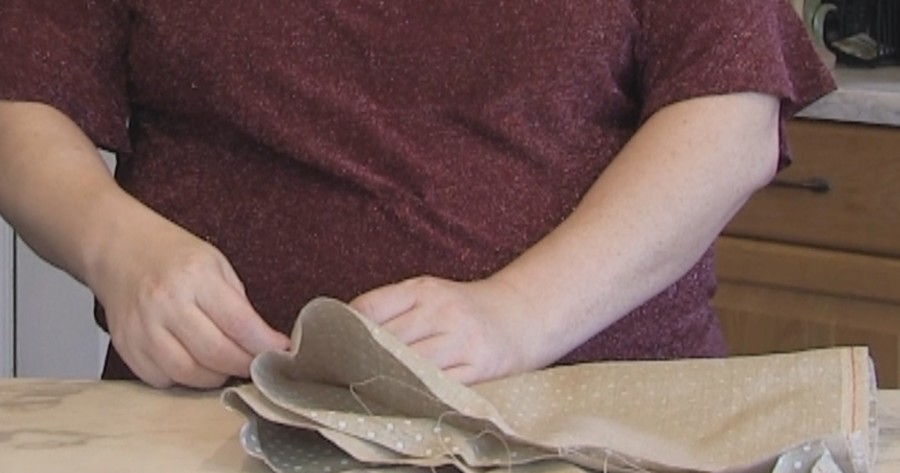
Now you don't want to place the tape right on the edge of the fabric. There is going to be a lot of tension on the tape. The back of the tape is super sticky but if it were to slide or move it will slid on to fabric and not the fabric completely.
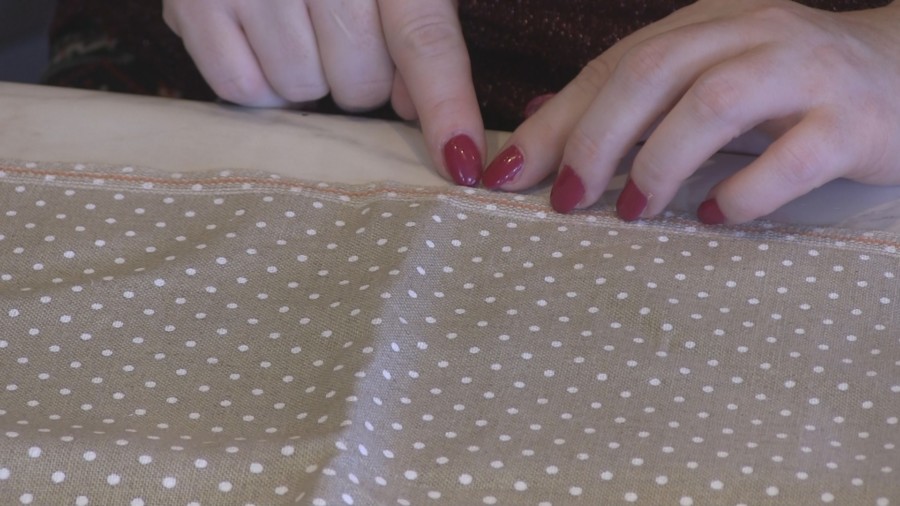
The tape for fabric is not reusable, every new project gets new tape for fabric. Once your project is completed you will cut the tape off before taking it to the framer.
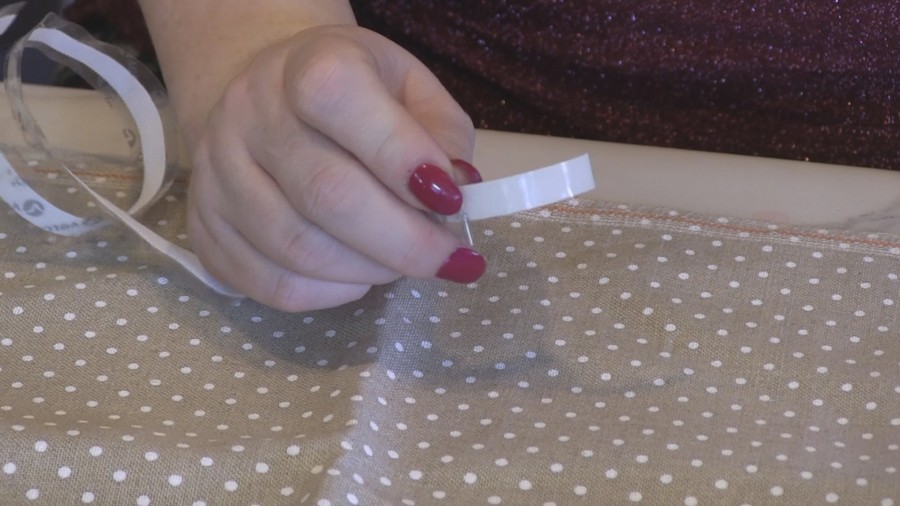
My first edge here is a bias edge so it already has a built in line for me to follow. I will pull my fabric tight as I place the tape. I will take a small amount of the bottom protective sheet off and press it down onto the fabric as I go across. Again the EZ Stitch Tape for Fabric is really sticky and it is hard to take off to reposition once it is pressed onto the fabric.
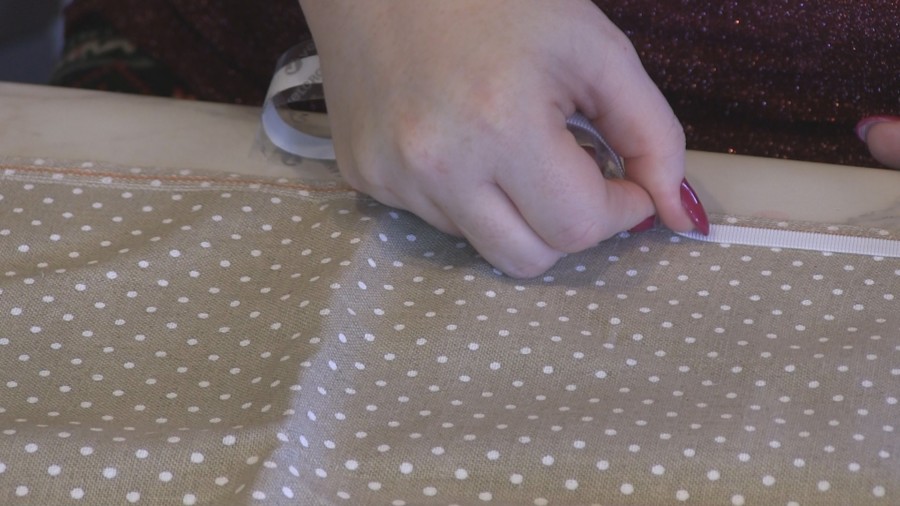
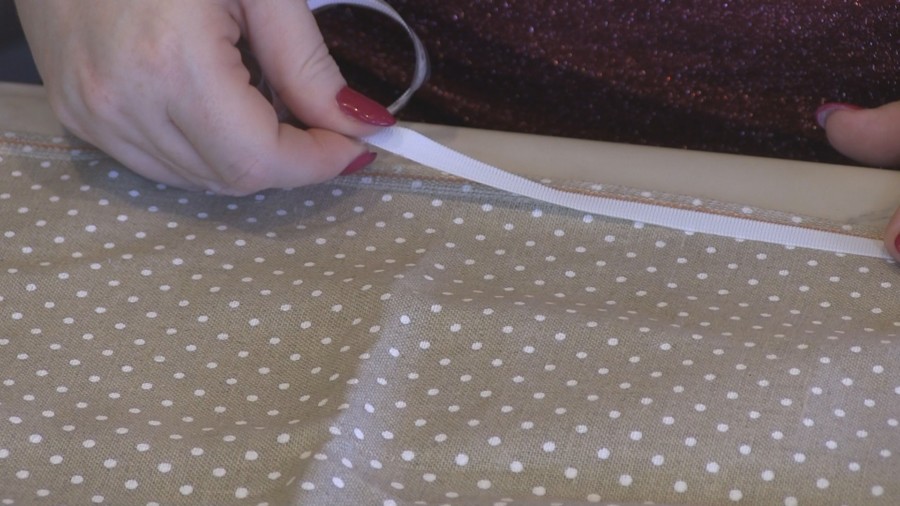
I want to make sure I place the tape as straight across as I can. The straighter across the more even my tension will be top to bottom.
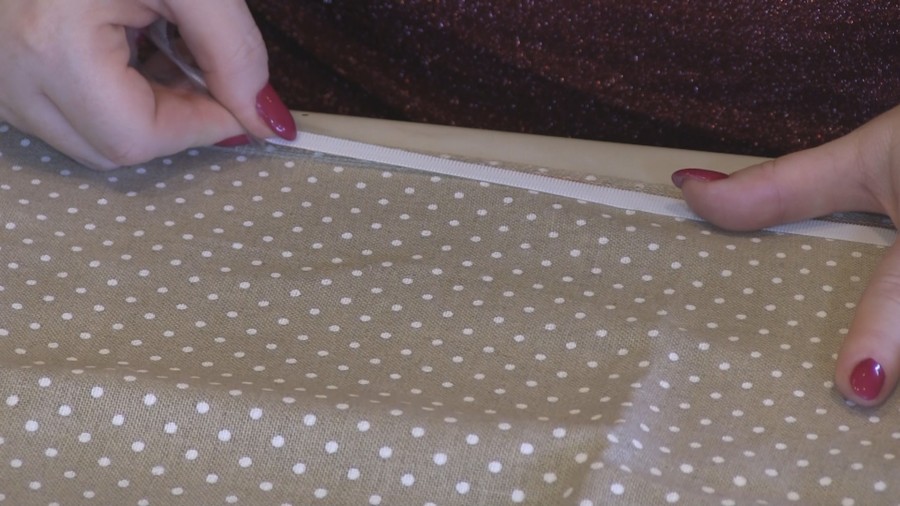
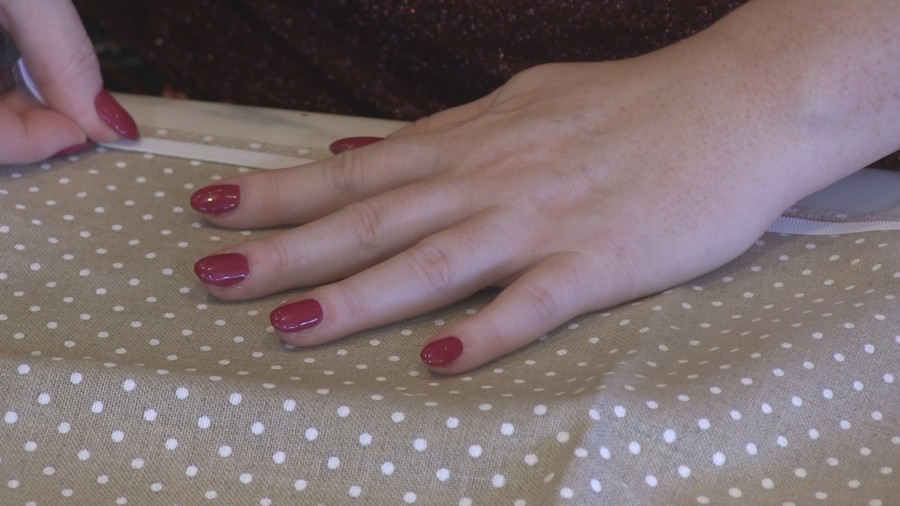
As you see as I go across I only remove a small amount of the protective sheet from the tape at a time. Then I will finger press the tape onto the fabric, trying to stay as straight as I can.
Do I need to have any length to the fabric when I use the EZ Stitch Tape for Fabric?
The Tape for Fabric is about 1/4” wide, and if you come up from the edge of the fabric 3-5 rows you may be using about a 3/4” an inch to a inch combine of fabric for the tape. I always recommend 3” extra around your design size. I have never added any lengthen to my fabric because I use the tape. But if you are worried you could add a inch or two to the length of your fabric.
How to add the tape to a raw edge of fabric.
On this size of the fabric I have a raw edge. I will fray the edge of the fabric until I get a straight line.
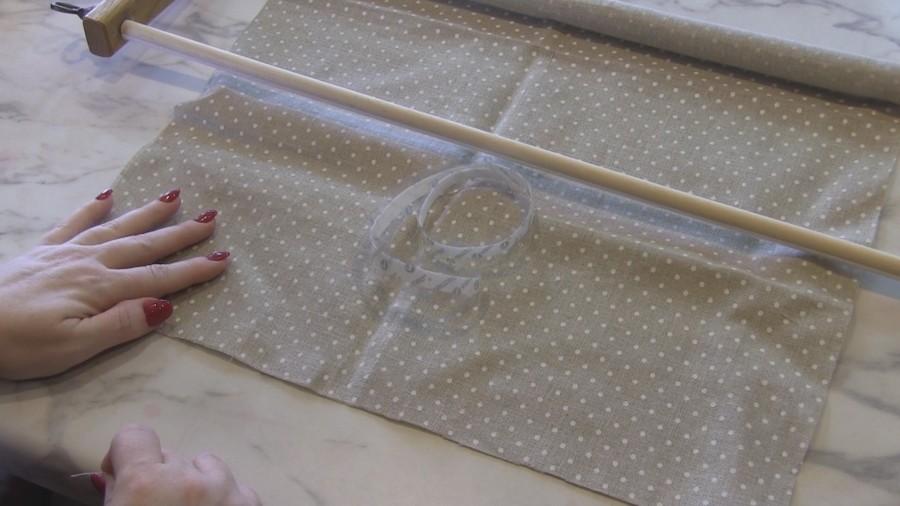
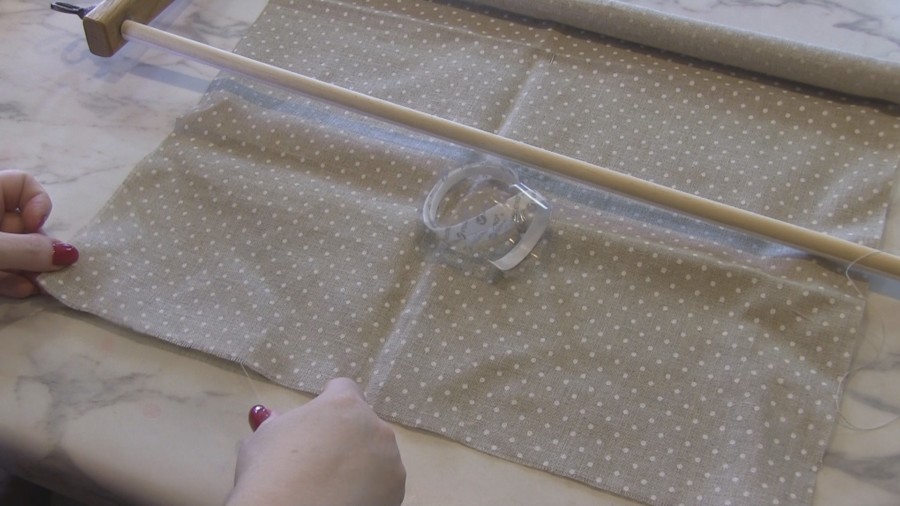
This again will help me ensure that the tension is straight across from top to bottom. I am going to come up 2, 3 to 4 fabric thread above the edge of the fabric. And follow that fabric thread all the way across the fabric. On my example here the polka dot kinda gave me an additional line to follow.
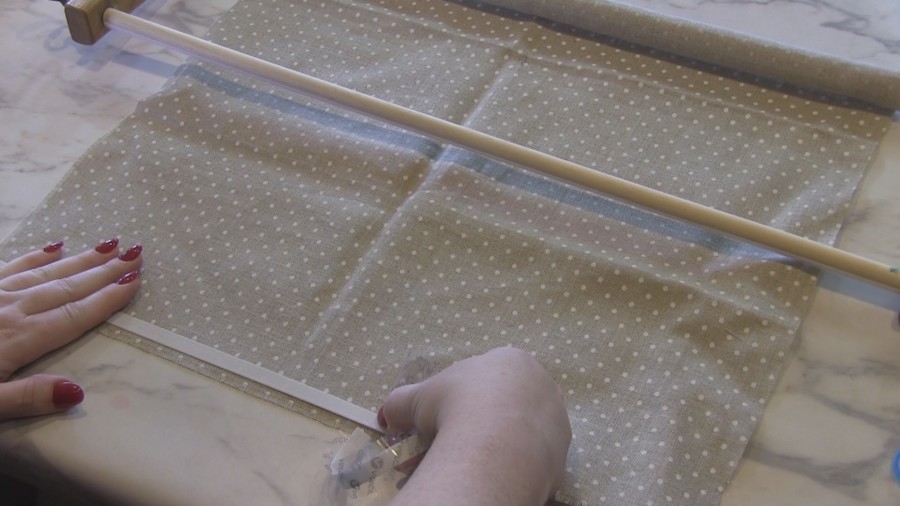
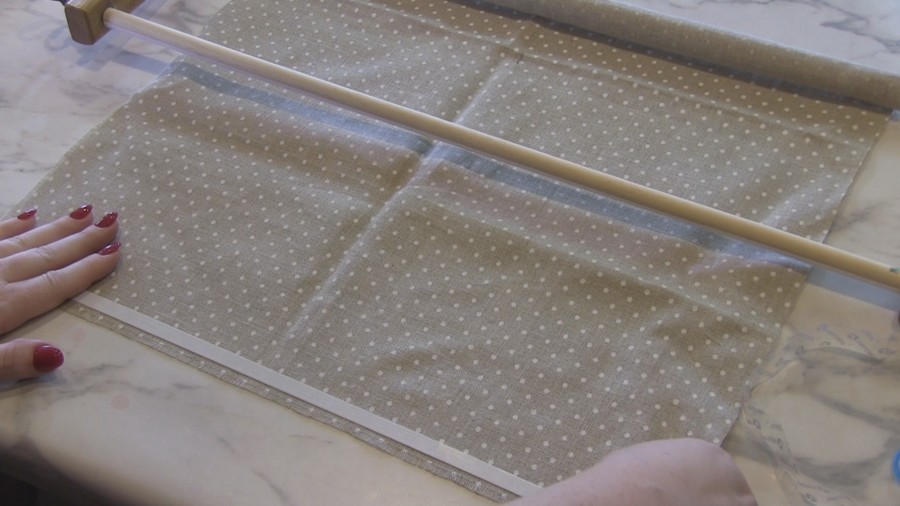
I do recommend doing this on a hard surface like a counter top or tape top. Also I try and have my fabric lay as flat as it can while I am applying the tape to the fabric.
What size of EZ Stitch Scroll Rods should I use for my project?
I recommend that you use scroll rods that are at least 2” longer then your fabric. For example if you have 20” wide fabric you would want to use 22” scroll rods.
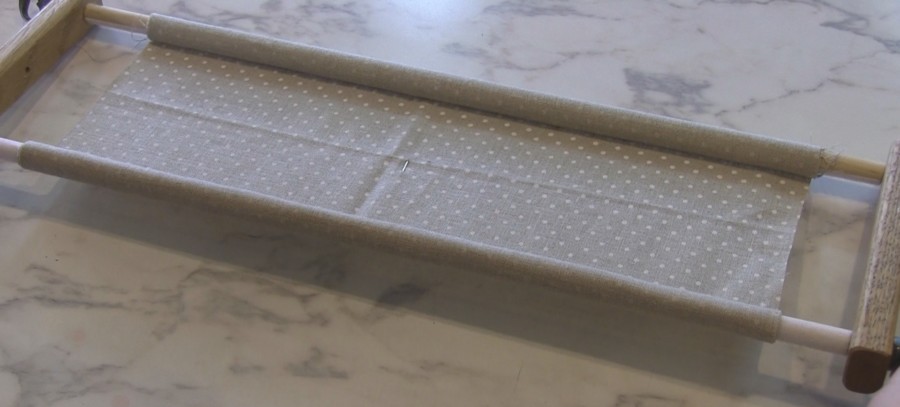
This gives you space for your fingers to scroll up the rods. The fabric has room and it is not hitting the side bars. This also allows for better fabric tension. Of course you can always put smaller projects on longer rods.
How to place the fabric on the EZ Stitch Scroll Rods.
When placing the fabric on to the Scroll Rods try and center the fabric so you have an even amount on each side of the rods then scroll it up.
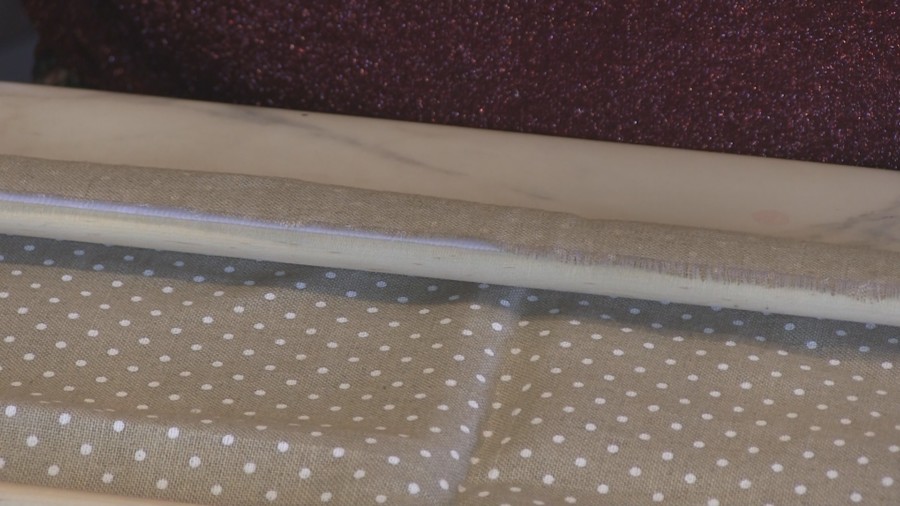
When scrolling up the fabric make sure the end fabric is not being folded over and it is going smoothly on to the scroll rods. Scroll up the fabric on the first rod till you have reached the needle in the center, then tighten your knobs.
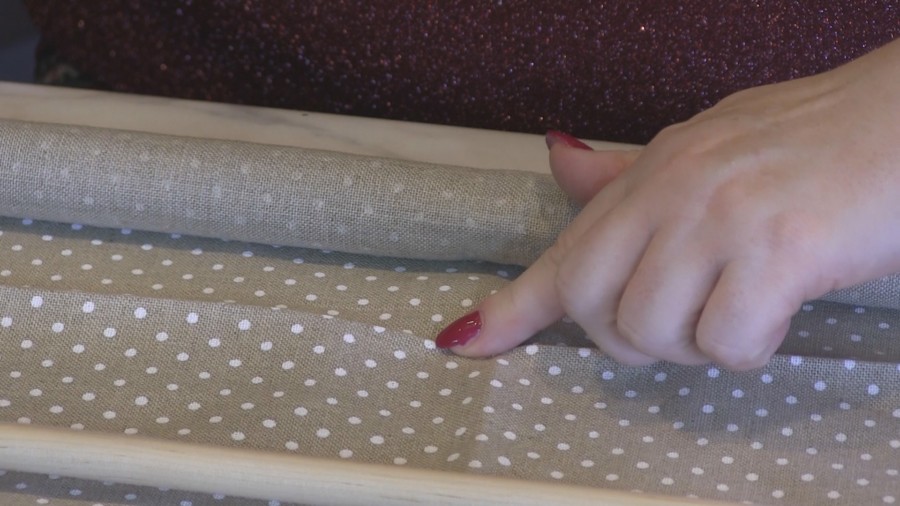
Repeat on the other rods until you have the fabric wrapped around each Scroll Rod with the needle marking the middle in the center of the frame. Again tighten down all four knobs. In this example I am using the Flat Metal Knobs, I prefer them, I fell like I get tighter tension with them and they are easier on my hand when I tighten them down.
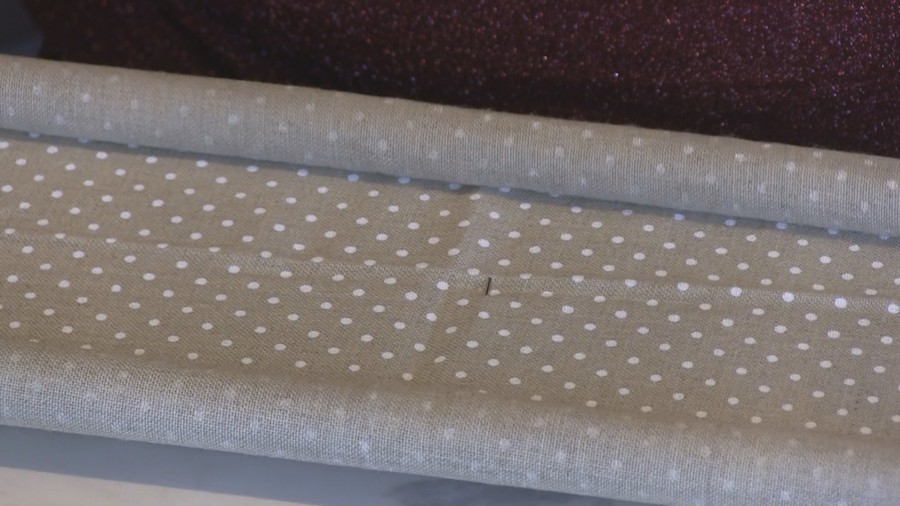
I am using shorter 6" EZ Stitch Side Bars in this demo. The closer together your scroll rods are to each other the tighter the tension of your fabric will be.
How to get really tight tension when using the EZ Stitch Scroll Frames
Now let's work on the tension of the fabric, I like super tight tension and with the EZ Stitch Scroll Frames you can have whatever tension you like. Once you have the fabric scrolled up on the rods tighten all 4 knobs. Then push down the middle of the fabric, This will cinch up the fabric on each of the Scroll Rods, making it wrap tighter around them.
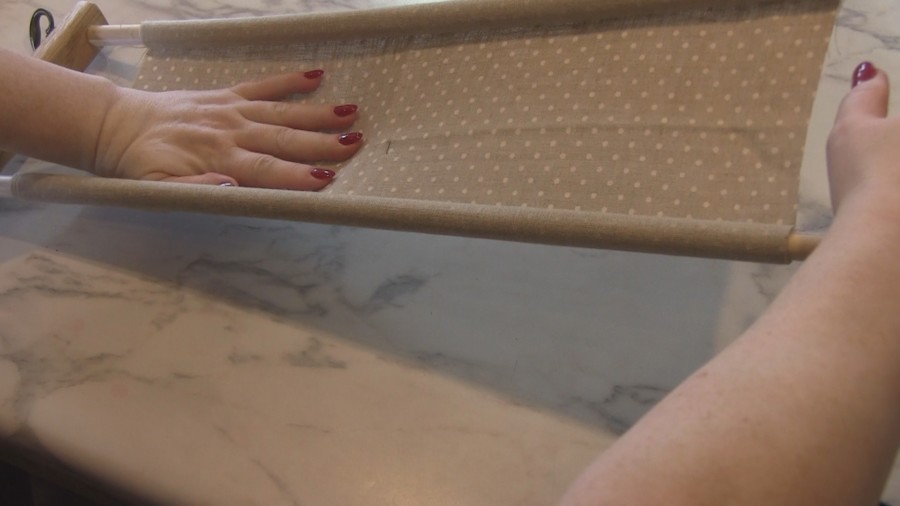
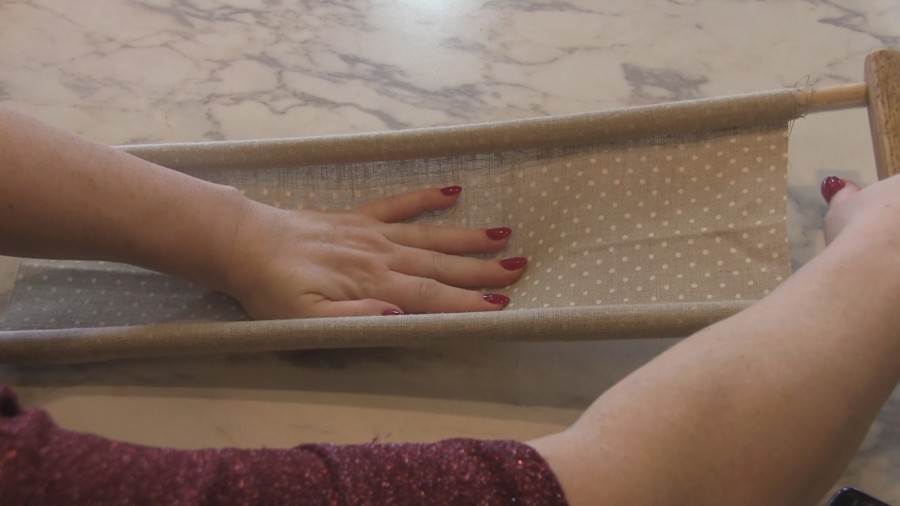
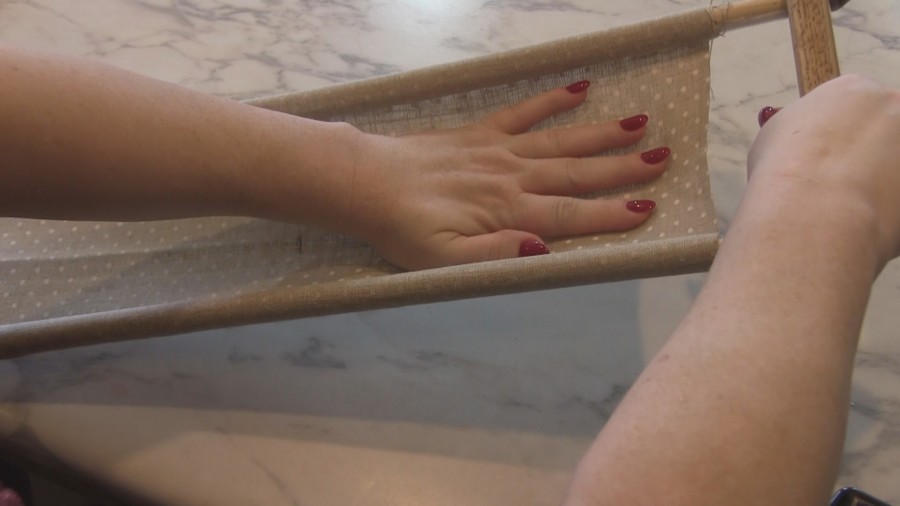
Scroll the fabric back up around each rod tighten the knobs down and push down in the middle again. Do this until you have the tension that you like.
In this demo I am using the regular EZ Stitch Scroll Rods and with the how tight I have scrolled up my fabric you can see that the rods are bowing. If I had used the Heavy Duty Scroll Rods I would not have this bowing. Does this hurt your project or the rods, No it does not. It just shows you how tight your fabric tension is.
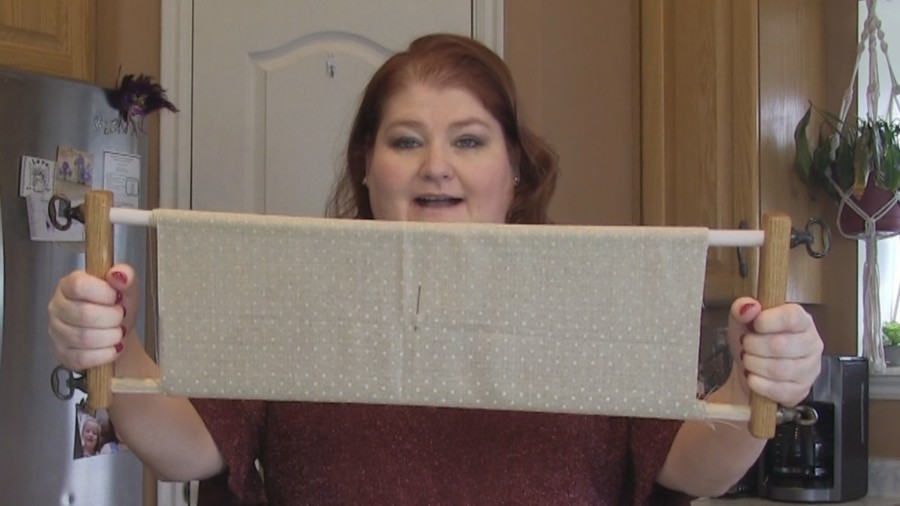
If you don't like it I would recommend that you use the EZ Stitch Heavy Duty Scroll Rods. Which are availiable from 18" up to the largeest at 42".
What about the horizontal tension?
I have found that because my tension going vertical is go great I don't need anything going horizontal.
As you stitch over time the tension will loosen, simply tighten up the scroll rod and you are back to the tight tension you like.
Rotating your project to fit on rods you already have.
So let's say you have a project that is 24” wide x 12” high but you don't have 26” Scroll Rods. However you do have 14” put the fabric on the 14” scroll rods. Now you can either turn the frame so the Side Bars are on the top and bottom.
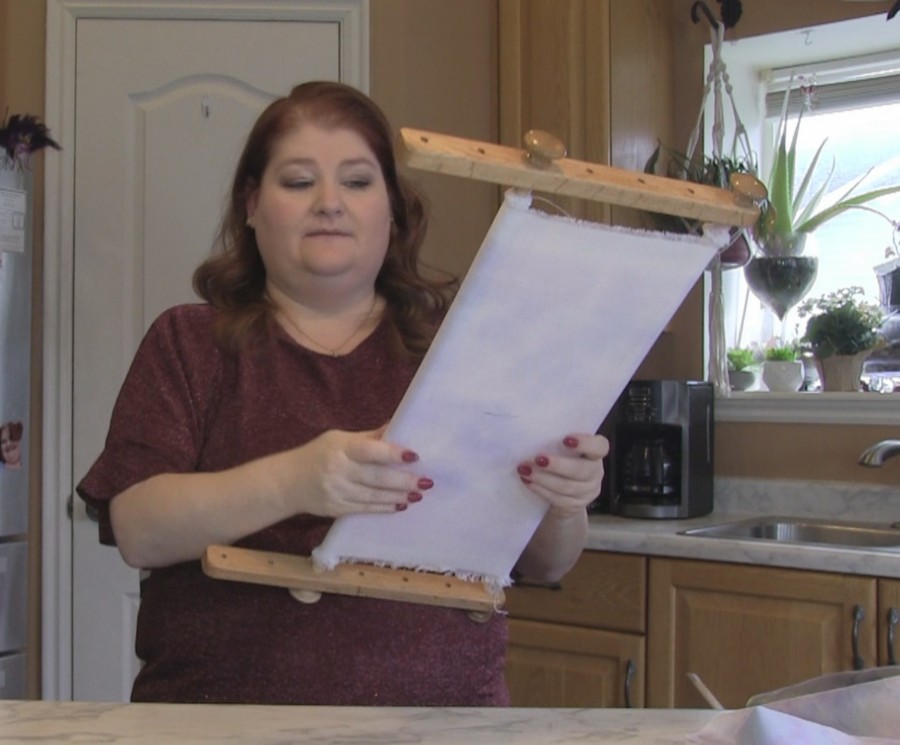
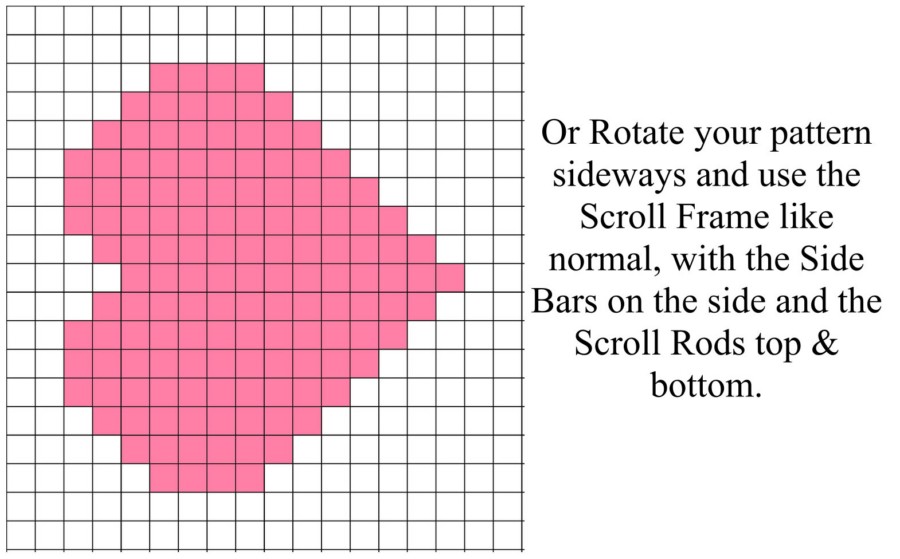
This will give you lots more configuration options with the length of EZ Stitch Scroll Rods that you may already have in your collection.
All of our EZ Stitch Products are solid Beautiful American Red Oak and hand finished with golden oak oil stain. Making them all a beautiful piece of furniture while creating the perfect stitching tool.
Join our EZ Stitch Scroll Frames Facebook Group and share your EZ Stitch Scroll Frame Set up. You can also become a member of our Embroidery.com Cross-Stitch + Hand Embroidery Group on Facebook and post your WIP'S and finished projects. You can also post tips & techniques that you have found helpful or any questions you may have. Don't forget to follow us on our Facebook Page Embroidery.com Cross-Stitch + Hand Embroidery.
For Past EZ Stitch Video Demos and so much more check out my (Donnett's) Needlework Blog. Make sure your notifications are turned on as that’s how you will know when a new video is up.
Thanks for joining us and as always, I love to hear your comments suggestions so please feel free to send them to me at [email protected].
Enjoy & Happy Stitching – Donnett