1:
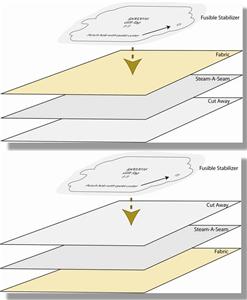
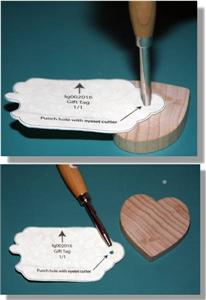
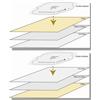
PREPARE FABRICS (see graphics for this step): Quilt weight cottons, preshrunk & pressed. In all likelihood your applique will not be perfectly symmetrical. To make a mirror image, we'll fuse one template to the front of the fabric and one to the back. For both the front and back applique pieces, make a "sandwich" by stacking together your fabric (right side up), the fusible web, and the stabilizer. Press together to form a bond. Apply the printed applique pattern piece to the front of the front piece and the back of the back piece. If you've printed on fusible stabilizer, simply press the on the template with a dry iron. If you've printed on paper, spray the back of each pattern piece lightly with TESA ("Temporary Embroidery Spray Adhesive", such as 505 Spray 'n' Fix) and smooth into place as illustrated. The double layers of cut-away provide extra stability to maintain the shape and rigidity of the ornament plus add a little loft and dimension to the piece.
2:
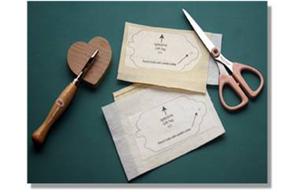
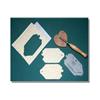
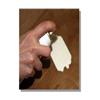
Cut out pieces to the outside edge of the line.
3:
Cut out the two applique pieces, leaving the paper pattern piece attached until you are ready to place the appliques. Although this design looks symmetrical, it is probably not perfect enough if the pieces are applied to the wrong sides!
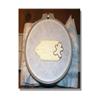
4:
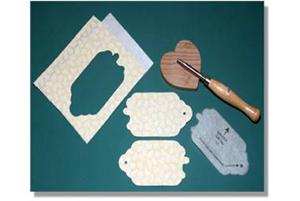
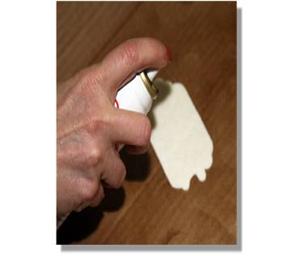
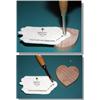
Punch hole with eyelet punch. Note: If you punch the hole before embroidering, you need to be very precise about cutting and placement. Option: Open hole after embroidering by punching out with the tip of pointed scissors.
5:
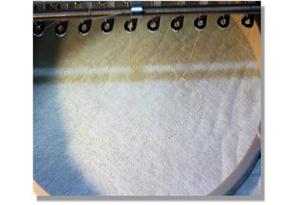
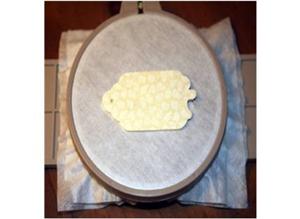
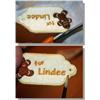
Sew the first color change, which is the placement outline for the precut applique piece.
6:
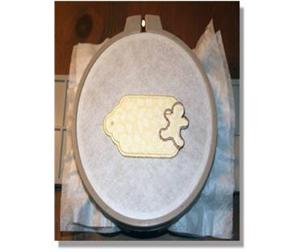
Tesa (spray with "Temporary Embroidery Spray Adhesive", such as 505 Spray 'n' Fix) back of top applique. Remove paper.
9:
Remove hoop from machine.
11:
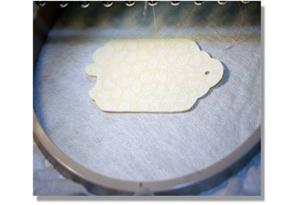
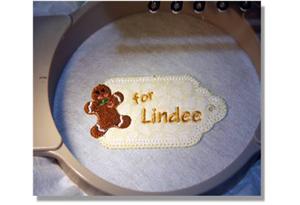
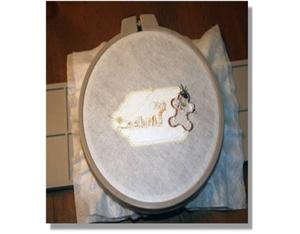
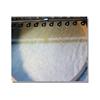
Allow your machine to finish embroidery. The graphic for this step shows the finished piece from the back.
12:
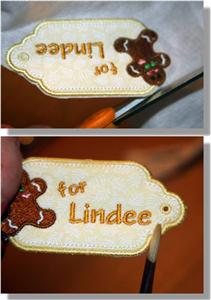
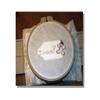
Trim away wash-away close to applique. Using an artist's brush (for acrylics), dampen the exposed stabilizer, allow to soften, and then continue to brush stabilizer with wet brush until gone. This saves you time! (No waiting for TESA to dissipate before you can rinse. No soaking and drying!)


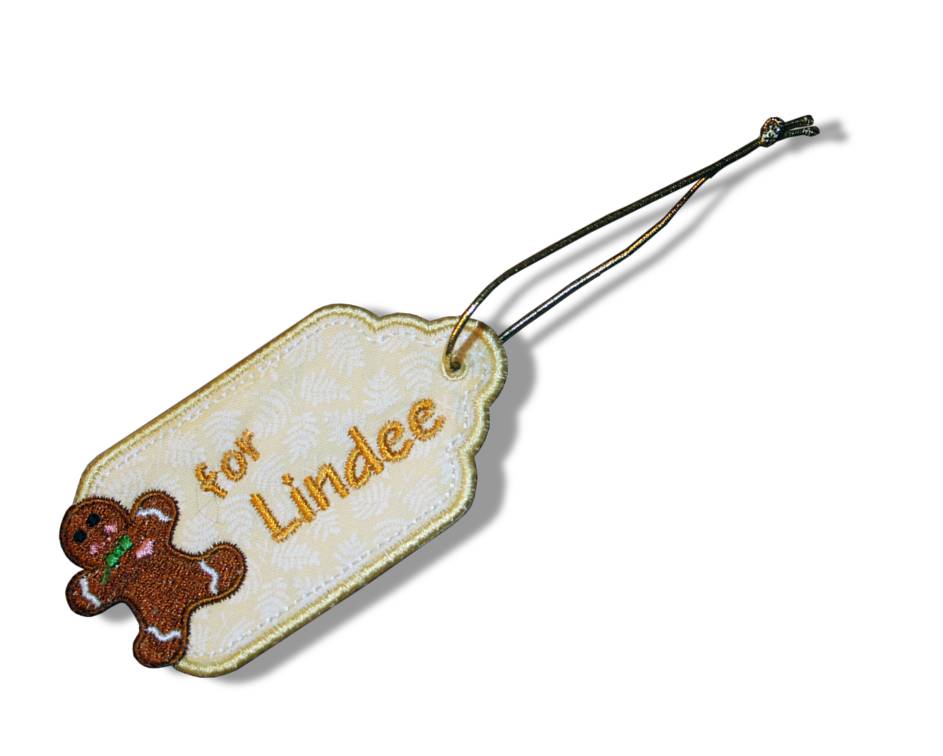
 Gingery Christmas - Ornaments and Package Tags
 Gingery Christmas
 Gift Tag (Applique)
 "Holiday Greetings"
 Hemingworth Medium CutAway - 12 in X 11 yds
 Hemingworth CutAway Medium Stabilizer 8"x 8" - 50 Sheets
 505 Spray & Fix Temporary Fabric Adhesive
 Gingery Christmas - Gingerbread Ornament
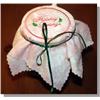 Gingery Christmas - Holiday Greetings Jar Topper
 Gingery Christmas - "Santa" Jar Lid Insert
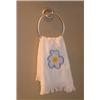 Simple Appliqué