Embroidery Special FX (Effects) May 17
Watch: 

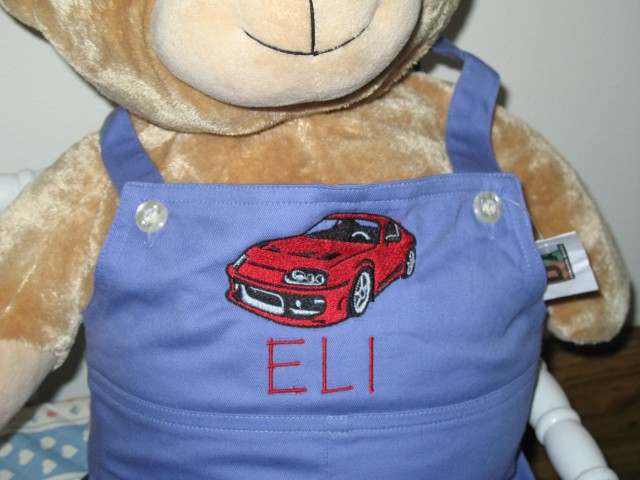
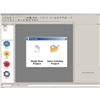
Toddler Jumper
With KP Compositions software, you can add a child's name to any stock design, make any needed edits, and stitch it out with recommendations on stabilizer, threads, and needle types to use. This project will show you how on a cute toddler jumper!
1:
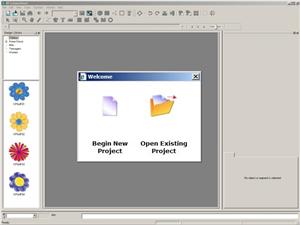
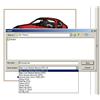
When you open KP Compositions, you're prompted to create a new project.
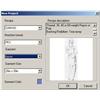
2:
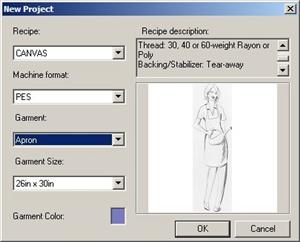
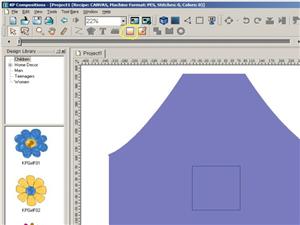
Choose the type of fabric your garment is, the machine format you're using, the garment type, and size, if applicable. For the jumper, I chose canvas, PES format, and "apron" as the closest garment type to what I'm doing.
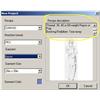
3:
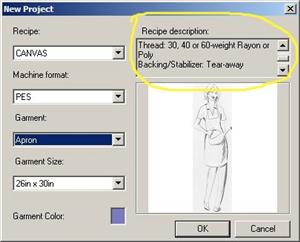
Scroll down and make note of the instructions for thread, needle, & backing to use for your project, found in the "recipe description" section. Then click okay. A short help window appears. Read it, note down this information & click "ok."
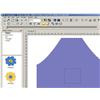
4:
Your project begins. The main pane of the screen shows your garment. Next, you need to create a location for your embroidery. Click the orange striped square icon from the toolbar above. You can choose a location shape from the list that appears. For this project, I chose "Loc-008", a square. The location then appears in the center of the garment.
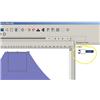
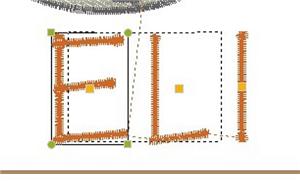
5:
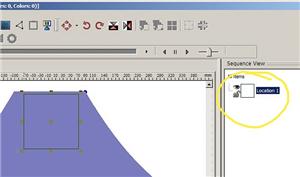
Click the "Location 1" item from the sequence view on the right. This will bring up the anchors around your location. Now you can drag the central anchor to move the location up into the bib area of the garment view.
6:
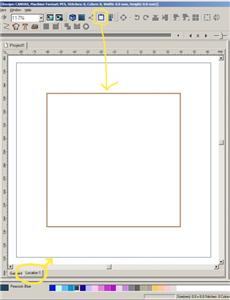
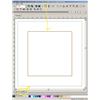
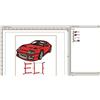
Enter a larger view of your location by clicking the "Location 1" tab at the bottom of the main pane of the screen. I plan to create a design that will fit within a 4" embroidery area, so now choose the blue hoop view icon at the top of the toolbar above. If I need to select a different hoop view, that can be done from the "hoop manager" section of the "View" menu.
7:
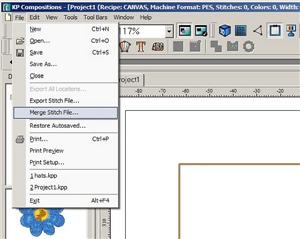
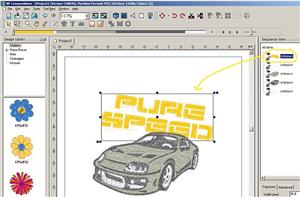
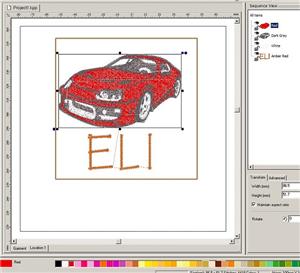
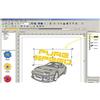
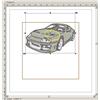
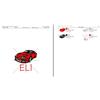
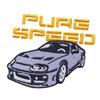
You can import a design from any location on your computer by choosing "Merge stitch file" from the File menu. I'm using "Race Car" (KPMens14), which I have in PES format. The selected design appears in the center of your location.
8:
Delete the "pure speed" text from the design by clicking on it in the sequence view on the right, and then hitting "delete" on your keyboard.
9:
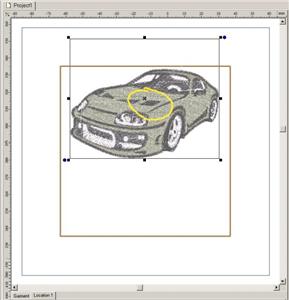
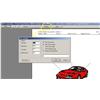
Move the car design up into the top area of your hoop by clicking & dragging the central anchor on it.
10:
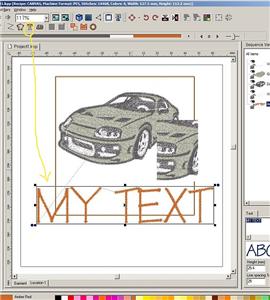
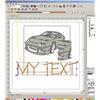
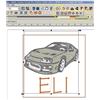
Now we'll add a name to the design. In the toolbar panel above, click the orange "T" (text) icon. Then click in the location beneath the car design. This inserts the words "My Text."

11:
On the bottom right side pane is the text options area. You can type new text there. You can also select the font and size. Then click "apply" and your text is added. To move your text, simply click any blank space between letters, and drag the text to where you want it.
12:
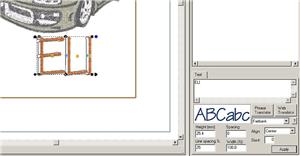
You may want to realign the spacing of the letters. In my example, I would like a little more space between the letters, particularly the "L" and "I." Notice that in text mode, there is an orange box on each letter. Click and drag on the orange box for the letter you would like to move, and drag it to change the spacing.
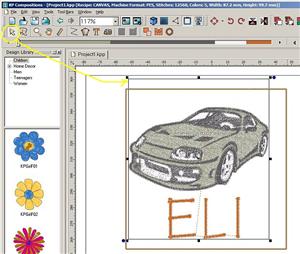
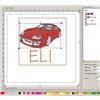
13:
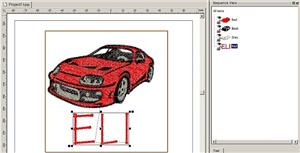
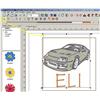
Now perhaps you would like to realign your design elements. Click the orange arrow in the upper left corner. This is the basic selection tool. Use it to select the text and car all in one box.
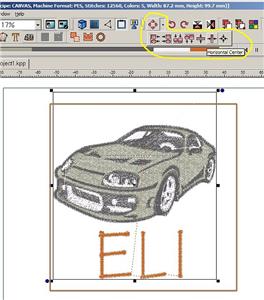
14:
Now you can align the text and car elements by using the align tool. To do so, click the pink diamond icon near the middle top of the toolbar. This will show you different alignment options. I chose to align them to the horizontal center.

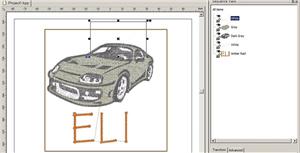
15:
With text aligned, let's just evaluate the color stops, and select appropriate colors for the project. In the "sequence view" pane on the right, click the first color stop. It stitches a background color for the rear windows of the car. I would rather have the garment color show through those areas, so I will delete that color stop.
16:
The next color is the car color. To select a different color, choose from the colored boxes at the bottom of the window.
17:
Continue selecting colors for each color stop in the sequence, until the colors are as you would like them to be.
18:
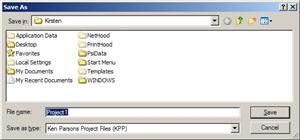
Now to save this project for future use, click the "save" option in the "file" menu. This will prompt you to select a location and filename for this project.

19:
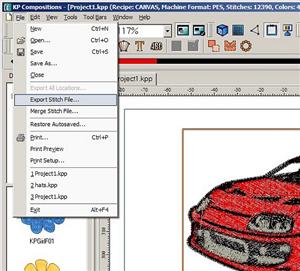
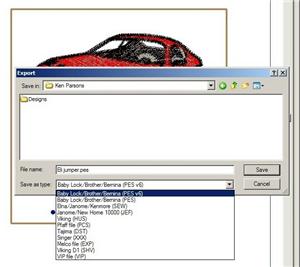
Now we can export this stitch file. On the file menu, select "export stitch file."
20:
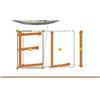
This will prompt you to select a name and file type for your stitch file. I will call mine "Eli" and export it in PES format for my machine.
21:
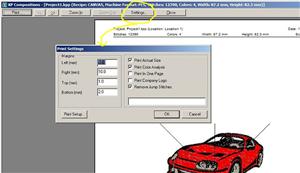
One more thing you may wish to do is to print a production sheet for your project before you stitch it. From the "File" menu, select "print preview." This will take you to a preview for your production sheet. Before you print, choose the "settings" button at the top. Choose the "print actual size" and the "print color analysis" options in the checkboxes on the right. Click "ok."
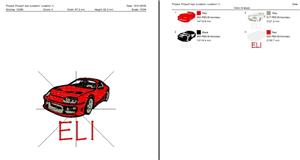
22:
Now when you choose "print," this will print two sheets. One sheet is an actual size image of your entire design with crosshairs marking the center start point. The second sheet is a list of color stops used in this design. If you use a color printer, it is easy to see which design elements stitch in each stop.
23:
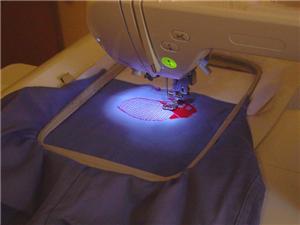
Now we hoop the jumper, align the stitch area with the center of the printed design, and stitch.


 Race Car
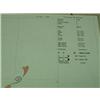 Printing Production Sheets
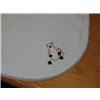 Over the Hoop with Wet 'n Stick