1:
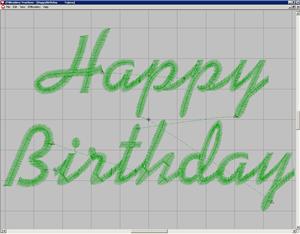
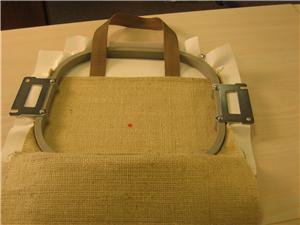
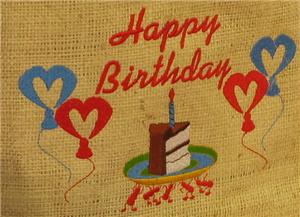
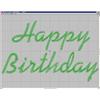
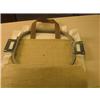
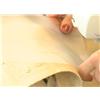
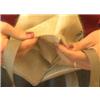
The burlap embroidery gift bag comes with the side seams left open so that you can embroider it easily. Place your embroidery hoop over the bag, and use printed production sheets for "Happy Birthday" (KM43), "Two Valentine Heart Balloons" (AH0075Wa), and "Ants Carrying Cake with Candle" (WB85) to arrange the designs and mark placement for each. For this project, a mirrored copy of "Two Valentine Heart Balloons" (AH0075Wa) was also used.
2:
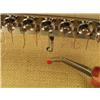
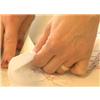
Place a sheet of tear away stabilizer under the bag panel, and hoop the area to be stitched.
3:
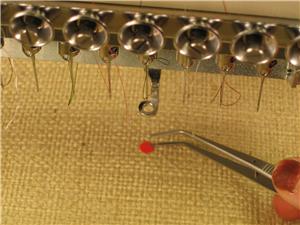
At the embroidery machine, move the stitching start point into place for the design, and remove its placement marking sticker.
4:
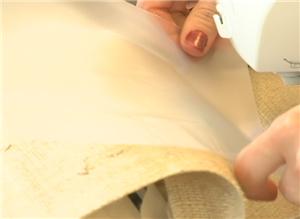
To keep the stitches smooth on the rough burlap surface of the bag, place an embroidery topper over the area before beginning to stitch.
5:
Stitch the embroidery design. To stitch subsequent designs, move the embroidery start point into place for the next design, and remove the placement dot. Place the embroidery topper, and begin stitching. Repeat this step as needed.
6:
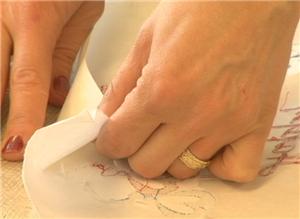
Once the embroidery is finished, trim any stray threads, and then remove topping and the lower stabilizer.
7:
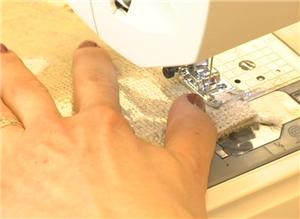
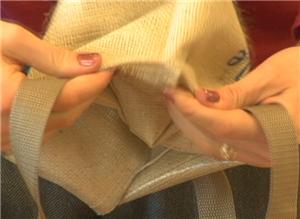
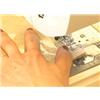
Now, to finish the side seams of the bag, first lay the two fabric sides together. With your sewing machine, begin a straight stitch from the pre-stitched line at the bottom of the bag, and continue straight stitching to the top. Repeat this for the other side seam.
8:
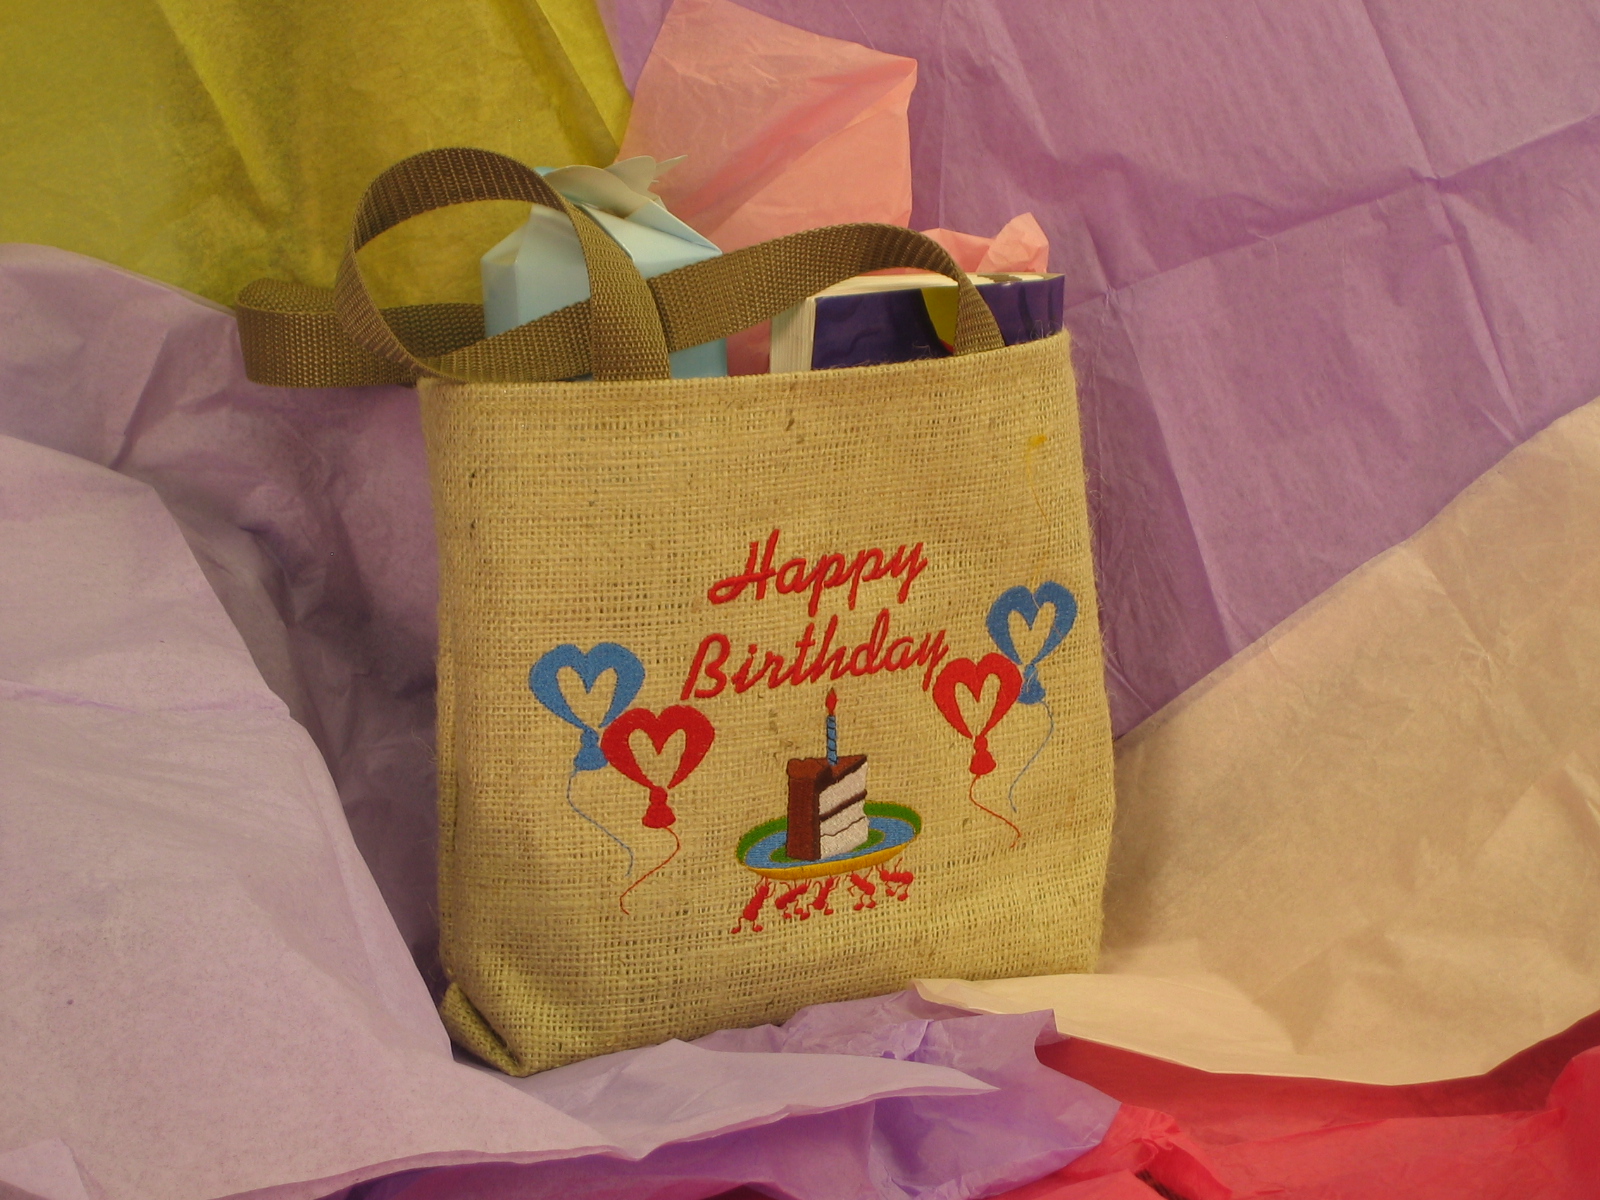
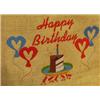
Turn the bag right side out. Fill it with your gifts, and you now have a combination gift wrapping and birthday keepsake in one!


 Happy Birthday
 Two Valentine Heart Balloons
 Ants Carrying Cake with Candle
 Gift Bag Text Pack
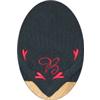 Mirroring an Embroidery Design File
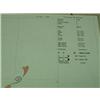 Printing Production Sheets
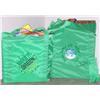 Go Green Shopping Bag