Embroidery Special FX (Effects) May 17
Watch: 

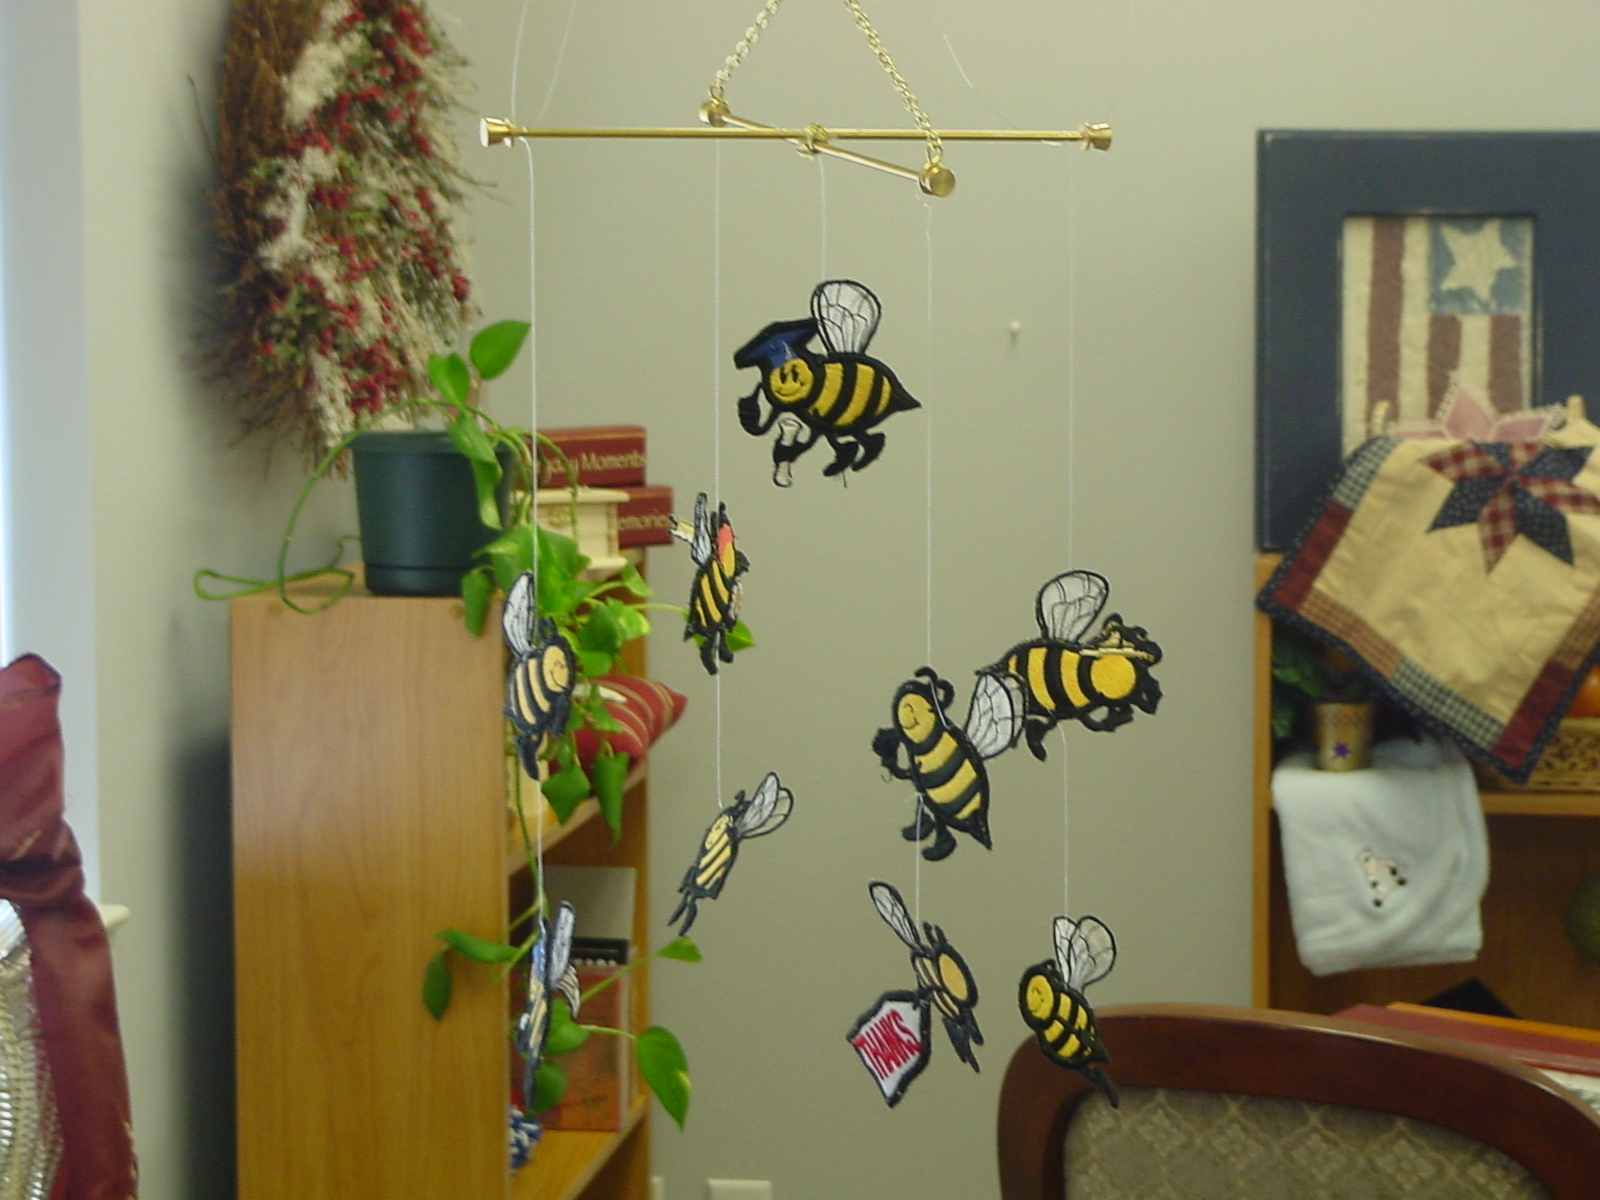
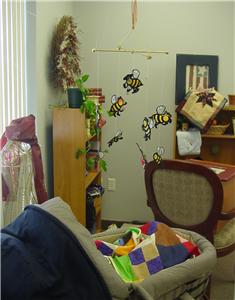
Nine Bees Mobile
This bee mobile features nine bees, busy doing good. It uses both freestanding and dimensional embroidery techniques, for double the fun and double the difference. Each bee has a front and back side, plus two distinct wings. We made our mobile hanger from golden bell pull rods, and you can, too!
1:
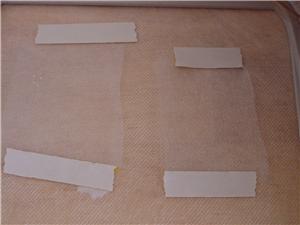
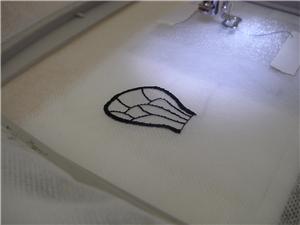
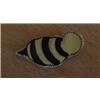
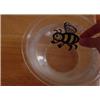
Begin by stitching the wing pieces (FL66 & GL49). Hoop a water soluble stabilizer, and use embroidery tape to place the fabric for the wings over it. We used a shiny, transparent organza fabric, and a black bobbin thread to match the top thread.
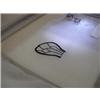
2:
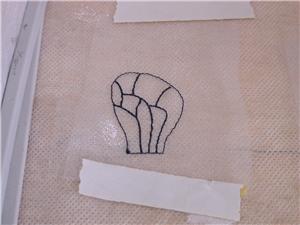
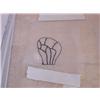
Stitch the first color stop, which outlines the wing and also draws its vein details.
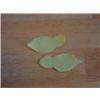
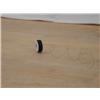
3:
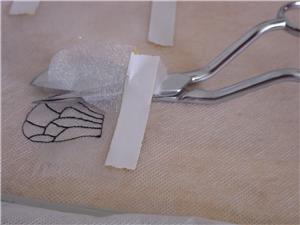
Stop the machine and cut away the excess fabric from the hooped stabilizer.
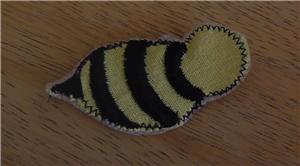
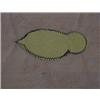
4:
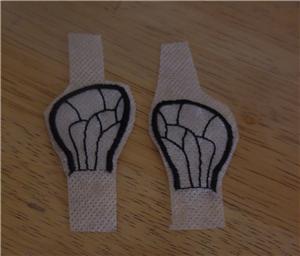
Stitch the rest of the design, which provides a satin stitched edge.
5:
Now you can cut away the excess stabilizer. We recommend not washing the stabilizer out yet.
6:
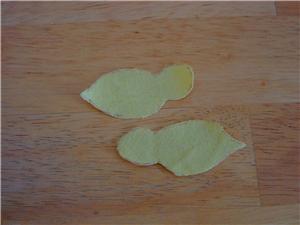
Prepare applique pieces of fabric for both sides of the bee's body, according to the design patterns. You may wish to review the techniques on making and using applique templates.
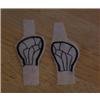
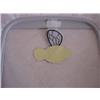
7:
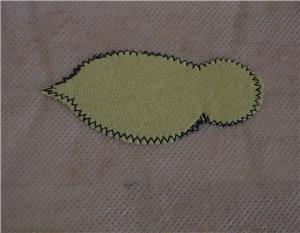
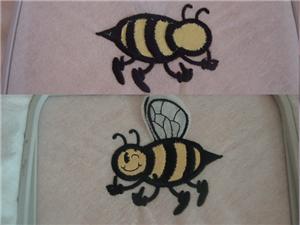
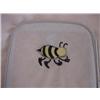
Now hoop some removable stabilizer. In our example, we're using fibrous water soluble stabilizer. However, for a thicker finished bee, you can use a black tearaway stabilizer instead. Begin stitching the back side of your bee (this is the file that ends with a “b”). Pictured is the back side of “Bee Positive” (FL67b). Place the applique fabric piece for the bee's body, and continue stitching.
8:
When the piece is finished, cut away the excess stabilizer. We recommend waiting until the entire bee is finished to wash out all of the stabilizer.
9:
Now we're going to stitch the rest of the bee, and assemble it -- all at the embroidery machine. Put a black bobbin in your embroidery machine for the best finished look.
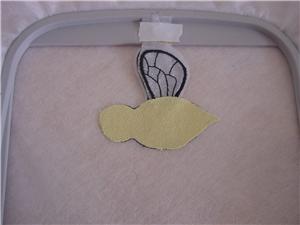
10:
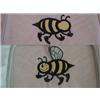
Hoop two layers of fibrous water soluble stabilizer. Begin the embroidery, and once the applique mark has stitched, stop. Place the bee's wings and the applique fabric piece for the front of the bee's body. An embroidery adhesive works well to keep the bee's body in place.
11:
After the limbs and body stripes have stitched, the mark line for the back of the bee's body will stitch.
12:
Remove your hoop, and and place the bee's body piece, which you have already completed, within the mark line on the underside of the hoop. Once again, an embroidery adhesive works well.
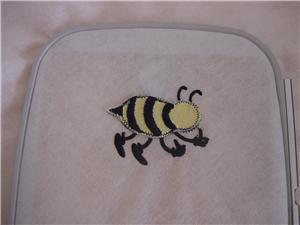
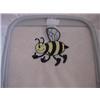
13:
Replace the hoop on the machine and continue stitching. The back piece will be stitched in place, and a border will stitch around the entire body.
14:
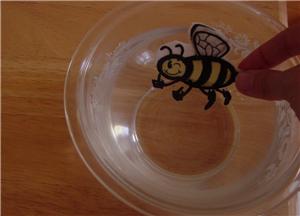
Now you can fully remove the stabilizer by washing the bee. Once dried, he's ready to be attached to your mobile.
15:
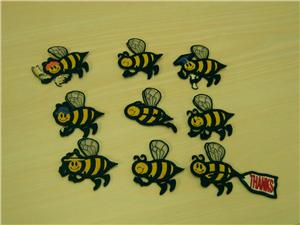
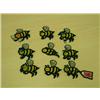
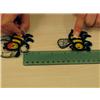
Complete as many bees as you would like for your mobile. Ours includes all nine bees.
16:
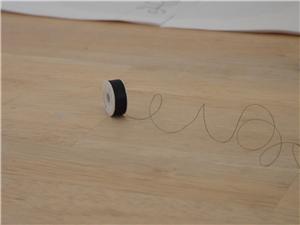
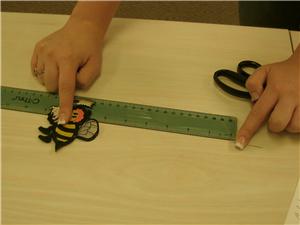
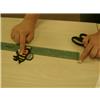
Cut four pieces of monofilament (fishing line) approximately 12" long. With a needle & thread, attach four bees to monofilament.
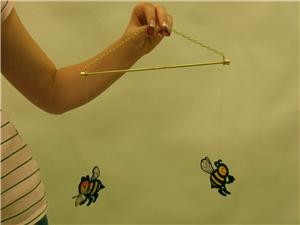
17:
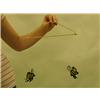
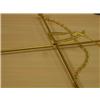
Tie the end of the monofilament around the ends of two 22cm brass bell pull rods, trimming to approximately a 7" hanging length.
18:
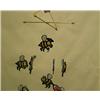
Now you have four bees attached to the bell pull rods.
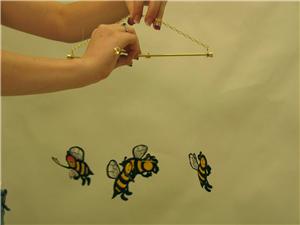
19:
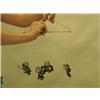
Next, we'll attach four more bees. Cut four pieces of monofilament 7" in length. With a needle & thread, attach these pieces to the next four bees. Next, attach these four bees to the bottom edges of the previous four. For each new bee, this should yield approximately a 4" hanging length from the upper bee.
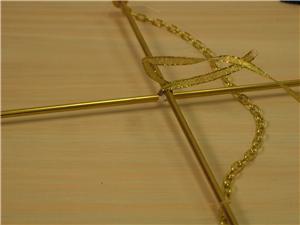
20:
Next, we'll cross and secure the two bell pull rods. Place a dot of tacky glue on wired ribbon, and align the glue with the crossed rods. Tie, wrap, and knot the ribbon.
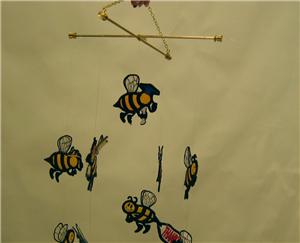
21:
The ninth bee hangs in the center of our mobile. Attach this bee to monofilament thread, and tie this to the cross in the two rods, creating a 4" hanging length.

22:
Lastly, when you hang the mobile, make sure it is safely out of baby's reach. Its bright colors and movement will make it fun to look at.


 Nine Dimensional Bees
 Hemingworth Super Solv - Cold Water Soluble Film - 12 in X 11 yds
 505 Spray & Fix Temporary Fabric Adhesive
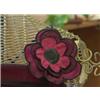 Dimensional Brooch Pin
 Fluttery Flower Easter Basket
 Dimensional Embroidered Topiary
 Printing Production Sheets
 Making Applique Templates
 Over the Hoop 1
 Over the Hoop with Wet 'n Stick
 Using Appliqué Templates
 Simple Appliqué
 Dimensional Topiary Video