Embroidery Special FX (Effects) May 17
Watch: 

Jewelry Box
With some wood stain, balsa wood, and your embroidery skills, transform a small tropical box into this gorgeous jewelry box.
1:
Let's begin by preparing the extras for the jewelry box. Measure the interior of the box sides, and cut pieces of double-sided fusible Stitch'n Shape to fit inside the box. For this small tropical box, cut two pieces 53mm x 90mm, one piece 172mm x 90mm, and two pieces 53 x 90mm.
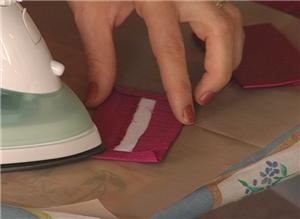
2:
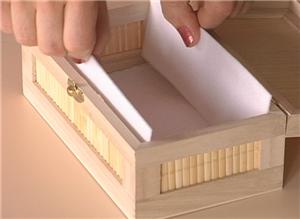
Fuse a pretty fabric to the pieces, and trim away excess fabric to create an easy drop-in lining. Set it aside.
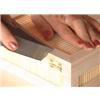
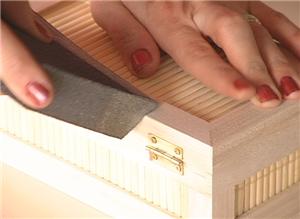
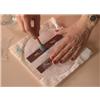
3:
Next, prepare the wood for the jewelry box. Sand the sides and edges of the box, and soften the hard edge of the corners.
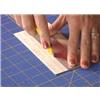
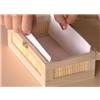
4:
Cut pieces of 1/32" thick balsa wood to fit recessed areas in the top and sides of the box. You will need one piece 153mm x 73mm for the top, and two pieces 153mm x 24mm for the long sides.
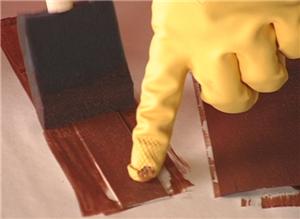
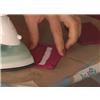
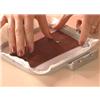
5:
Apply wood stain to the box and balsa pieces. Place weights on the balsa to keep it from warping. Set these pieces aside and allow them to dry completely.
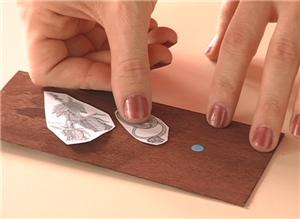
6:
Once the stain has dried on the jewelry box pieces, they are ready for stitching. Use printed production sheets to plan a design layout and mark the embroidery placement points with removable stickers. On the larger piece, place the sticker for "Rose Set: single "(HF14) 35mm from the top, and 44mm from the left. Place a sticker for "Rose set" (pair) (QE44) 30 mm from the top, and 47mm from the right. Mark the start point for "Wedding Rings" (CK13) 25mm from the bottom, and 73 mm from the right edge. For each side piece, mark the start point for "Rose Set: chain 3" (HF40) in the center.
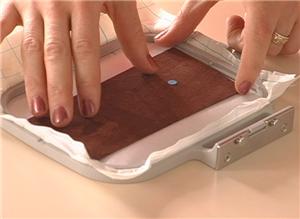
7:
Prepare for embroidery with two sheets of tear away stabilizer, and Film-o-Plast on top. Press the balsa into the hoop.
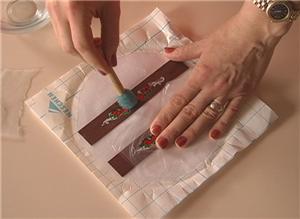
8:
At the embroidery machine, set the start point for the embroidery. Remove the placement sticker, and add your topping before stitching. Repeat this and the previous step to complete all three wood pieces.
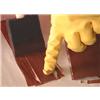
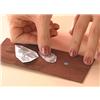
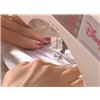
9:
When the stitching is finished, simply remove the stabilizer and topping one layer at a time while being careful to hold the embroidered wood flat against a hard surface. Use water to remove any small remaining bits of topper.
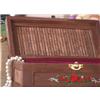
10:
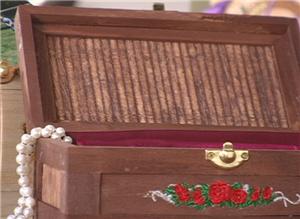
Glue the embroidered pieces in place, and use weights to make them dry flat and straight.
11:
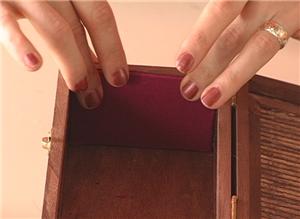
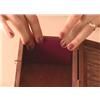
Also glue in the fabric lining created in steps one and two.
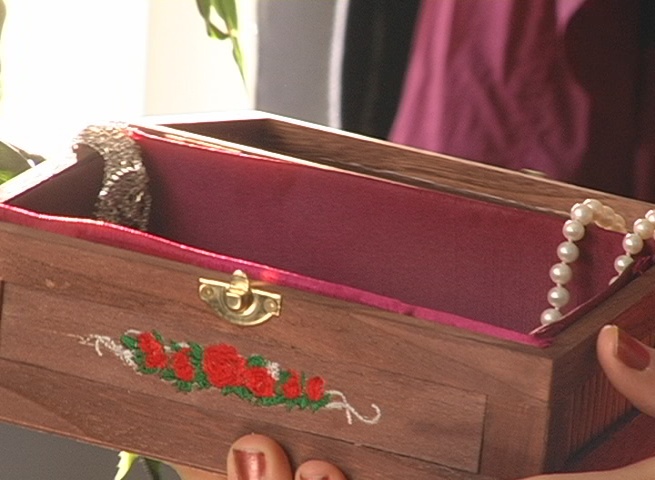
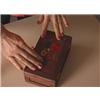
12:
When the glue has dried, the embroidered jewelry box is a beautiful place to keep jewelry and accessories.


 Wedding Rings
 A Dozen Roses
 Hemingworth Super Solv - Cold Water Soluble Film - 12 in X 11 yds
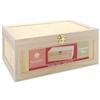 Bamboo & Paulownia Tropical Box - Large
 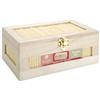 Bamboo & Paulownia Tropical Box - Small
 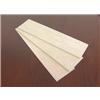 Balsa Wood 1/16 x 3
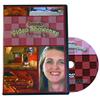 Video Showcase: Series 3
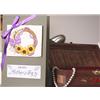 Technique: Embroidery on Wood
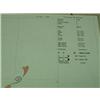 Printing Production Sheets
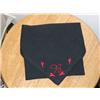 Placement Marking
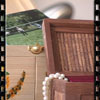 Mother's Memory Boxes Video Demonstration