1:
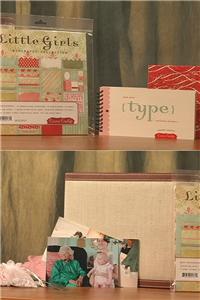
To complete a biography like this one, you need the following supplies: the Biography case with its album, the "Little Girls" biography paper collection, the "Just My Type" nursery sticker book, a set of chipboard letters, and your own photos and other memorabilia.
2:
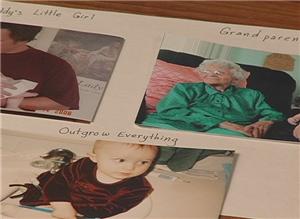
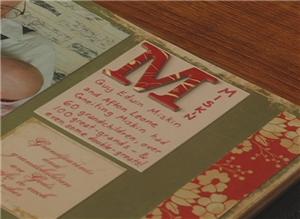
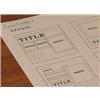
The captions on the journaling cards and borders included in the paper kit are a great inspiration for organizing the pictures according to themes as you plan your book.
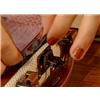
3:
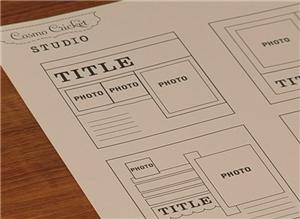
The paper kit also comes with a Designer's Studio inspiration sheet to which you can refer while planning the layout for each page of pictures.
4:
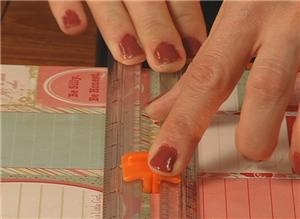
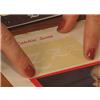
All of the papers, journaling cards, and borders are meant to be cut apart, so a paper trimmer is a useful tool. On every page, Cosmo Cricket reminds you that the paper is acid and lignin free, so you never have to wonder whether your materials are archivally safe. Just trim the reminder off when you're ready to use the page.
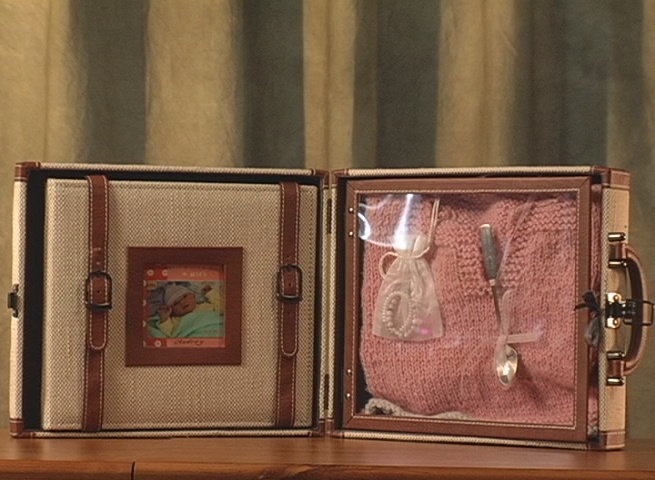
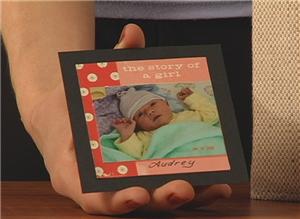
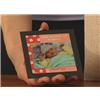
5:
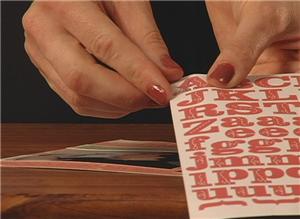
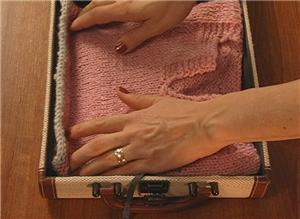
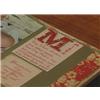
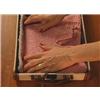
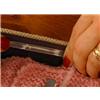
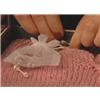
The sheet of cardstock alphabet stickers that also comes with the set is handy for making page titles and other points of interest.
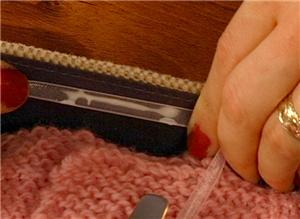
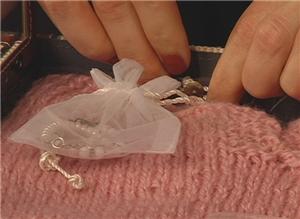
6:
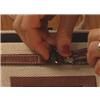
For a little more pop, use chipboard letters in the same way.
7:
Use the letters in the "Just My Type" sticker book like titles or accents to add meaning to your pages. Each letter has a personality and a message that makes them fun to use.
8:
It's easy to use the three-inch window on the front of the album for displaying a picture and title for your biography. Just cut the display piece to to fit the provided slide-in sheet, and slide it in.
9:
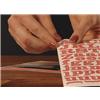
Some of your memorabilia items may not work well between page protectors, so they go in the shadow box side of the Biography case.
10:
To keep small items in place, use the inner mounting strip. Here, fabric glue and ribbon are being used to hang a baby spoon from the top of the case.
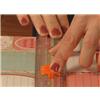
11:
You can also use small thumbtacks on the mounting strip to secure items.
12:
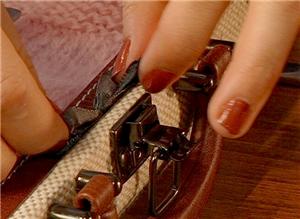
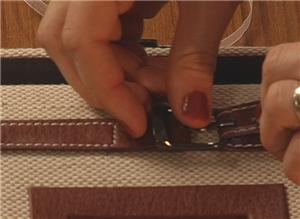
When it’s all finished, the shadowbox door ties shut with ribbons.
13:
The album buckles into the other side of the case, for safe storage and transport.


 Video Showcase: Series 3
 Kirsten's Favorites Video