Tucked Reverse Appliqué
The technique of tucked reverse appliqué is similar to that of fringed reverse appliqué. The difference is that in tucked reverse appliqué, the cut edge is tucked back and stitched down to create a smooth edge, rather than a frayed or fringed edge. It's a technique for machine embroidery inspired by hand-stitched quilts.
1:
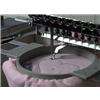
Hoop the reverse appliqué fabric underneath the item that will be cut away to reveal it.
2:
Embroider the first color stop, which fastens the layers together.
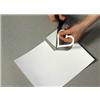
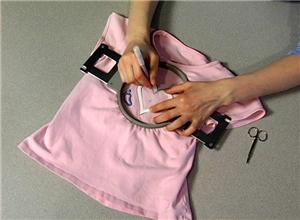
3:
Then stop the machine, and prepare to cut and tuck the appliqué. Prepare a tracing template an eighth of an inch smaller than the inner line on the embroidery design. The "Tucked Reverse Appliqué" pack on Embroidery.com includes printable tracing templates. Cut the template out.
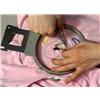
4:
Place it in the center of your embroidered design while it's still in the hoop. Trace around the template with a temporary marking pen or pencil. This line will be the fold line as the cut edge is tucked back.
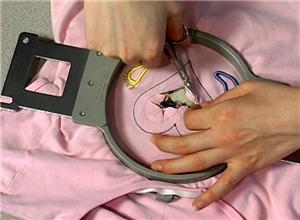
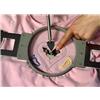
5:
Pinch and pull up the top fabric, so as to separate it from the appliqué fabric below, and start cutting. Depending on the shape you're cutting, some of the fabric will be cut away and discarded, because it's too much to tuck under. Do be careful though, not to cut away too much fabric. You will need enough length to be fastened by the stitching later on.
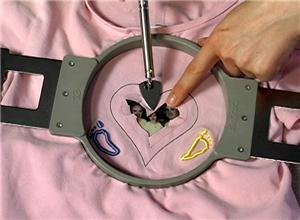
6:
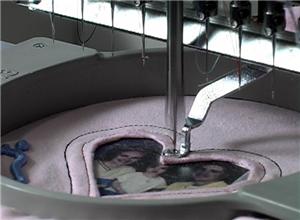
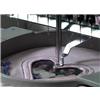
As you tuck the fabric edge back, follow along with a mini iron, pressing the fold as you go.
7:
When the entire shape is tucked, return the hoop to the embroidery machine, and sew the second color stop. The machine will sew around your reverse appliqué twice.

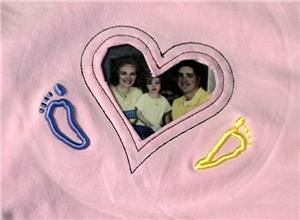
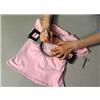
8:
Tucked reverse appliqué lends a hand-made quality to this child's shirt project.


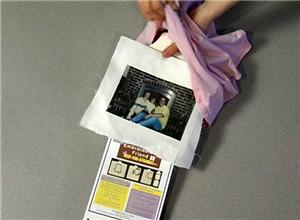
 Tucked Reverse Applique Design Pack
 Smaller Heart for Tucked Reverse Applique
 Larger Heart for Tucked Reverse Applique
 Puffy Foam Embroidery