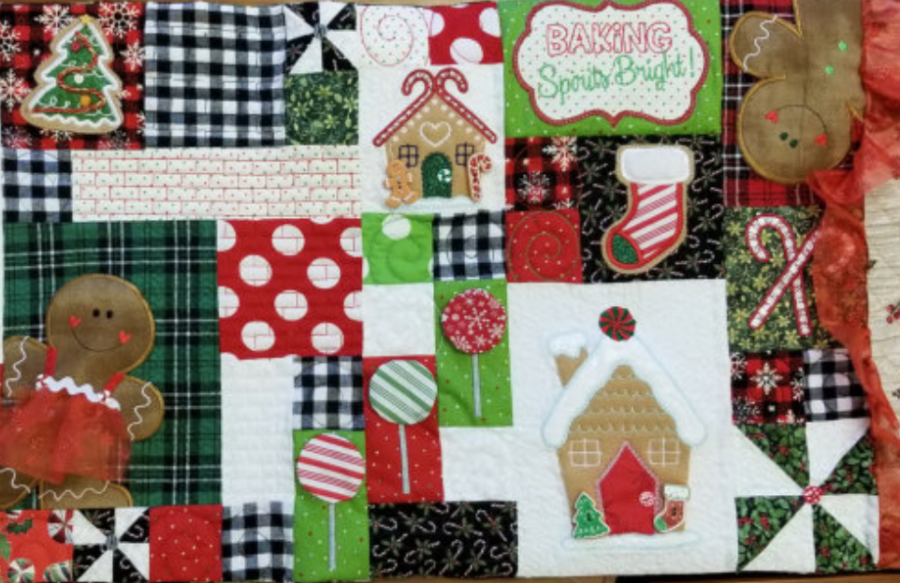
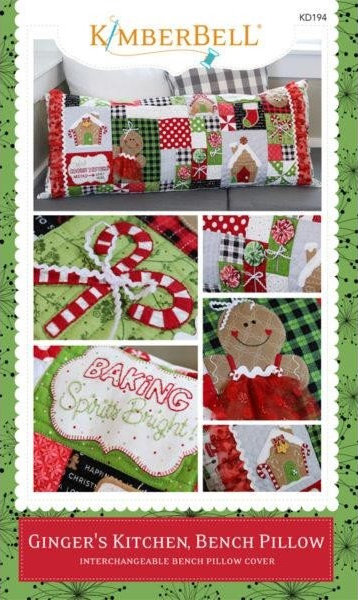
Project Video Featuring Kimberbell Designs Ginger Kitchen Bench Pillow
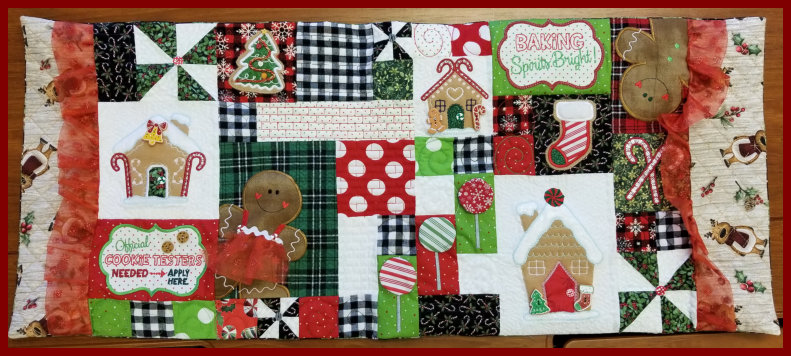
Join Donnett & DeeAnn for this week's Project Video featuring Kimberbell Designs' Ginger Kitchen Bench Pillow.
Each week as part of our Beginner's Journey into Machine Embroidery Blog, DeeAnn shares a project from beginning to completion. We discuss what project taught her, what the struggles were and how she overcame them. We include the products and supplies she used to complete that project.
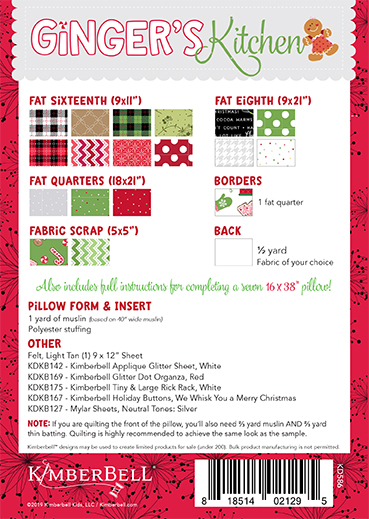
A PDF of the fabric requirements and instructions for making the sewn versions of the bench pillow.
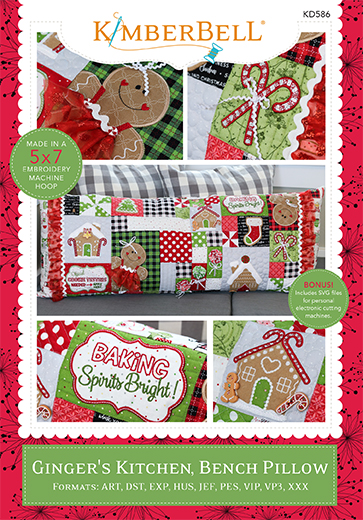
There are 2 hooping options available: a 6"x10" and 9"x14".
Instructions for making the pillow form and finished pillow are all included along with detailed step-by-step instructions for multi-hooping.
Making this a fun project to decorate your home! This is only one of Kimberbell’s popular series of interchangeable Bench Pillow covers! You can start by making one large "bench pillow" form. Then change out a new cover for that pillow form for each season or holiday!
Donnett: What backing did you use?
DeeAnn: I used a Medium Tearaway and a Water Soluble Topper.
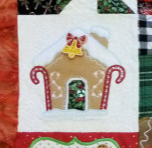
DeeAnn: Yeah, it makes it look like the morning after a snowfall and it was fun to do.
Donnett: Each of the Gingerbread Houses have different features. Some have candy canes. On the candy canes it looks like you use Mylar. How was that to work with?
DeeAnn: It was my first time working with Mylar and it was tough for me. It kept bunching up. My fabric was over the hoop so I couldn't tape it down but you mentioned a double sided tape. So I am going to try that next time.
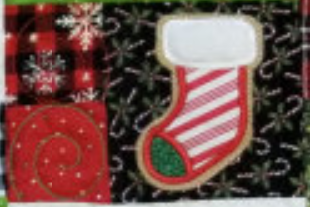
Donnett: On the stocking, that was your first time using Minky.
DeeAnn: Yes, I had to use a topper so that the stitches didn’t sink down into it. I used a water soluble topper that just washes away.
Donnett: This pillow does have some quilting piecing pieces-- how did that work?
DeeAnn: Well, that was one thing I learned. I thought "I have have done enough of these, I know now to sew them together." I was sewing them together and got to the point where they weren't matching up and they were longer then each other. I had to unpick it and start over and follow the directions.
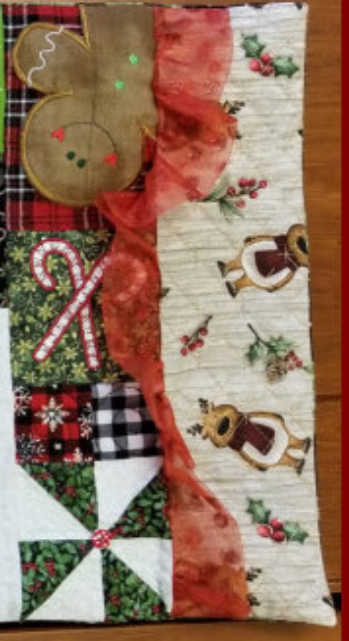
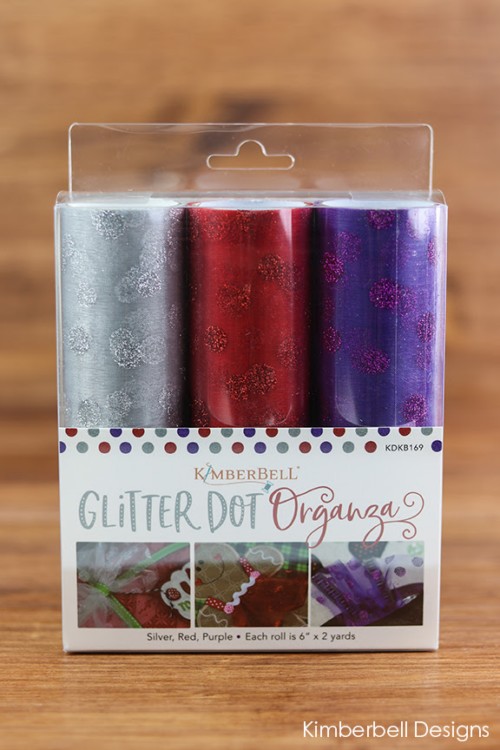
Donnett: There is a organza ruffle near the ends of the pillow-- how was adding that ruffle?
DeeAnn: That was my first time working with a piece of organza that big. The seam allowance was so small I had a hard time making it even. I would allow for a much larger seam allowance next time.
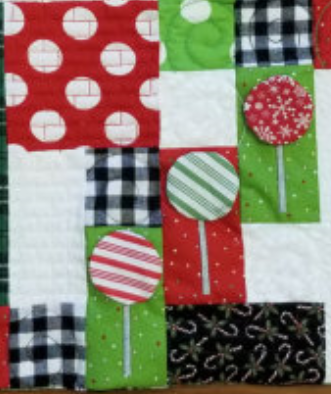
Donnett: On the lolly pops, the directions say to make some yo yo's.
DeeAnn: Yeah, I made them but they wanted the rough edges out and lolly pops don't have rough edges, so I put them facing the other direction.
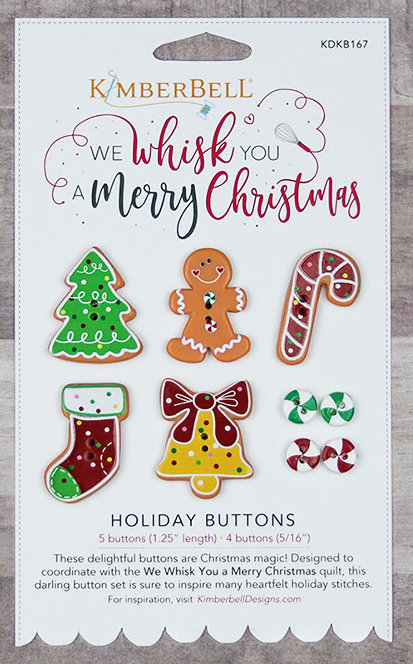
Donnett: They turned out really cute. You could also stuff them or change them out for buttons. There are lots of other options you could do for the lolly pops.
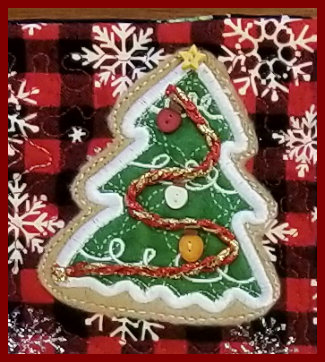
DeeAnn: Yes, I used all buttons in that pack but I wanted to add something extra. So I went shopping for a star button for the tree but I couldn't find one. I told you and found out we carry all kinds of buttons.
Donnett: Yes, we carry all kinds of buttons including star buttons and we added some light bulbs to the tree along with some cording that we that we made from some Kreinik 1/8" ribbon. My favorite are the chocolate chip cookie buttons on the Official Cookie Tester Needed sign.
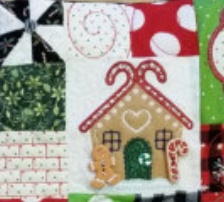
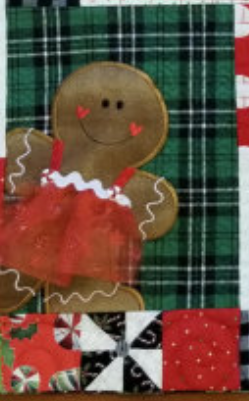
Donnett: I love the Gingerbread Lady organza dress.
DeeAnn: That was easier to work with as it was smaller.
Donnett: I think you did an amazing job on this Ginger's Kitchen Bench Pillow-- it turned out really cute. It looks like you learn a lot of new techniques.
DeeAnn: I did. I learned a lot of things that will help me with future projects.
I invite you to take a tour of our Machine Embroidery Finish Gallery on Embroidery.com. It is full of all kinds of inspiration and amazing ideas that you can take and use in your stitching. We love showing off all that our amazing customers have completed. Of course, we would love to add your latest creations to our Finish Gallery-- after all, great works of art are meant for display! Send us pictures of your finished projects to [email protected].
Make sure to turn on the notifications as that's how you will know that new videos are up. As always, I love to hear your comments and suggestions for new videos and new content, so leave those for me below or send to [email protected].
Enjoy & Happy Stitching – Donnett
shelley p.
I have started making Ginger Kitchen bench pillow. How did you quilt it? I have a Babylock embroidery machine
You can quilt this as normal on an embroidery machine or sewing machine. You will just need to be sure to do so before sewing on the embellishments and before sewing the front and back together. I hope this helps. Please let us know if you have any further questions and have a wonderful day!


shelley p.
I have started making Ginger Kitchen bench pillow. How did you quilt it? I have a Babylock embroidery machine