Embroidery Special FX (Effects) May 17
Watch: 
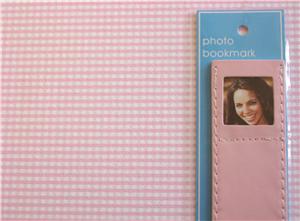
Embroidered Vinyl Bookmarks
Adding embroidery to a vinyl bookmark is so easy, you'll want to make one for everyone you know! Here's how to easily make a bookmark, with a few important tips learned along the way:
2:
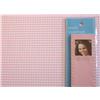
Pick out coordinating paper and a vinyl bookmark. We recommend Kiwi paper for this project, because of its firm flexibility and because of how easily stabilizer tears away. (For more information on sewing on paper, see the related Project, "Embroidered Paper").
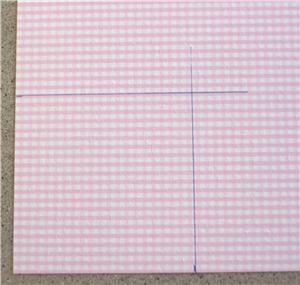
3:
Mark and then cut out a 3" square of the paper selected in step two.
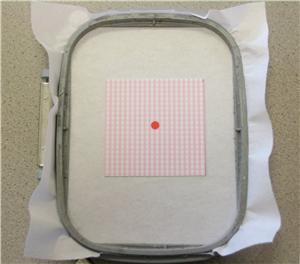
4:
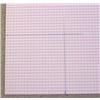
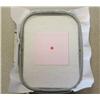
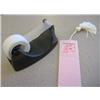
Hoop an 8" x 8" sheet of tearaway stabilizer. Spray back of paper with a temporary adhesive, like 505 Spray N' Fix, and apply paper to stabilizer, keeping paper square with hoop. Put a placement dot in the center of paper.
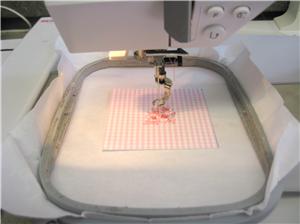
5:
Embroider design, using the placement dot as your start point.
7:
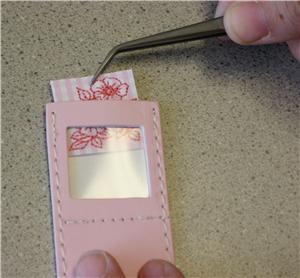
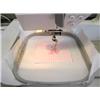
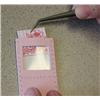
Insert design into bookmark, using tweezers and a butter knife as needed. Any puckers in the paper will be evened out by the bookmark itself. Your embroidery will stay securely in place without adhesive.
8:
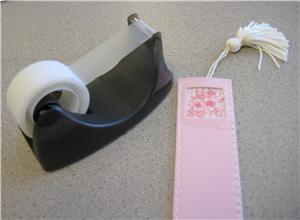
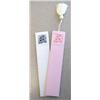
If desired, you can add a tassel to your bookmark. To add tassel: remove paper from bookmark and then secure the tassel to the back of the paper with a piece of tacky tape. Then, re-insert the paper as before.
9:
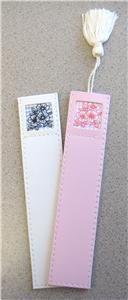
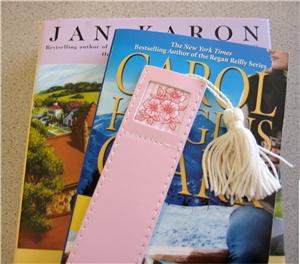
You now have a unique project to sell, give away to that book lover in your life, or to simply tuck into your favorite read.


 Mini Flowers (Redwork)
 505 Spray & Fix Temporary Fabric Adhesive
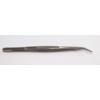 Hemingworth Medium Precision Tip Tweezers
 Organ Home Embroidery Needles 75/11 Sharp
 Commercial Embroidery Needles (11/75 Sharp)
 Inspirational Bookmarks
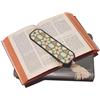 Embellished Bookmarks
 Embroidered Paper Technique