


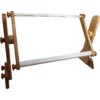
 Tomorrow's Treasures E-Z Stitch Adjustable Oak Lap & Tabletop Frame, Webbing Version
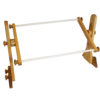 Tomorrow's Treasures E-Z Stitch Adjustable Oak Lap & Tabletop Frame
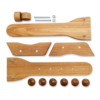 E-Z Stitch Lap Stand Leg Kit
Please Login to comment on this post.
How to use the EZ Stitch Tomorrow's Treasure Lap and Table Top Stand
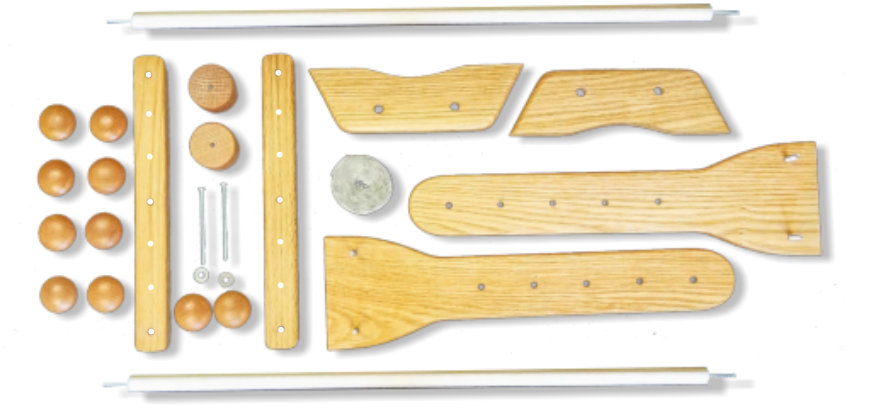
The EZ Stitch Tomorrow's Treasures Lap and Tabletop Stand includes:
Two Legs which are 15.5" tall, 2.5" wide at the top and 4.5" wide at the base.
Two Feet
Two 12" Adjustable Side Bars
Two 20" Heavy Duty Scroll Rods with Tape or with Webbing
Two spacers
10 Knobs
Two 3" Pan-head Screws
Two Flat Washers
One Roll of Tape for Fabric (3 yards) If you choose the Tape version
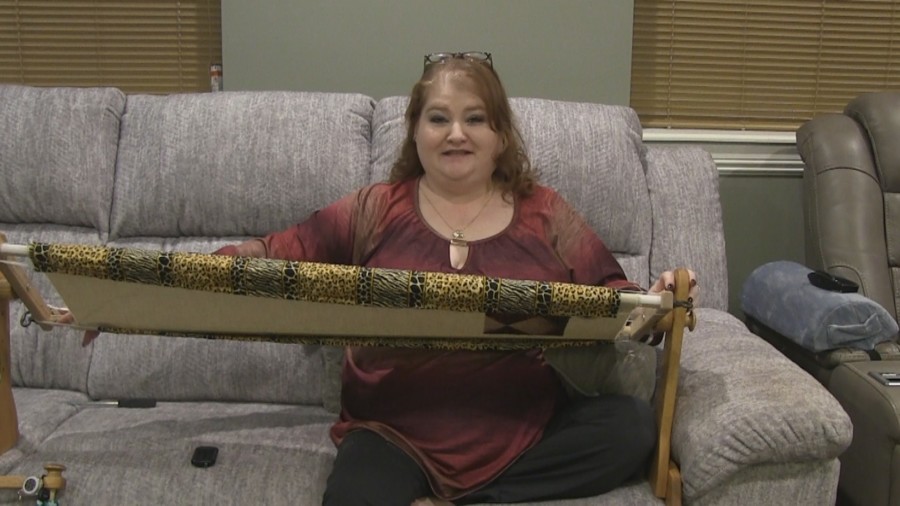
EZ Stitch Tomorrow's Treasure Lap Stand Tape Version

EZ Stitch Tomorrow's Treasure Lap Stand Webbing Version
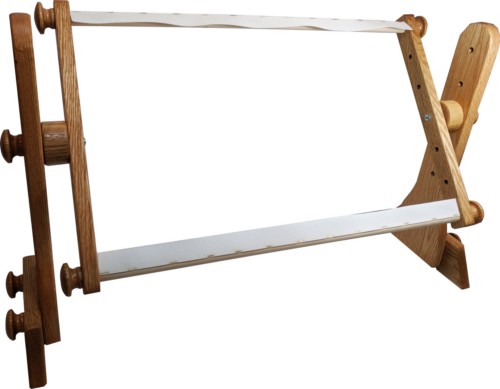
Assembly is simple and can be completed within minutes. This sturdy frame is fashioned from solid American Red Oak and hand finished with Golden Oak oil stain. For more information on assembly check out my video blog on How to assemble the EZ Stitch Lap Stand.
This versatile, adjustable oak lap stand works for a variety of projects-- whether your passion is cross-stitch, needlepoint, crewel, embroidery, or quilting. It also provides an attractive furniture quality frame while your project is in progress. The twin pillar legs construction provides a stable platform for all your projects.
The Legs have five holes each 2” apart
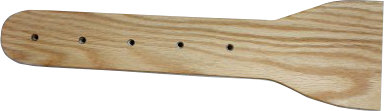
The 12” Side Bars have have seven holes each 2” apart
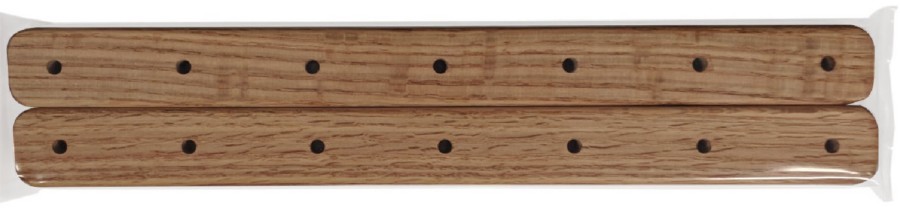
This will give you versatility and can be adapted to many configurations.
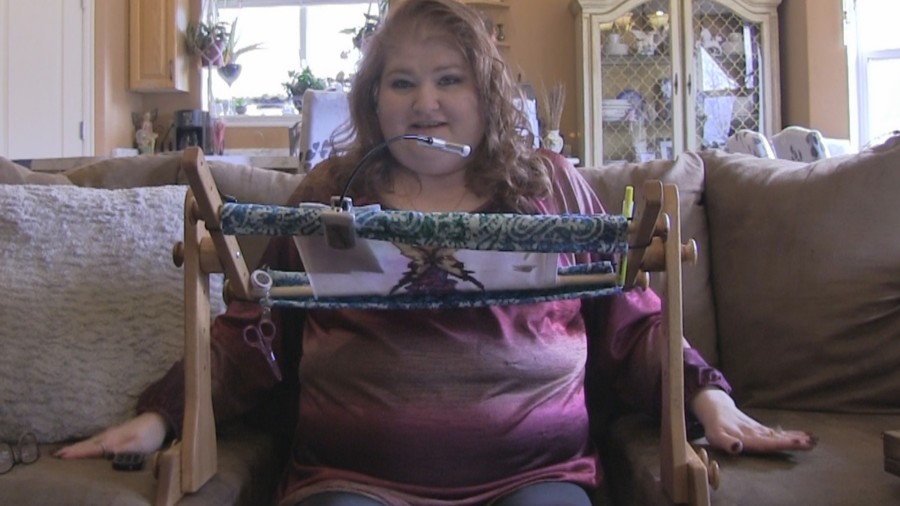
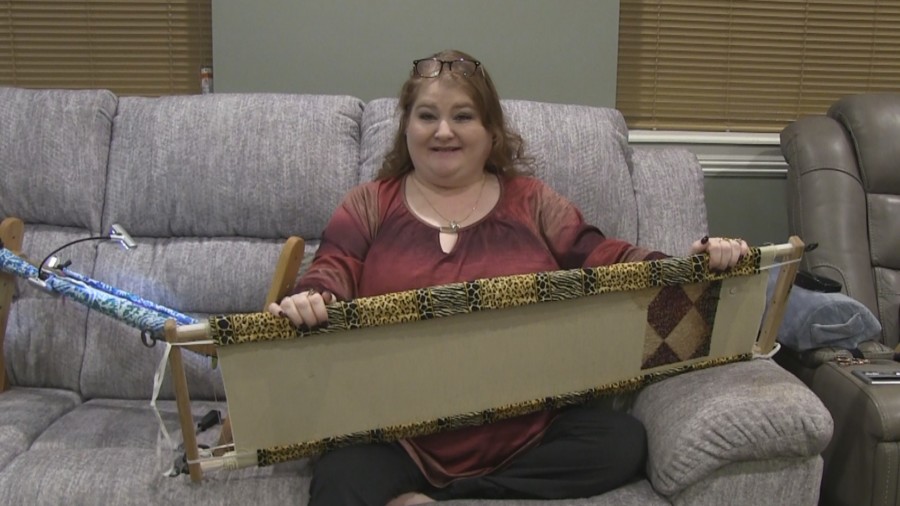
Lap Stand Placement when stitching on a couch
I have the Leg attached to the Side Bar in the second hole from the top of the leg. Then the Side Bar attached to the Leg in the middle hole of the Side Bar.
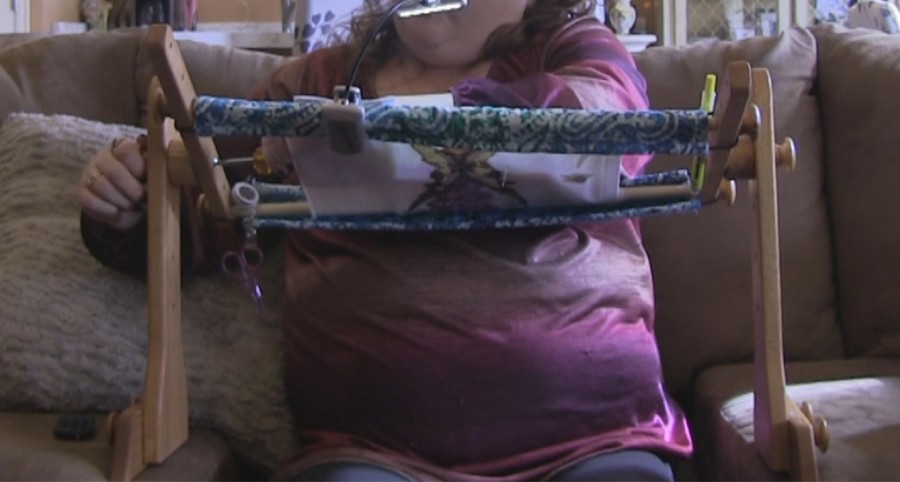
Now where you place your Scroll Rods will depend on how long your fabric is. In this example I have the bottom Scroll Rod in the last hole on the Side Bar and the top Scroll Rod in the 3rd hole down as my fabric is not that long.
This placement gives me the height I need to sit comfortably on my couch while stitching. My arm that is on top of the stand can rest right on on the whole stand. This helps relax my arm and doesn't cause any extra tension on my neck or shoulders.
In this video you can see that the couch cushion that I am sitting on does sink down. But the legs of my stand are sitting on the other two cushion making the stand a bit taller so I don't need to move the scroll frame up to the top hole on the Leg. To give myself extra support I do use a pillow behind my back along with a pillow under the arm that is stitching on the bottom. This is very comfortable position for me to stitch.
It really will depends on your couch on where you would place the frame on the Legs. If you have a really soft couch that sinks you may need to put the Scroll Frame at the top hole. You will need to play around with it till you find the position that is comfortable for you.
Table Top Stand placement when stitching at a table.
I have the Leg attached to the Side Bar on the 2nd to the bottom hole on the Leg. If you have not already does so you will need to move your scroll rods in to the 2nd or 3rd hole from the top of the Side Bar. Then the Sidebar attached to the Leg in the top hole of the Side Bar.

This will make it so the Scroll Frame is coming toward you instead of you leaning over the table to stitch. This is a great placement option if you stitch at a table or if you are at a stitching retreat or convention where you will be stitching at a table.
Lap Stand Placement when when sitting in a chair
I have attached the Leg to the Side Bar in bottom hole on the Leg, Then the Side Bar is attached to the Leg in the middle hole of the Side Bar.
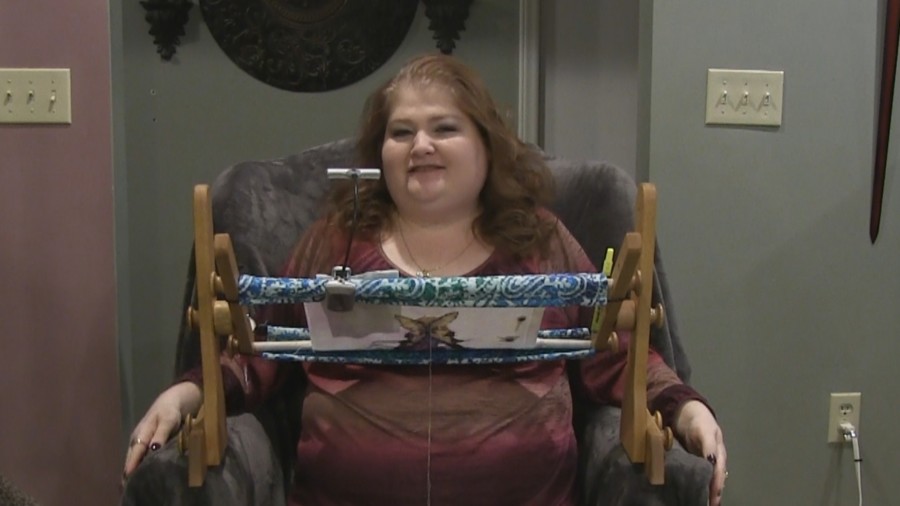
I am sitting in a wing back chair which when using the 20” Scroll Rods of the Lap Stand is perfect, The leg sit right on the arms of the chair making it really comfortable to stitch on. The only thing I would add to the would be a ottoman to prop my feet up on.
Lap Stand Placement when sitting on the end of a couch.
I have the Leg attached to the Side Bar in the second hole from the top of the Leg. Then the Side Bar attached to the Leg in the middle hole of the Side Bar.
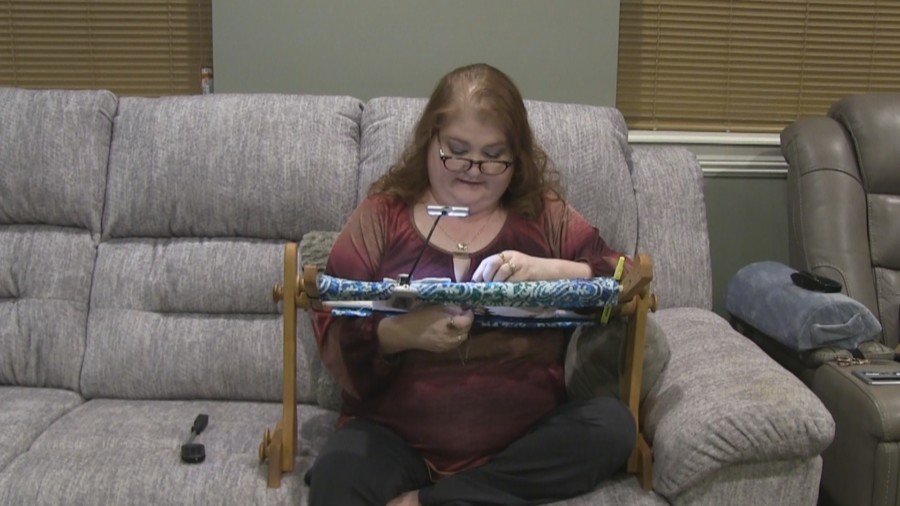
On this couch you can see that the cushions don't sink down as much as the other couch did. So I can have one leg on one cushion and the other leg on the other cushion and my Scroll Frame will still be level.
Now if I was doing a longer piece and needed to work on more of the right side of the project, I would needed to move the Lap Stand to the left. I would have the left Leg attached to the Side Bar in the 2nd hole from the bottom. I would then be able to place that Leg on the arm of the couch This will keep my frame level while giving me access to the right side of my Scroll Frame.

You can now convert any Scroll Frames you have into a Lap or Table Top Stand with this kit! The kit is compatible with any size scroll rods and side bars.
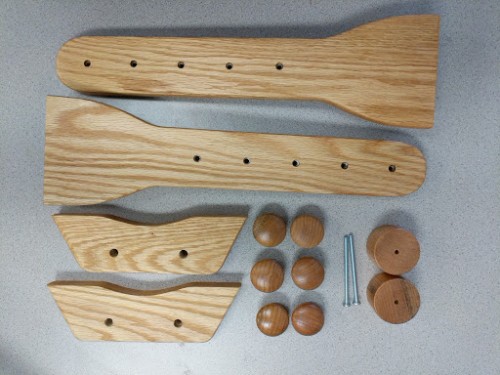
The E-Z Stitch Leg and Feet Kit includes:
I always get asked “What size Scroll Rods can be used with the Lap Stand or the Leg Kit? Answer: The answer is ALL of them!
The 6” Scroll Rods would fit on the Lap Stand but I think the smallest I would go would be 14”. Now remember you can always put smaller projects on longer Scroll Rods. So even if you have several inches on either side of the Scroll Rod that is OK. You also have all of the placement options on the Side Bars as to how close or apart the Scroll Rods are.
Click here to see all of the EZ Stitch Scroll Rods with Tape
Click here to see all of the EZ Stitch Scroll Rods with Webbing
I am stitching Bravery by Heaven and Earth Design, the fabric for this project is 37” x 49”, I have it on 42” Scroll Rods. Now I normally would use my Floor Stand when I work on this project, but what if you don't have the Floor Stand? You can always use the Lap Stand Legs with these longer rods.
As I keep stitching to the right because the Scroll Frames is so long I wouldn't move my Scroll Frame as I stitch, I would move where I sit on my couch.
Of course one of my favorite features of the Lap Stand is Two Handed Stitching. I have found that not only is stitching with both hands much faster, but my stitches look much neater and straight. Another benefit is that your hands scarcely touch the fabric now, so fabric will be clean when you are finished with a project.
I hope this has given you some tips on how use our EZ Stitch Tomorrow Treasure Lap & Table Top Stand. It truly comes down to what positions are most comfortable for you and how you stitch. Play around with placement and find the position that is right for you.
We would love for you to join our EZ Stitch Scroll Frames Facebook Group and share your EZ Stitch Scroll Frame Set up. You can also become a member of our Embroidery.com Cross-Stitch + Hand Embroidery Group on Facebook and post your WIP'S and finished projects. You can post tips & techniques that you have found helpful or any questions you may have. Don't forget to follow us on our Facebook Page Embroidery.com Cross-Stitch + Hand Embroidery.
For Past EZ Stitch Video Demos and so much more check out my (Donnett's) Needlework Blog. Make sure your notifications are turned on as that’s how you will know when a new video is up.
As always, I love to hear your comments & suggestions so please feel free to send them to me at [email protected].
Enjoy & Happy Stitching – Donnett
Liz W.
can I use 2 metal knobs instead of the wooden knobs on each side of the LAP Frame like you use on the floor stand?