 How To Make a Plush Turtle Backpack
Please Login to comment on this post.
|
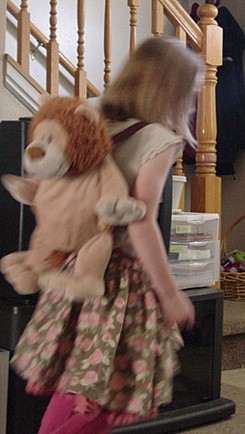
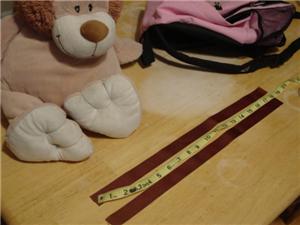
STEP 1 Find a backpack that fits your child (or self). Measure the length of the straps, as adjusted to fit. Find or make a strap material to suit your plush animal (ribbon, ribbing, cord, etc) Add 2" to the length measured in step 1. For my 3 and 6 year olds, 18" was a good fit. Cut two lengths (one for each shoulder). |
|
|
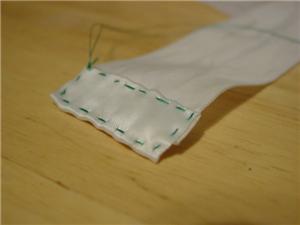
STEP 2 You have 1" of material at each end to work with, should you wish to hem, or fold back part of the strap for stability. |
|
|
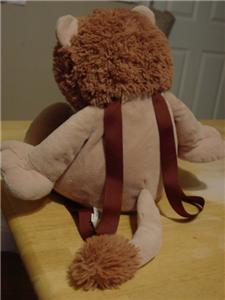
STEP 3 By hand or machine stitching, attach to the top of your animal's body, and the bottom of the animal's body. Note the animal's zipper area, when planning where to attach the strap ends. For this lion, straps were attached at the back of the head, between the arms. The lower ends were attached just above the leg joints. |
|
|
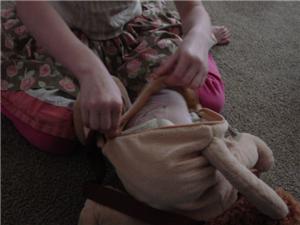
STEP 4 Remove the animal's stuffing pillow and store it elsewhere, if you wish -- this makes the pocket of your new backpack! |
|