1:
The chipboard parts of the lacing card kit are easy to distress. If you want to add that look to your card, just rub an emery board along the edges of the pieces before you add your pictures.
2:
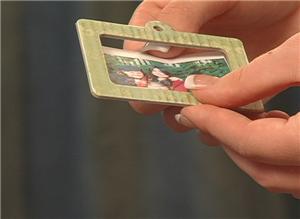
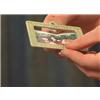
To help you cut your pictures to the right size, use the frames as guides. Then glue the pictures onto the back of the frames.

3:
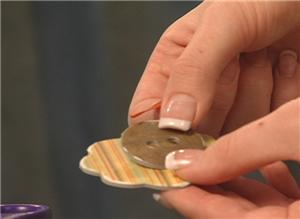
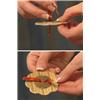
Next, prepare the embellishment buttons. Glue the circular buttons over the top of the flower shapes, taking care to align the lacing holes on the two pieces with each other.
4:
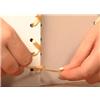
Cut a four inch length of ribbon and pull it through the button holes in a decorative way. Do the same for the included letters. The picture frames may also have lacing holes through which you can lace and tie ribbons.

5:
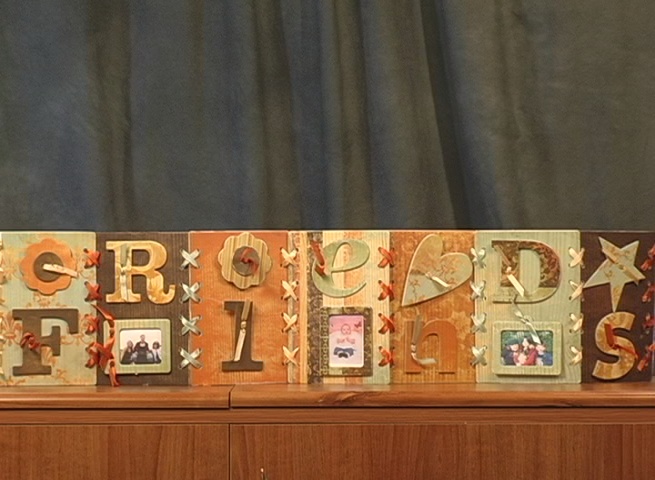
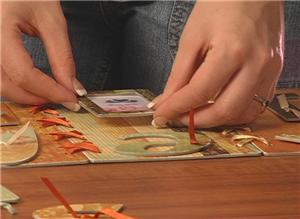
Spread the lacing cards out and arrange your elements, using the included picture as a guide. When you know where everything goes, use glue to attach everything to the cards.
6:
The cards are threaded together with 22 inch lengths of ribbon. Threading ribbon through holes, lace pairs of cards together, until the entire sequence of cards is hinged. At the end of each card, tie a knot.

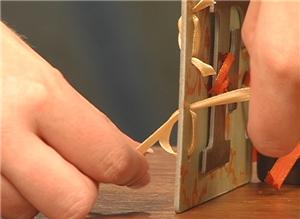
7:
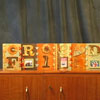
Now to finish the sides, you need eight four inch pieces of ribbon. Thread each piece of ribbon through two holes. Repeat this down the remaining edges, and your “Friends” lacing card is finished.


 Friends Lacing Card Video Demonstration
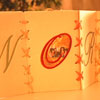 Embroidered Family Lacing Card Video Demonstration