Please Login to comment on this post.

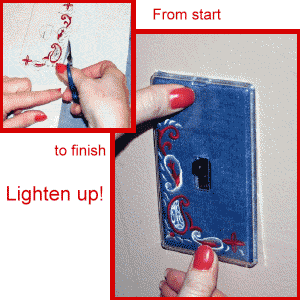
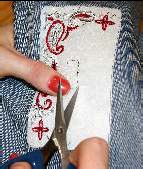
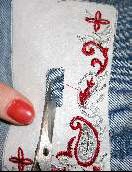
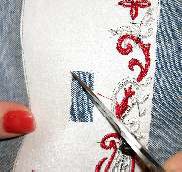
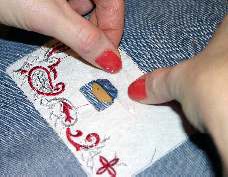
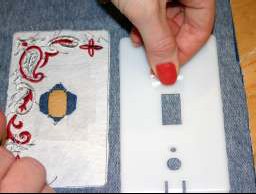
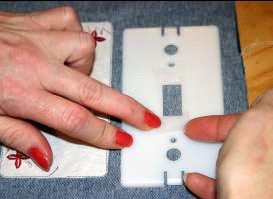
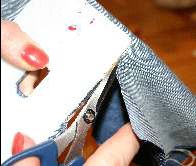
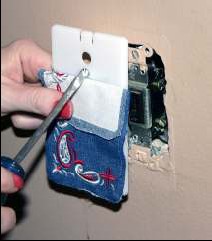
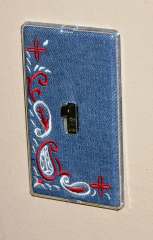
 Paisley Corner Switchplate (Single)
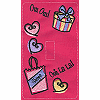 "Oui Oui!" Switchplate (Single)
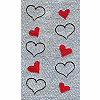 2 Hearts Switchplate (Single)
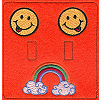 Be Happy Switchplate (Double)
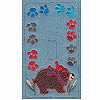 Black Bear Switchplate (Single)
 Cat and Pumpkin Lightswitch Plate
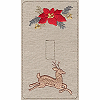 Xmas Deer Switchplate (Single)
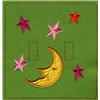 Moon and Stars Lightswitch Plate
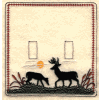 Hunting Switchplate (Double)
 Hunting Switchplate (Single)
 Crazy Cat Switchplate (Double)
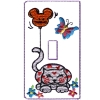 Crazy Cat Switchplate (Single)
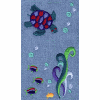 Underwater Switchplate (Single)
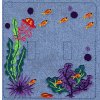 Underwater Switchplate (Double)
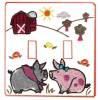 Pig Switchplate (Double)
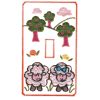 Sheep Switchplate (Single)
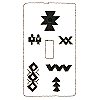 Southwestern Symbols Switchplate (Single)
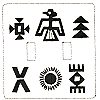 Southwestern Symbols Switchplate (Double)
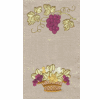 Grape Switchplate (Single)
 Grape Switchplate (Double)
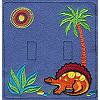 Dinosaur Switchplate (Double)
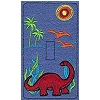 Dinosaur Switchplate (Single)
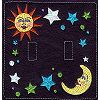 Sky Switchplate (Double)
 Sky Switchplate (Single)
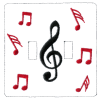 Music Switchplate (Double)
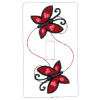 Swirl Trail Butterfly Switchplate (Single)
 Peace Switchplate (Single)
 Princess Switchplate (Double)
 Princess Switchplate (Single)
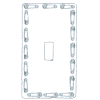 Safety Pin Switchplate (Single)
 Electric Guitar Switchplate (Double)
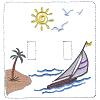 Sailboat Switchplate (Double)
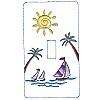 Sailboat Switchplate (Single)
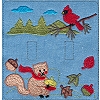 Squirrel/Cardinal Switchplate (Double)
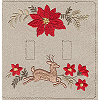 Xmas Deer Switchplate (Double)
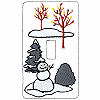 Village Switchplate Cover (Single)
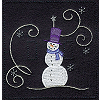 Snowman Switchplate (Double)
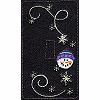 Snowman Switchplate (Single)
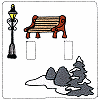 Village Switchplate Cover (Double)
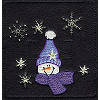 Stocking Cap Snowman Switchplate (Double)
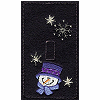 Bucket Hat Snowman Switchplate (Single)
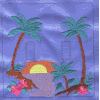 Island Sunset Switchplate (Double)
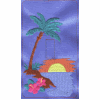 Island Sunset Switchplate (Single)
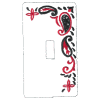
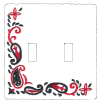 Paisley Corner Switchplate (Double)
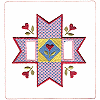 Flowery Quilt Square Switchplate (Double)
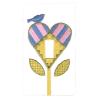 Flower Heart Switchplate (Single)
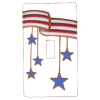 USA Ribbon w/Stars Switchplate (Single)
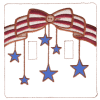 USA Bow w/Stars Switchplate (Double)
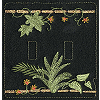 Tropical Leaf Switchplate (Double)
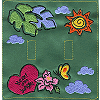 Jungle Heart Switchplate (Double)
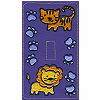 Lion/Tiger Switchplate (Single)
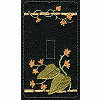 Tropical Leaf Switchplate (Single)
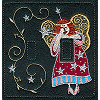 Fairy Angel Switchplate (Double)
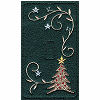 Folk Art Tree Switchplate (Single)
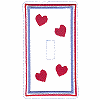 Heart Switchplate (Single)
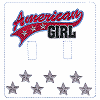 American Girl Switchplate (Double)
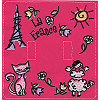 "La France" Switchplate (Double)
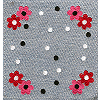 Funky Flower Switchplate (Double)
 Floral Switchplate (Double)
 Floral Switchplate (Single)