What's New Wednesday April 24th
Watch: 
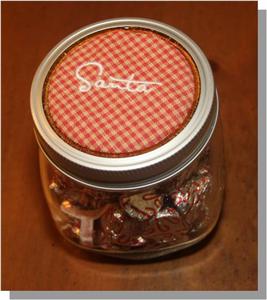
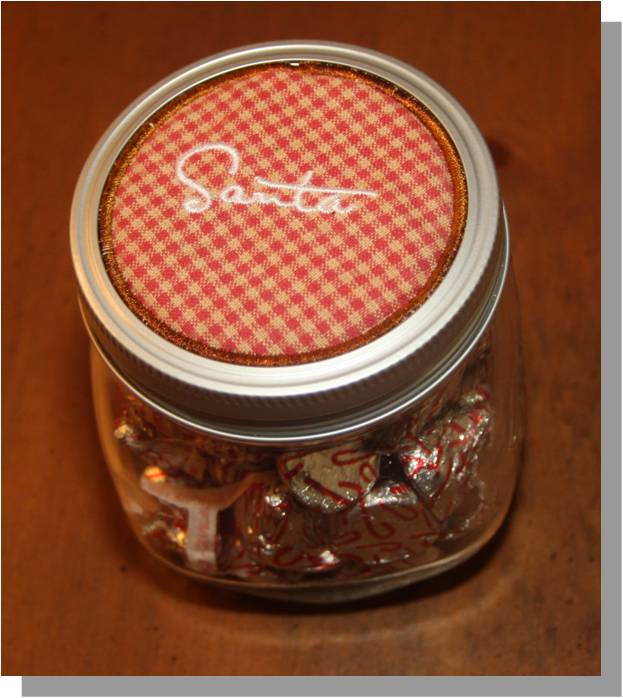
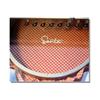
Gingery Christmas - "Santa" Jar Lid Insert
This quick holiday project is a perfect for those last-minute people on your list!
Some notes about the designs in this collection: These designs were created for maximum flexibility and creativity, so instead of have "pre-built" designs, there are a number of elements that can be combined. It is much easier to combine designs than to deconstruct them. This project combines two designs but they are sewn separately, primarily to maintain the loft created by the polar fleece sandwiched in the applique.
Step 1:
Gather the following supplies: small amounts of fabric (I used quilt-weight cotton), small piece of polar fleece, coordinating embroidery threads, canning type jar, wash-away stabilizer (enough to hoop 2 layers once), tearaway stabilizer (enough to hoop once), Temporary Embroidery Spray Adhesive ("TESA") such as 505 Spray 'n' Fix, printed actual-size templates for appliques, applique scissors, and an artist's brush (for acrylics).
Step 2:
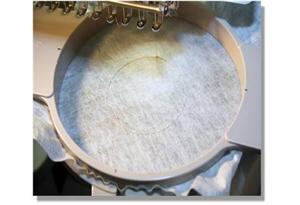
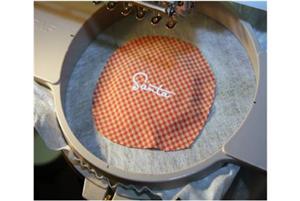
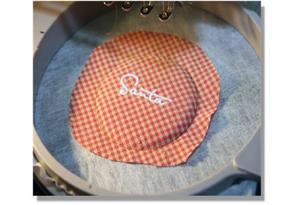
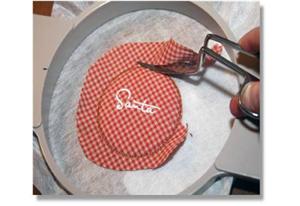
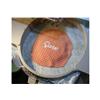
Load lg002025, "Santa," and sew onto a piece of fabric hooped with one layer of tearaway. The hoop that is pictured is actually a size too large for this design but the smaller one did not permit adequate viewing for photography. The top piece is embroidered first. Although you can embroider later in the project, by embroidering first, the polar fleece is not compressed. Notice that I'm sewing on checked fabric and that I've placed it on the diagonal. This is to avoid having the design appear crooked. Even if I had a one of those amazing machines with the camera over the eye of the needle, it can be difficult to get stripes and checks hooped without a bit of a waviness.
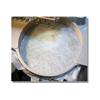
Step 3:
Hoop two layers of wash-away stabilizer. Load the design (in this case lg002018 for jar ring). Sew the first color. The machine will stitch a placement line, which coincidentally exactly matches the template outline. These two projects both fit well within a 100 x 100 mm.

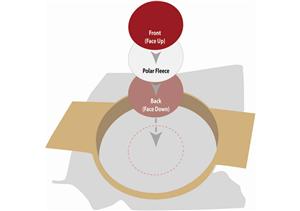
Step 4:
We will be layering the project as shown in the graphic for this step.
Step 5:
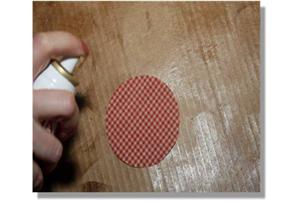
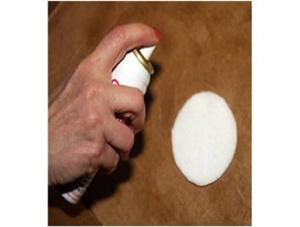
Cut out one of the circle templates (available in the download center when you purchase this design) and use it to cut out your back piece. TESA (spray with a "Temporary Embroidery Spray Adhesive") back piece on front and then place within stitch guides face down.
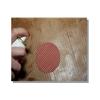
Step 6:
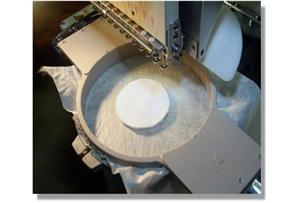
Cut out one of the circle templates and lightly mist the back with TESA. Apply to front of polar fleece. Cut slightly INSIDE the outline (1/8”).

Step 7:
Smooth polar fleece into place within the stitched outline.
Step 8:
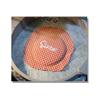
Trim down your previously embroidered piece, rough cutting it to allow about 1/2" all the way around. TESA the back and smooth it over the polar fleece.
Step 9:
Back up one color change, which in this case is the beginning of the design and re-sew the placement stitch. Notice the loft in the design? We could have gotten even more by first laying down a piece of sturdy cut away as our first applique and then stacking two layers of polar fleece. Cut the top one a little smaller and you can have a nice puff top. The cutaway forces the fabric to pouf to the top rather than both top and bottom.

Step 10:
Trim excess fabric close to stitching line. Trimming a circle is pretty easy. Trimming a gingerbread man is not, which is why I generally prefer to precut my appliqué pieces. With this technique, the extra loft changes the requirements for the fabric size so this method is the better one for this technique.
Step 11:
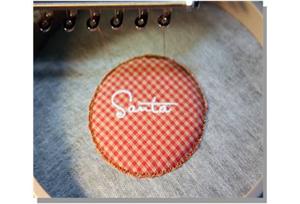
Your embroidery machine will embroider a zigzag tack down. This step secures the back to the front.

Step 12:
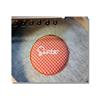
Then a satin stitch will embroider, finishing your embroidery.
Step 13:
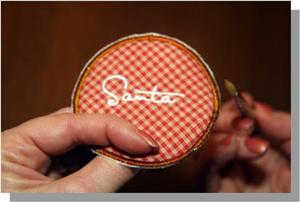
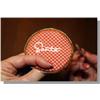
Now you can finish your project. Trim away wash-away close to applique. Get out your artist's brush (for acrylics). Dampen the exposed stabilizer. Allow to soften. Continue to brush stabilizer with wet brush until gone. This saves time! (No waiting for TESA to dissipate before you can rinse. No soaking and drying!).
Step 14:
Tip: You may want to use some double stick tape or a dab of glue to hold the circle in place.


 Gingery Christmas - Ornaments and Package Tags
 Gingery Christmas
 "Santa"
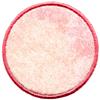 Jar Lid Ring (Applique)
 Floriani Medium Firm Tearaway
 505 Spray & Fix Temporary Fabric Adhesive
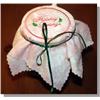 Gingery Christmas - Holiday Greetings Jar Topper
 Printing Production Sheets
 Simple Appliqué
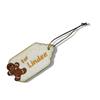 Gingery Christmas - Gift Tag