What's New Wednesday April 24th
Watch: 
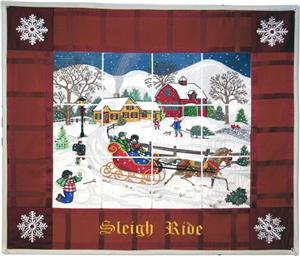
Sleigh Ride Tile Scene Wallhanging
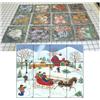
At Anita Goodesign, we commissioned one of our artists to paint a large scene depicting a classic country Christmas complete with a barn, sleigh, a family and snow. We then took the design and divided it into 12 sections and digitized them as individual designs. This tutorial shows you step by step how to choose the proper colors, the fabric we used, as well as the techniques and pattern we used to create the wall hanging.
Step 1:
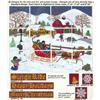
This wallhanging can be done in three different sizes. The first size is for the 4" x 4" hoop which will create a 12" x 16" embroidered tile scene. The second size is for the 5" x 7" hoop and this will create a 15" x 20" embroidered design. Finally, the third size is for the jumbo hoops and this will create a 18" x 24" embroidered design. In order to further embellish your wall hanging, we digitized three different sayings and bell and snowflake motifs.
Step 2:
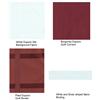
Here are the fabrics we used to make the wallhanging. We fused a lightweight interfacing to the back of all the fabrics used except for the binding. White Dupioni silk was used as a background fabric for the quilt blocks. A burgundy Dupioni was used for the quilt corners with the snowflakes. A plaid Dupioni was used for the quilt border. We used a white and silver striped fabric for the binding.
Step 3:
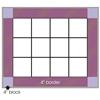
This is the basic layout for the wallhanging. We inserted the title "Sleigh Ride" into the border at the bottom of the wall hanging. We also used one of the included snowflakes in each corner of the wall hanging.
Step 4:
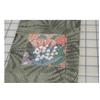
Select the design sizes you would like, and embroider all 12 tile scene designs on a white fabric. Most of the scene has snow in it and instead of stitching all of the snow we used white fabric and only stitched the highlights. Be certain to embroider them all the same size, and leave room between your designs to cut each one out with a 1/2" seam allowance of fabric. As you embroider, you may use the thread colors we suggest in the design pack, or please feel free to select your own colors. Our example pictures come from the Floral Tile Scene project. The technique for joining the blocks for the Sleigh ride scene is exactly the same.
Step 5:
Press each section and leave the outline basting stitch.
Step 6:
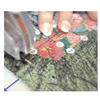
Using a rotary cutter and transparent ruler, trim the embroidered squares leaving a half inch all around. Be exact!
Step 7:
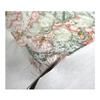
Remove the stabilizer from the back by trimming as close as possible to the basting stitch outline.
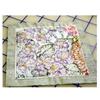
Step 8:
Your sections are ready to piece together.
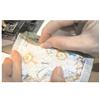
Step 9:
Align the cut edges and check to be sure the basted outlines match because you should be stitching as close as possible next to the basting stitch as you join each section.
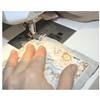
Step 10:
Sew the tiles together in strips, joining piece #1 to #2, then #3, then #4. Continue with #5 through #8 and #9 through #12.
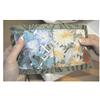
Step 11:
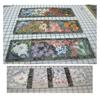
When you open each section your embroideries will blend together with only a slight separation.
Step 12:
Press seams open and then join strips together. The three strips are then ready for joining.
Step 13:
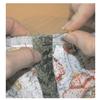
Use a pin to line up the seams perfectly. This is an important step, so be as accurate as possible and sew together using the outline basting stitch as a guide. Stitch right next to, not on top of, the basting stitch.
Step 14:
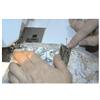
Keep the seam allowances open and flat when joining the strips.
Step 15:
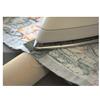
If you have a seam stick available, use it to press seam allowances open. This will give a superior crease.
Step 16:
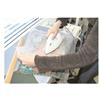
When pressing the front side of your embroidery, use a pressing cloth!
Step 17:
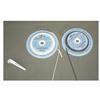
Pre-made fusible bias tape may be used for the seam coverage or use a bias tool and create your own. 4mm is preferred as it is the narrowest. You may also use 1/8" bias tape, or you can use 1/8" narrow ribbon and a 2mm twin needle.
Step 18:
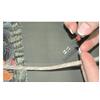
Make or use a bias tape as thin as you can and sew the strips down using a twin needle that fits your bias fabric strips. Size 2.5 works with the 4mm.
Step 19:
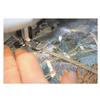
I sewed the longest strips across first, then the shorter strips up and down.
Step 20:
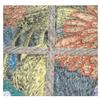
Here is a closeup of the strips sewn with the twin needle. We think you will have a great time creating this embroidered wall hanging!


 Sleigh Ride Design Pack
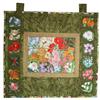 Months of the Year Floral Tile Scene
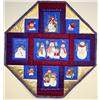 Sparkly Snowmen Quilt


Nancy L.
I purchased this set but it didn't include the thread colors. Can you help please. Nancy