Between Friends Live* New Quilting Product Reveal!
Watch: 

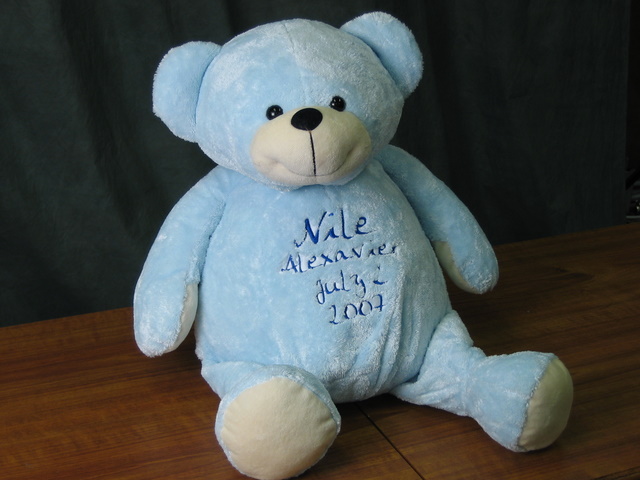
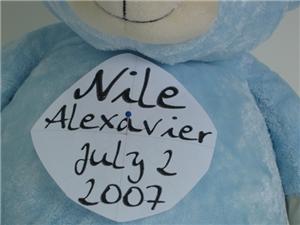
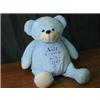
Baby Shower Bear
You can make and customize lettering and then embroider it on a cuddly 20" embroidery bear. This makes a wonderful keepsake that's sure to be the center of attention at the baby shower!
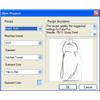
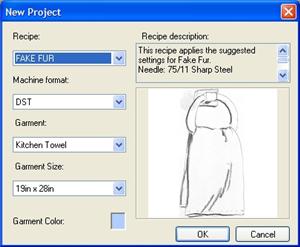
Step 1:
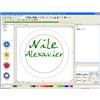
To create the lettering, this tutorial uses KP Compositions software. When you open the program you're prompted to create a new project. Choose "fake fur" from the fabrics listed in the top box, then choose your machine format. The Embroidery Bear is not a garment choice in the software, but you can select something that's a similar size to the bear's belly.
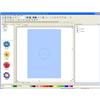
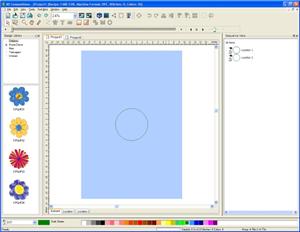
Step 2:
Next, create a location on the garment view that appears, and open the location by double-clicking on it.
Step 3:
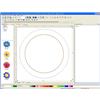
You can also choose to engage the "hoop view" to be certain that your text will fit within your hoop.
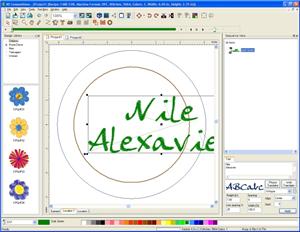
Step 4:
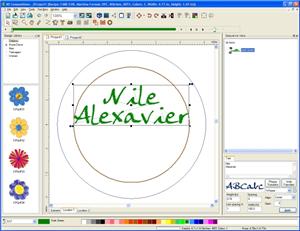
To add text in the location, click the "T" icon and then click inside the location. In the lower right "properties" window, change "My Text" & choose font & size. In this example, the "Whisper" font was chosen.
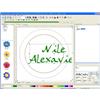
Step 5:
To put text on a separate line, just hit "enter" between your typed items of text. You can control the vertical distance between lines of text by using the "line spacing" option in the text panel.

Step 6:
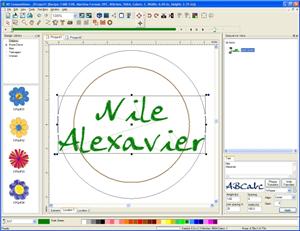
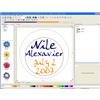
You can center the text by using the alignment tool. Choose "Align: Center". This centers lines over each other. Click Apply. Drag by clicking on the crosshatch mark, or use the "center" function on the "align" tool. This brings the text center to the center of the location. My text is too big, so I will resize, and hit apply. I also want to drag it higher in the hoop so that the longer name is near the hoop's widest point. Use the "line spacing" to bring text lines closer together, or to move them farther apart. The "width" tool refers to the width of the text relative to the location, not to satin column width.
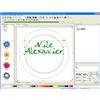
Step 7:
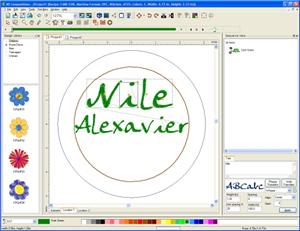
Move letters individually closer to each other by clicking on the orange box near the letter.
Step 8:
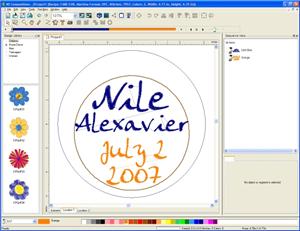
To make the top line of text larger than the second line, enter it as a separate text item, and apply different sizing choices.
Step 9:
Everything that fits in one location saves out as one design, and you can print a production sheet for marking its placement on your Embroidery Bear.
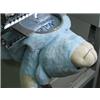
Step 10:
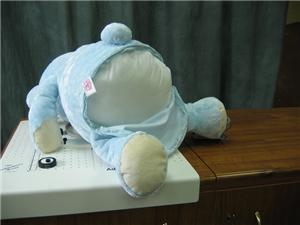
Unzip the back of the Embroidery Bear, and remove the stuffing pillow. Now the bear is ready for embroidery!
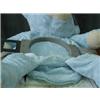
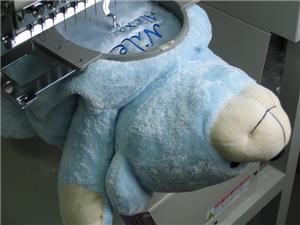
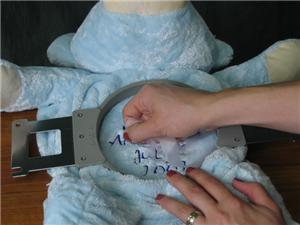
Step 11:
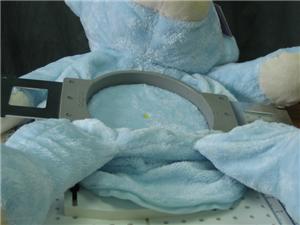
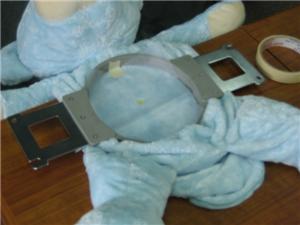
Hoop the Embroidery Bear's belly and stabilizer for your embroidery, keeping your marked point in the center of your hoop. It helps to hoop near the edge of a table so that the bear's head can rest over the table edge, and not on top of your hooping area. You will also probably want to hoop the bear so that the head faces you, rather than the back of your machine.
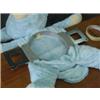
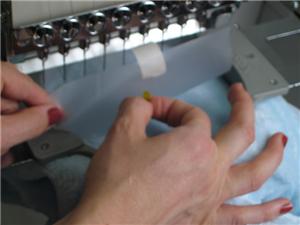
Step 12:
Add an embroidery topper before you begin stitching. A permanent topper can be used, but keep in mind that you may want to pull out many small pieces of topper from inside and between the letters. A wash-away topper eliminates this necessity, but when the topping is washed away, you may find yourself tempted to trim some of the bear's fur to keep the lettering legible.
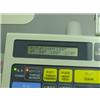
Step 13:
If your Embroidery Bear is hooped upside down (with its head facing you), you should rotate your embroidery design 180 degrees before you begin stitching.
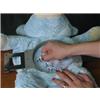
Step 14:
If you used a sticky placement dot, be sure to remove it once your start point is selected, and before you begin stitching.
Step 15:
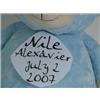
Complete the embroidery on the Embroidery Bear.
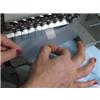
Step 16:
When the embroidery is finished, leave your topping in place while you clip any extra threads. Remove the embroidery topping, and cut away the excess backing.
Step 17:
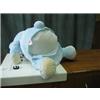
Put the stuffing pillow back in the Embroidery Bear, and he's ready to go to the baby shower.


 Hemingworth Super Solv - Cold Water Soluble Film - 12 in X 11 yds
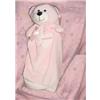 Personalized Embroidery Bear Blankie
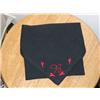 Placement Marking
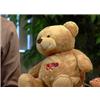 Embroidery Bear
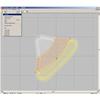 Rotating an Embroidery Design File