Software Success: More about the new Edge to Edge Plugin
Watch: 

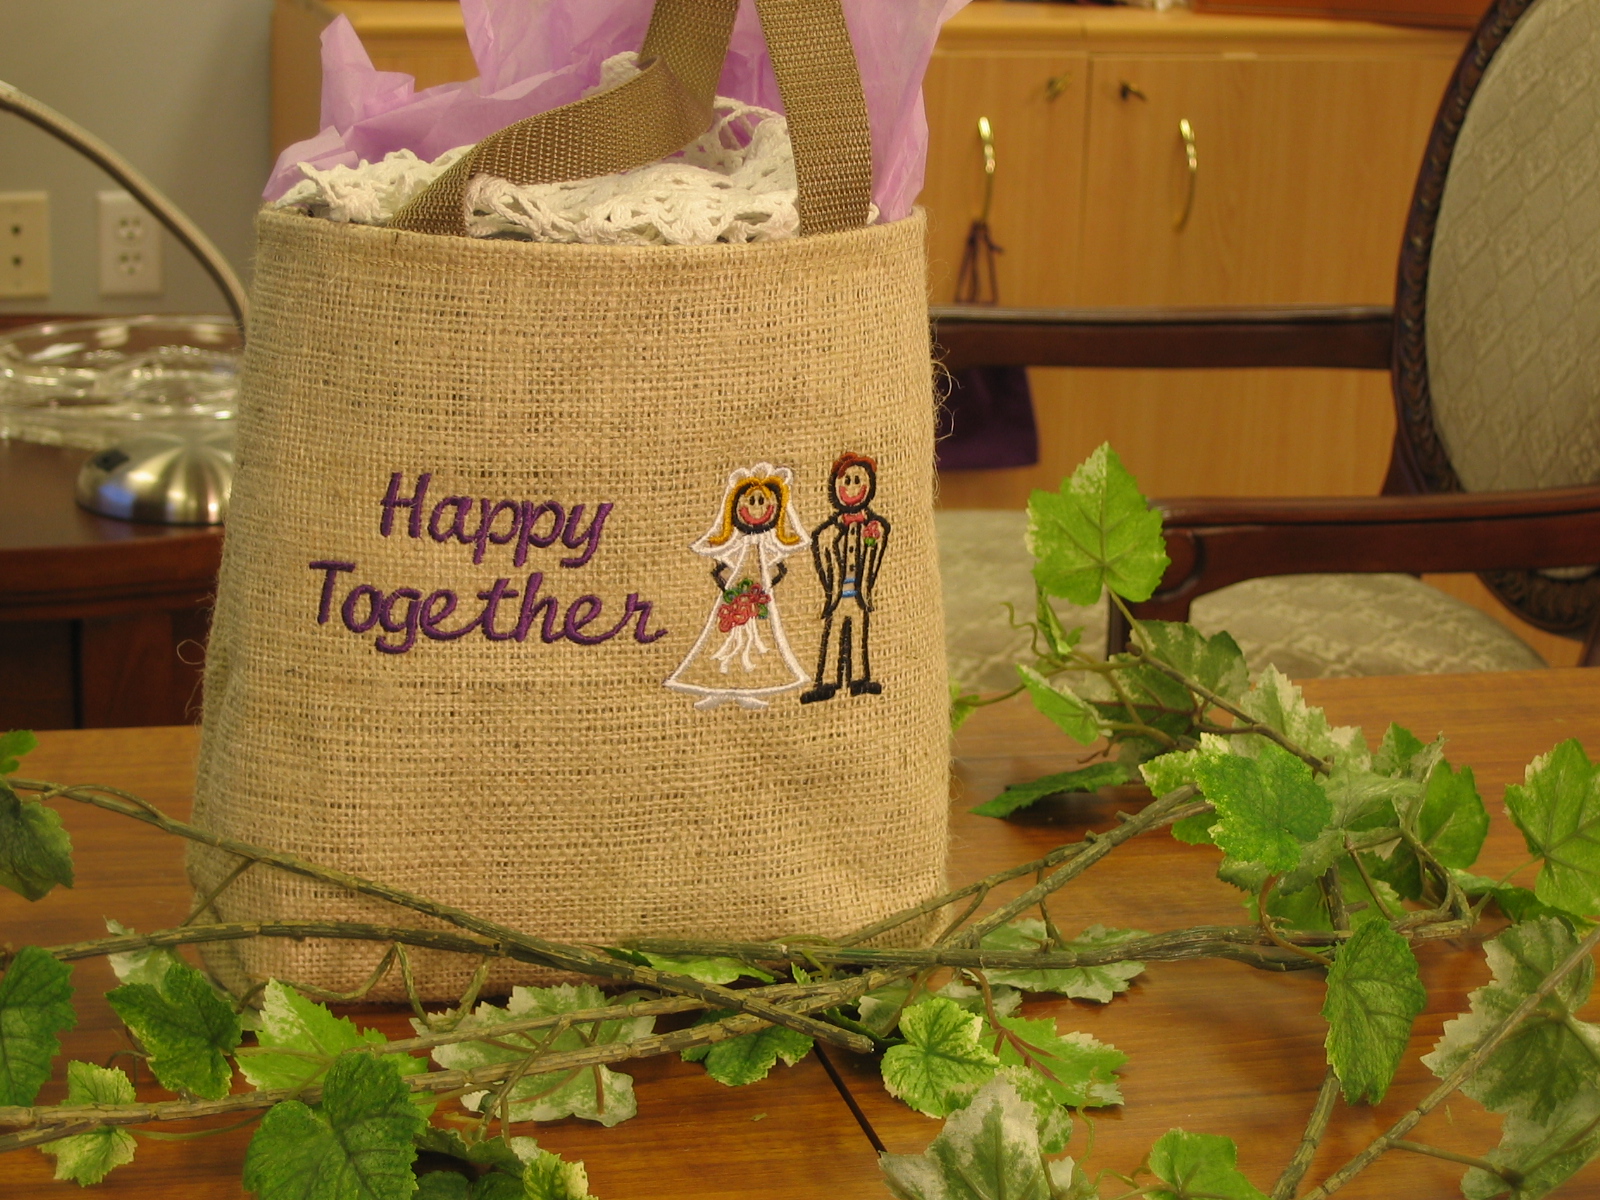
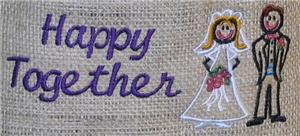
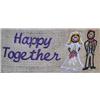
Wedding & Anniversary Gift Bag
Made of enduring cotton or burlap, the Embroider'ye Gift Bag is eminently appropriate as part of a wedding fift, for the occasion of escorting a couple into the prospect of setting up house, or to celebrate their enduring commitment in later years -- and it makes a charming keepsake, too.
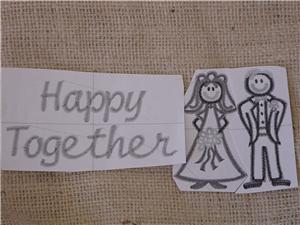
Step 1:
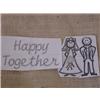
The embroidery gift bag comes with the side seams left open so that you can embroider it easily. Place your embroidery hoop over the bag, and use printed production sheets for "Happy Together" (KM44), "Stick Figure Bride" (ML60) and "Stick Figure Groom" (ML61) to mark placement for each design within your hooping area. I placed the "Happy Together" start point 4 1/4" inches from the top of the bag and 4 inches from the left. The bride starting point is 4 1/4" inches from the top, and 4 1/4" from the right. The groom's starting point is 4 1/4" from the top, and 3" from the right. If your machine allows you to stitch designs up to 5" x 7", you might use software such as KP Compositions to merge the three designs into one before stitching.
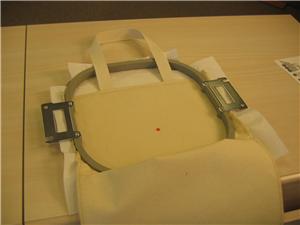
Step 2:
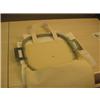
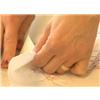
Place a sheet of tear away stabilizer under the bag panel, and hoop the area to be stitched.
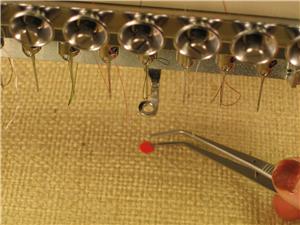
Step 3:
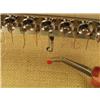
At the embroidery machine, move the stitching start point into place for the first design, and remove its placement marking sticker.
Step 4:
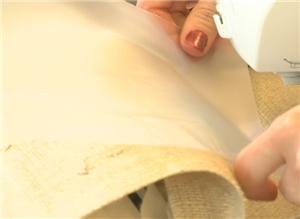
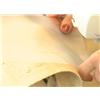
Place a sheet of topping such as Hide It over the sewing area.
Step 5:
Stitch the embroidery design. If you are stitching a second design, move the embroidery start point into place for the second design, and remove the placement dot. Ensure that your topper covers the area for the second design, and stitch it as well. Repeat this step for each additional design.
Step 6:
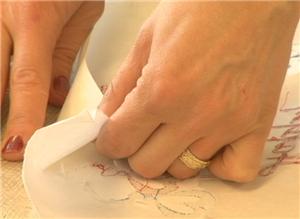
Remove the topping and backing from the bag.
Step 7:
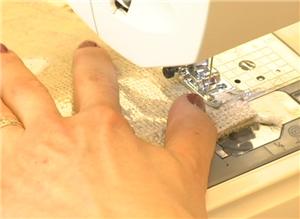
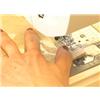
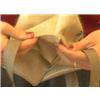
Now, to finish the side seams of the bag, first lay the two fabric sides together (so the bag appears to be inside out, with the waterproofed lining on the outside). With your sewing machine, begin a straight stitch from the pre-stitched line at the bottom of the bag, and continue straight stitching to the top. Repeat this for the other side seam.
Step 8:
Turn the bag right side out. The gift bag is ready for giving. If you have other gifts for the couple, they go inside!