


 Alphabet Monogram
 Rotating an Embroidery Design File
 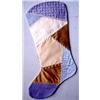 Crazy Patch Block Stocking
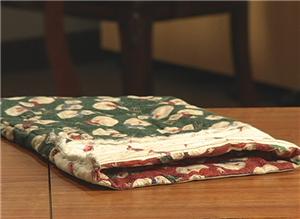
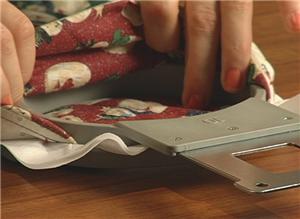
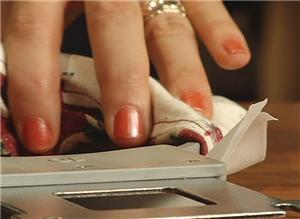
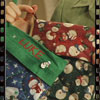 Monogrammed Christmas Stockings

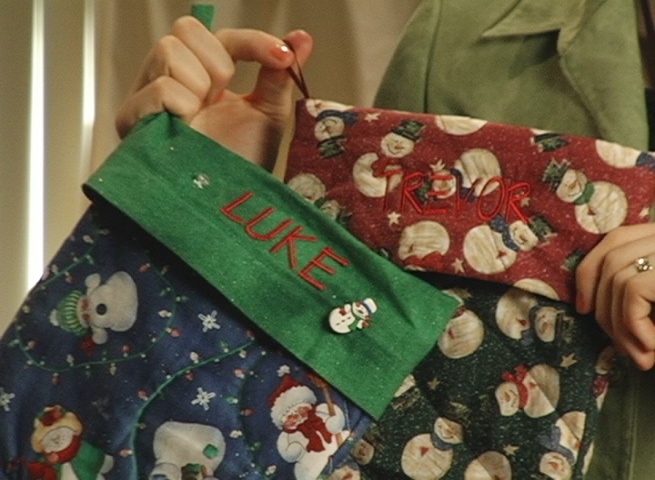
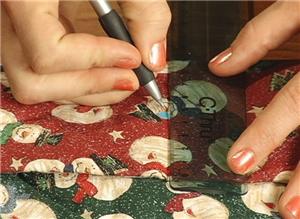


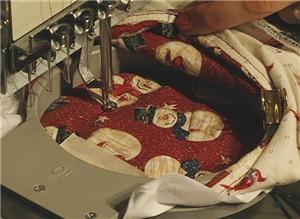
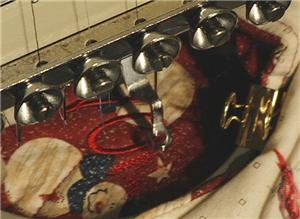
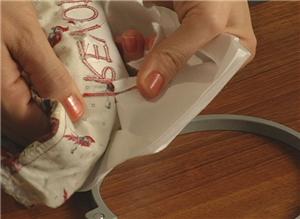
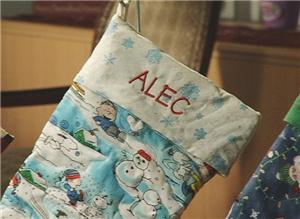

Hi Jacqueline. What I did to find the center and the middle was to print an actual size version of the name I wanted to put on the stocking. I used that to decide where to place it. Once I had that, I measured the distance from the sides of the cuff to the middle of the cuff, and marked that with a removable sticker. Next, I measured the distance from the top of the cuff to the middle of the name, since most embroidery files begin stitching from the middle. I removed my marking sticker from the stocking before I began. Maybe you can tell that I didn't place the names in the vertical center of the cuff. That was a choice I made for these stockings, and you can make a different choice on yours. The actual size printout is a great help in finding placement.
Perhaps this technique sheet will be helpful:
https://www.embroidery.com/help.ec?docid=1546
Best wishes, and Merry Christmas!
Jacqueline P.
This doesn't tell me how to line it in the center and in the middle. please help I have 5 to do and running out of time....Santa will be here soon ??