Embroidery Special FX (Effects) May 17
Watch: 
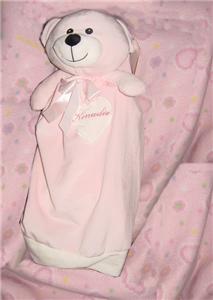
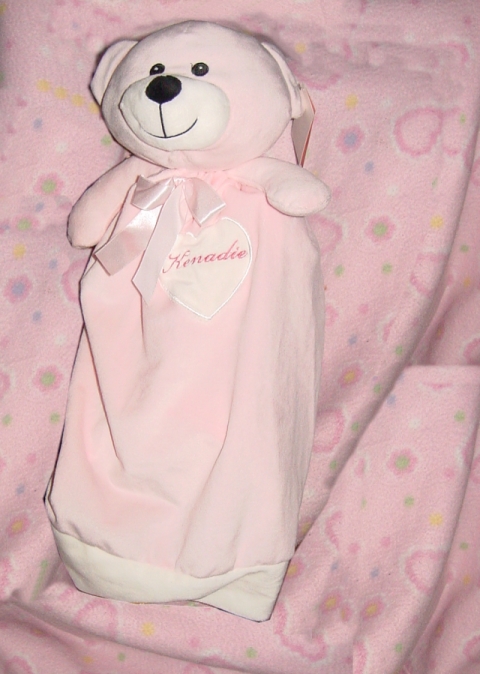
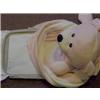
Personalized Embroidery Bear Blankie
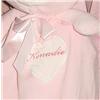
The Embroidery Buddy Blankies are even easier to embroider than the full stuffed animals. In this project, Kirsten shows you one way to add personalization to the blankie, taking advantage of the contrasting colored heart high on the skirt area.
1:
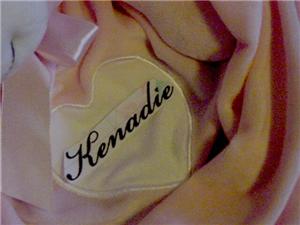
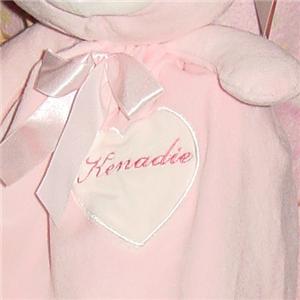
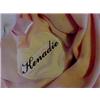
Choose a design or lettering for embroidering on the heart. This can be only 3" wide and one inch tall at the widest point of the heart. I used the Bellagio font in KP Compositions software to create the lettering for this bear. With an actual size printed production sheet, determine placement for the design.
2:
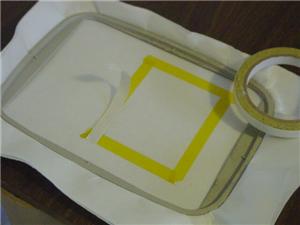
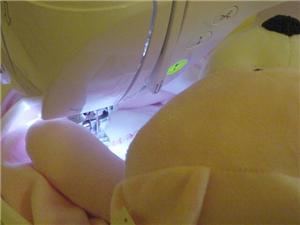
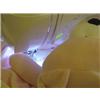
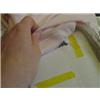
One way to prepare this for hooping is to first hoop two layers of tear away stabilizer, and attach the heart area of the bear with embroidery tape. The simplest method is to tape the outline of a 3 1/4" square on the stabilizer. Then finger-press the bear into place on the stabilizer, keeping the tape just outside of the heart design, and making sure the heart itself is smooth and taut against the stabilizer.
3:
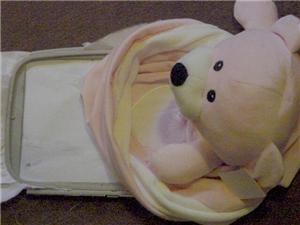
I suggest attaching the bear close to the edge of the hoop that faces you during stitching, with the bear's head also on the side that faces you.
4:
This means stitching the design at a 180 degree rotation, to make it right side up within the heart. As you can see here, although the heart area has a slight pile to the fabric, the stitches of the lettering are quite visible. You could also add an embroidery topper to keep your stitches clear over the slightly furry fabric.
5:
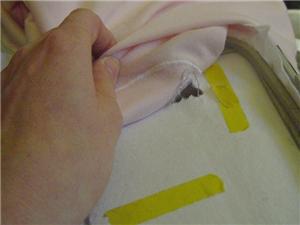
When the embroidery is finished, simply tear the blankie skirt away from the hooped topping. The embroidery tape releases your fabric without leaving residue.
6:
Trim any remaining threads and clean up the stabilizer on the back. The Embroidery Blankie is ready to be received!


 Hemingworth Super Solv - Cold Water Soluble Film - 12 in X 11 yds
 Printing Production Sheets
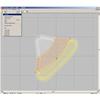 Rotating an Embroidery Design File
  Placement Marking
 Embroidery Bear
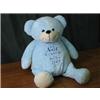 Baby Shower Bear