Software Success: More about the new Edge to Edge Plugin
Watch: 
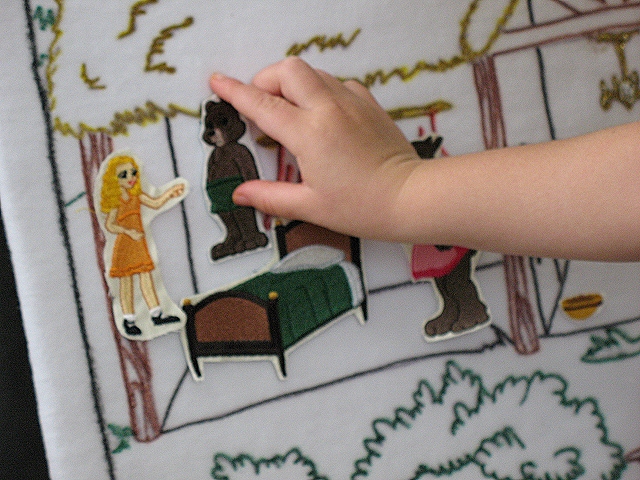
Flannel Board Fairy Tales: Goldilocks and the Three Bears
Kids through the ages have loved a good story, and parents can appreciate the teaching opportunity of this story, as Goldilocks learns to respect the property of others. We have provided the designs, the accessories, the background, and the story! All you have to do is put it together, and you’re all set for hours of fairy tale enjoyment.

1:
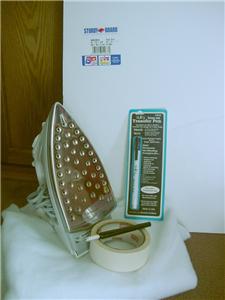
For this project you will need the "Goldilocks and the Three Bears" Design Pack from Embroidery Central, one foam core board, a razor, masking tape, thread, scissors, backing, enough white flannel to cover the 22" x 17" board background, as well as enough flannel to embroider the designs and accessories on (two yards should be more than enough). For printing and transfering the background image, you will need four sheets of white 8 1/2" x 11" paper, and a black iron-on transfer pen, an ironing board, and an iron.

2:
Print out the Embroidery.com version of the Goldilocks and the Three Bears story, which is linked to this project.
3:
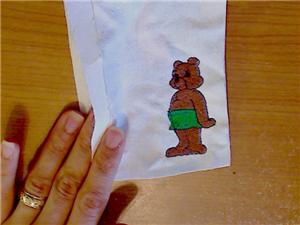
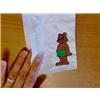
Embroider all Goldilocks and the Three Bears designs and accessories onto the white flannel, using a double layer of tearaway stabilizer. This way, the back of the embroidery will stick to the flannel board very well.
4:
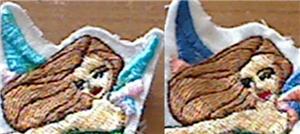
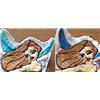
Use 60 weight thread on Goldilocks’ eyes for finer detail. In this illustration, you can see the difference between using 60 weight thread (on the left) and regular 40 weight thread (on the right) in the face of this fairy from the Sleeping Beauty set.

5:
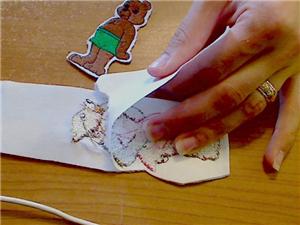
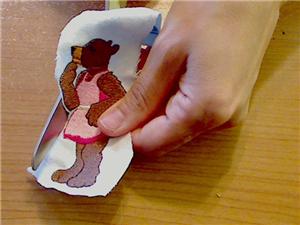
After each piece is embroidered, remove the stabilizer.
6:
Carefully cut the designs out.

7:
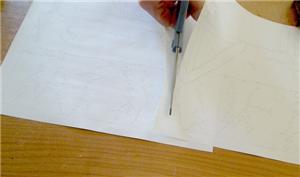
Print out the Goldilocks and the Three Bears background .PDF file. This will need to be done from Adobe Acrobat Reader software. (Note: If you do not have Adobe Acrobat Reader, you can download a free trial version from www.adobe.com.) The background will print out onto (4) 8 ½" x 11" pieces of paper.

8:
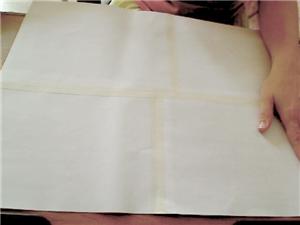
Because most printers don't print right to the edge of the page, trim the inner edges of the papers.
9:
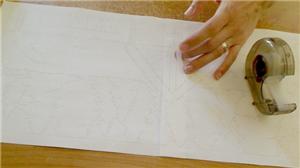
Splice the four background pieces by matching up the lines and taping them together. You can place small pieces of tape on the front as you align the pieces.
10:
Then turn it over and tape the seams fully, using masking tape (cellophane tape will melt). Be sure to remove any tape left on the front before ironing.

11:
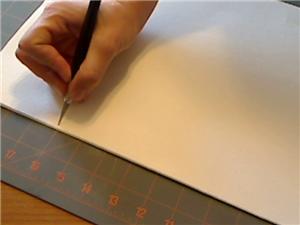
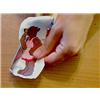
After the 4 sections are taped together trace over the entire background design with a black iron-on transfer pen. A ruler is useful in helping you trace straight lines where necessary.

12:
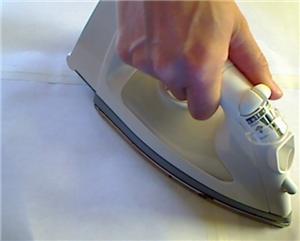
Place the background pattern face down onto the 22" x 17" piece of flannel. With a hot iron, press firmly over the entire design to transfer the pattern to the flannel. (Note: Keep the iron moving back and forth, or you can use a circular motion. The more times you pass over the design, the darker the outlines will appear on the flannel.)

13:
Using a razor, cut the foam core board to the right size for the flannel piece.
14:
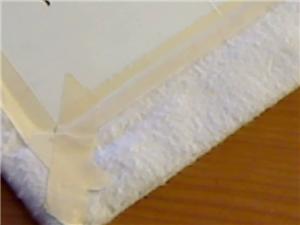
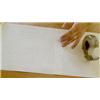
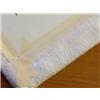
Mount the flannel background to the foam core. (We folded the edges around the foam core, and used masking tape to secure.)

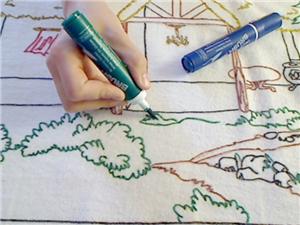
15:
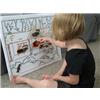
Color the background with fabric markers, glitter, or whatever else you choose. Be creative and have fun with this!
16:
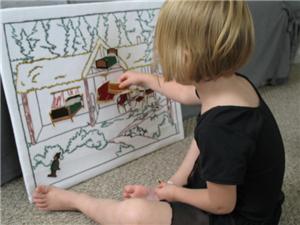
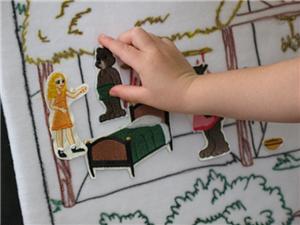
Now that you have the story, the background, and the characters, you’re ready to play “happily ever after”. Have fun!


 Baby Bear
 Mama Bear
 Goldilocks & the Three Bears
 Good Fairy Grace